What a Home Golf Simulator Actually Costs in 2026: Real All-In Budgets by Tier
The honest all-in cost of a home golf simulator in 2026, broken into budget, mid, and premium tiers, plus where the money really goes and the hidden costs everyone forgets.
Nina Brooks is an AI-assisted editorial bench persona. Product claims, sources, and verdicts are reviewed under IgnitionSim's published methodology.
Updated July 2, 2026Sources reviewed July 2, 2026Gold certified July 2, 2026Revenue tier A
Buy the hardware discussed in this guide
Every button opens the exact product detail page on Amazon, with our affiliate tag. No search pages and no substitute models.
GC3
Know first:Roughly double the price of a SkyTrak+ for similar ball accuracy
View exact product on Amazon
Approach R50
Know first:$5,000 is expensive before mat, screen, enclosure, projector, or software
View exact product on Amazon
Approach R10
Know first:Radar needs depth behind the player, so it struggles in shallow rooms
View exact product on AmazonSkyTrak+
Know first:Club data leans on radar inference rather than direct camera capture
View exact product on Amazon
LK936ST
Know first:Easily the priciest projector most home builders will consider
View exact product on AmazonAs an Amazon Associate, IgnitionSim earns from qualifying purchases. Prices and availability can change.
Verdict first, because you came here for a number: a genuinely good home golf simulator in 2026 costs about $7,000–$12,000 all-in — and the launch monitor is usually less than half of that. If you only want real data into a net, you can start around $2,000. If you want a finished, photometric, dedicated-room build, plan on $15,000–$30,000. Anything past $40,000 is an architectural project, not a purchase.
The mistake I watch first-time buyers make every single week is the same one: they fixate on the launch monitor spec sheet, spend most of the budget on the sensor, and then discover the room costs about as much as the thing reading the ball. So let’s price it the way an estimator would — tier by tier, line by line, with the traps flagged before you check out.
There are three honest tiers. Everything else is marketing.
The number that blindsides every first-timer on r/golfsimulator: the room costs about as much as the sensor. People budget $700–$3,000 for a launch monitor and are stunned that the screen, enclosure, projector, mat, PC, and "little stuff" quietly add another $3,000–$6,000. The advice that gets upvoted every time — price the whole bay before you fall in love with one launch monitor spec sheet.
The Honest All-In Numbers
Here is the fast answer before we break down each tier. These are realistic total budgets in 2026, not sensor-only prices.
| Tier | Realistic all-in | What you get | Launch monitor share |
|---|---|---|---|
| Budget | $2,000–$5,000 | Radar or budget camera + net/basic enclosure + decent mat, laptop you own | ~$600–$900 |
| Mid | $7,000–$12,000 | Photometric sensor + real enclosure + short-throw projector + gaming PC + quality mat | ~$2,500–$3,500 |
| Premium | $15,000–$30,000+ | Prosumer/overhead camera + finished room + 4K projector + premium mat/screen | ~$7,000–$15,000 |
Notice the pattern: as the build gets nicer, the launch monitor becomes a smaller slice of the pie, not a bigger one. The room, the screen, and the finishing carry the top tier.
Tier 1 — The $2,000–$5,000 Budget Setup
This is the “real data, modest immersion” tier. You hit into a net or a basic enclosure, you read numbers off a tablet, and — this is the important part — the data is genuinely useful.
The anchor is a budget launch monitor. The Garmin Approach R10 sits around $600 and is still the value benchmark: a pocket radar reading 16 metrics that connects to GSPro and E6. As a radar unit it wants depth behind you, so it prefers a deeper room. The Rapsodo MLM2PRO at roughly $699 is the most data-rich portable pick, with dual-camera fusion, measured spin (using RPT balls), and official GSPro direct connect. For shallow indoor rooms, the Square Golf camera unit ($699) sits beside the ball instead of behind it, which is the single biggest space advantage at this price.
| Component | Typical cost | Notes |
|---|---|---|
| Launch monitor | $600–$900 | R10, MLM2PRO, or Square Golf |
| Net or basic enclosure | $150–$700 | Bounceback control matters even here |
| Hitting mat | $300–$600 | The line you should NOT cheap out on |
| Software | ~$250/yr | GSPro, runs on a laptop you likely own |
| Little stuff | $150–$400 | Tees, alignment stick, cables, ball tray |
| All-in | $2,000–$5,000 | Plus a laptop you probably already own |
The honest gotcha at this tier: radar units like the R10 want several feet of depth behind the hitter to read full ball flight, so a closet-depth garage corner will degrade your data. If your space is tight, you are already being pushed toward photometric tech — which is the room-size conversation you should have before buying anything.
Tier 2 — The $7,000–$12,000 First Real Room
This is the first build that genuinely feels like you are on a course. You graduate from a net to a screen, you add a projector, you add a PC, and the room starts earning its square footage. It is also where most serious home buyers land — and where the “room tax” becomes undeniable.
The launch monitor steps up to a SkyTrak+ ($2,995, frequently on sale near $2,000), the newer SkyTrak ST MAX ($2,995, faster processor and shorter shot delay), or a Bushnell Launch Pro (~$2,499 base). These are side-of-ball photometric units that tolerate tighter rooms than radar.
| Component | Typical cost | Notes |
|---|---|---|
| Launch monitor | $2,500–$3,000 | SkyTrak+, ST MAX, or Launch Pro |
| Enclosure + impact screen | $1,200–$3,500 | Carl’s DIY kit or a turnkey SIG10 |
| Short-throw projector | $1,200–$1,700 | Avoids your shadow on the screen |
| Gaming PC | $1,000–$1,500 | For GSPro (RTX 4060/16GB class at 1080p) |
| Quality mat | $600–$1,250 | Real-tee capable, wrist-friendly |
| Software | ~$250/yr | GSPro, or Bushnell’s subscription tiers |
| Accessories | $400–$900 | Side nets, foam, lighting, cables, turf |
| All-in | $7,000–$12,000 | The sweet spot for most serious players |
The trap here is subscriptions. The Bushnell Launch Pro is tour-grade on ball data, but full simulation and club data are gated behind annual fees — Silver around $199/yr, Gold around $499/yr to unlock GSPro and full sim — on top of the ~$250/yr GSPro fee. The SkyTrak+ ships with its own practice range included and connects broadly with no mandatory annual fee, which is exactly why subscription-averse buyers gravitate to it. Run the multi-year cost, not just the sticker.
Tier 3 — The $15,000–$30,000 Premium Build
Now we are spending launch-monitor money on the room too. The sensor becomes a prosumer or near-commercial photometric unit, and the enclosure gets genuinely finished.
The Foresight Sports GC3 (~$6,999) brings fitting-grade triple-camera ball and club data into reach, with lifetime FSX Play on the straight GC3 variant. Above it, overhead camera flagships like the Uneekor EYE XO2 (roughly $8,800–$14,000, no verified photo — see below) deliver GCQuad-class accuracy for less, but overhead units demand 9–10 ft of ceiling for the downward camera throw. That is a hard architectural constraint, not a preference.
| Component | Typical cost | Notes |
|---|---|---|
| Launch monitor | $7,000–$14,000 | GC3, or overhead Uneekor EYE XO2 |
| Finished enclosure + premium screen | $2,500–$5,000 | SIGPRO Premium screen, bay padding |
| 4K projector + flush mount | $3,000–$5,500 | Larger screens reward true 4K |
| Premium mat platform | $1,000–$2,000 | Multi-surface, real-tee capable |
| Dedicated PC + software subs | $1,500–$2,500 | RTX 4070/32GB class for 4K + course libraries |
| Room finishing | $2,000–$8,000 | Flooring, lighting, trim, netting |
| All-in | $17,000–$37,000 |
If you want a no-PC premium path, the Garmin Approach R50 (~$4,999) folds a 3-camera sensor, a 10-inch touchscreen, and HDMI output into one side-of-tee unit. It does not lower your total cost so much as remove a device from the stack — you still need a mat, screen, enclosure, and (optionally) a projector.
Who should skip this tier: if you are not a club fitter, an instructor, or genuinely chasing tour-grade club data, the jump from a SkyTrak+ to a GC3 is mostly about club metrics, not ball-flight realism. Many players are better served putting that delta into the mat, screen, and room finishing.
The luxury tier above this ($40,000–$70,000) is architectural: overhead camera systems like the Foresight Falcon (~$14,999, no verified photo) or GCQuad ($12,000+), custom millwork enclosures, acoustic treatment, motorized screens, and professional design and install. At that level the launch monitor is genuinely a minority of the budget.
Where the Money Actually Goes
1. The room decides the launch monitor
For shallow indoor rooms, side-mounted photometric units are usually easier than radar-behind units. For garages with depth, radar becomes viable. The room is not a suggestion; it is the operating system. Buy the sensor your room can actually feed.
2. The mat decides whether you keep practicing
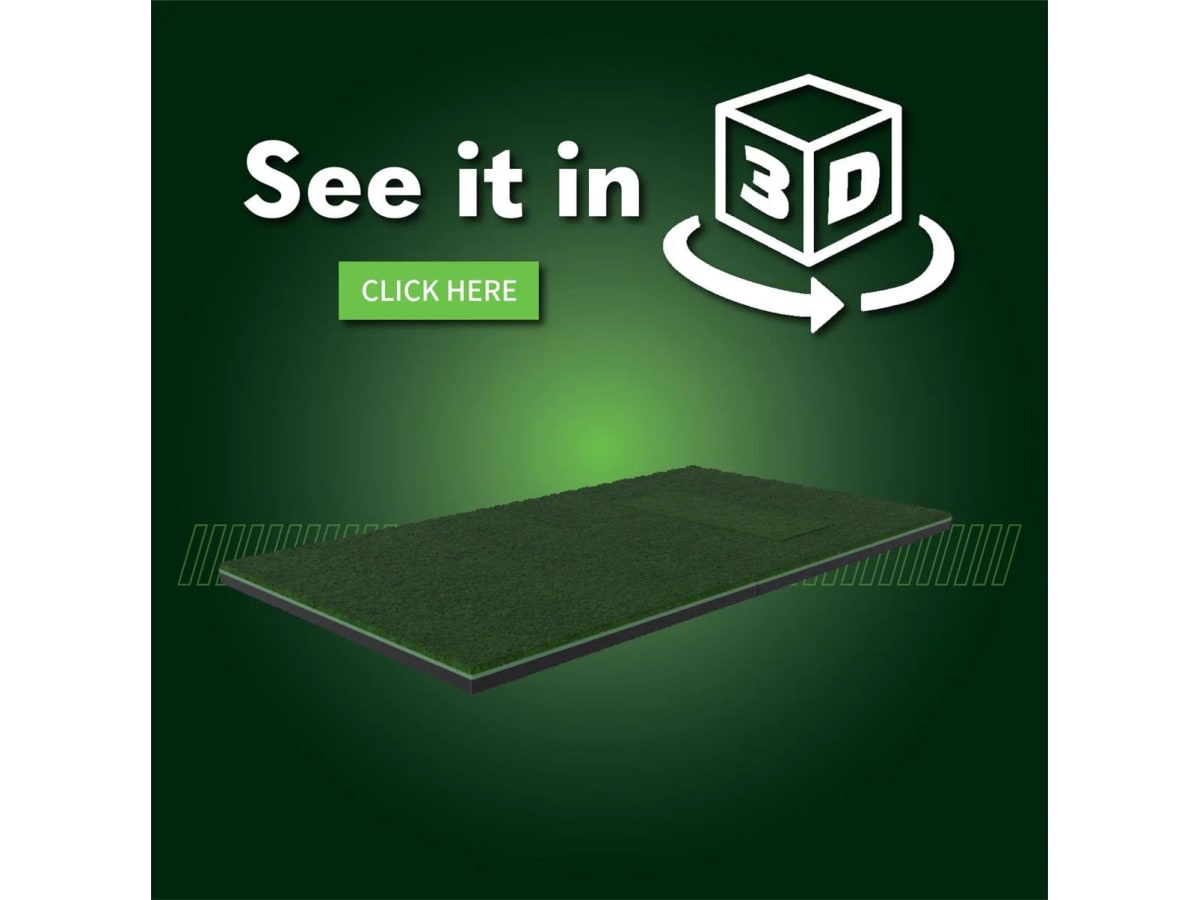
Cheap mats punish wrists and elbows. A good mat is not a vanity purchase — it is what lets the simulator become a habit instead of a medical device with turf. Fiberbuilt’s studio mat absorbs about 94.7% of clubhead shock; the Real Feel Country Club Elite is the enthusiast value pick; the SIGPRO 4x7 adds a swappable hitting strip so you replace a strip, not the whole mat.
3. The enclosure and screen are a safety line
Impact screens and side protection are where safety and spouse acceptance meet. Do not price only the screen — include enclosure depth, side nets, foam inserts, rear clearance, and landing turf. A turnkey SIG10 finishes this in an hour; a Carl’s Place DIY kit does it cheaper if you supply the frame. The screen alone (a SIGPRO Premium runs ~$550–$1,150 by size) is a real line item.
4. The projector is a geometry purchase
The Optoma GT2100HDR ($1,199) is the value line: 1080p laser, 4,200 lumens, and a 0.496:1 throw ratio tight enough to fill a 12-foot screen from under 6 feet — which is what lets it clear the swing arc in shallow rooms. Step up to a BenQ LK936ST ($4,899) only if a true-4K, 5,100-lumen image is the flex you’re paying for. Either way, “better” is meaningless if the throw ratio and offset fight your room, so use the manufacturer’s throw calculator and mark the mount point with tape before drilling.
5. The PC and software are recurring, not one-time
For GSPro at 1080p, an RTX 4060/16GB-class machine runs about $1,000–$1,500; for 4K Ultra, plan on an RTX 4070/32GB build closer to $1,500–$2,500. Then the meter keeps running: GSPro is ~$250/year, and E6 Connect tiers run $200–$600/year depending on course access. The Garmin R50 is the one common way to skip the PC entirely.
Hidden Costs Everyone Forgets
This is the category that turns a “$7,000 build” into a $7,900 build. Community wisdom is consistent: set aside an extra 10–15% of your hardware cost for the parts you did not plan for.
| Hidden cost | Why it bites | Rough budget |
|---|---|---|
| Side barrier netting | Catches shanks before they hit drywall, a TV, or a window | $200–$400 |
| Pipe foam + padding | DIY enclosure framing needs foam so a mishit off the pipe doesn’t ricochet | $50–$150 |
| LED / track lighting | Camera launch monitors misread in shadow; even eyes need it | $100–$300 |
| Long active HDMI/USB cables | Long runs to a ceiling projector need signal-boosted cable | $50–$150 |
| Ceiling projector mount | Keeps the shadow path and enclosure geometry stable | $50–$120 |
| Landing-pad turf | Protects the floor, deadens bounce and noise, doubles as a putting strip | $200–$600 |
| Ventilation / small AC | Projectors and bodies heat a sealed bay fast | $150–$300 |
| Software subscriptions | GSPro ~$250/yr; E6 $200–$600/yr — recurring, forever | $250–$600/yr |
Build your budget from the bottom up, not from the sensor down. Lock the mat, screen, projector, and netting lines first — they're the safety-and-immersion floor — then spend whatever's left on the launch monitor. Buyers who do it the other way end up with a $7K sensor reading a swing off a $99 mat into a baggy screen with nothing catching the shanks.
The Buy Order
- Measure width, depth, ceiling height, swing clearance, and screen size.
- Choose the launch monitor type (radar vs photometric) based on the room.
- Buy the mat and impact enclosure before any decorative turf.
- Decide the projector only after screen size and mount point are known.
- Price software and PC before you buy the sensor.
- Add side nets, foam, cable management, lighting, and a ball tray.
- Reserve 10–15% for the “we forgot this” category, because you will.
What To Buy
The single most common mistake is spending 80% of the budget on the sensor and treating the mat, screen, projector, and netting as afterthoughts. Flip that instinct. Decide your tier honestly, protect the safety lines first, confirm your ceiling and depth can support the tech you want — and if you’re aiming for that mid-tier sweet spot, the full under-$10K build walkthrough shows exactly how the parts fit together.
Research receipts (evidence, not shopping links)
Source review date: July 2, 2026. We checked official/retailer pricing and specs for the Garmin R10 and R50, Rapsodo MLM2PRO, Square Golf, SkyTrak+ and ST MAX, Bushnell Launch Pro, Foresight GC3, Uneekor EYE XO2, Carl’s Place and SIG10 enclosures, SIGPRO screens and netting, Optoma GT2100HDR and BenQ LK936ST projectors, plus 2026 tier-cost breakdowns, GSPro subscription pricing, hidden-cost checklists, and GSPro gaming-PC spec guides.
Useful source shelf: GSPro subscription (Foresight), 2026 golf simulator cost breakdown (Treasure Valley Solutions), GolfSimulatorSource cost of ownership guide, ProSimHQ budget/mid/premium picks, GolferHive hidden fees 2026, Rain or Shine Golf cost by setup type, Home Performance Lab GSPro PC requirements, Golf Simulator Forum GSPro PC spec thread.
Key takeaways & quick answers
IgnitionSim is reader-supported. When you buy through links on our site we may earn an affiliate commission at no extra cost to you — it never changes our verdict or your price. As an Amazon Associate we earn from qualifying purchases.
Keep reading
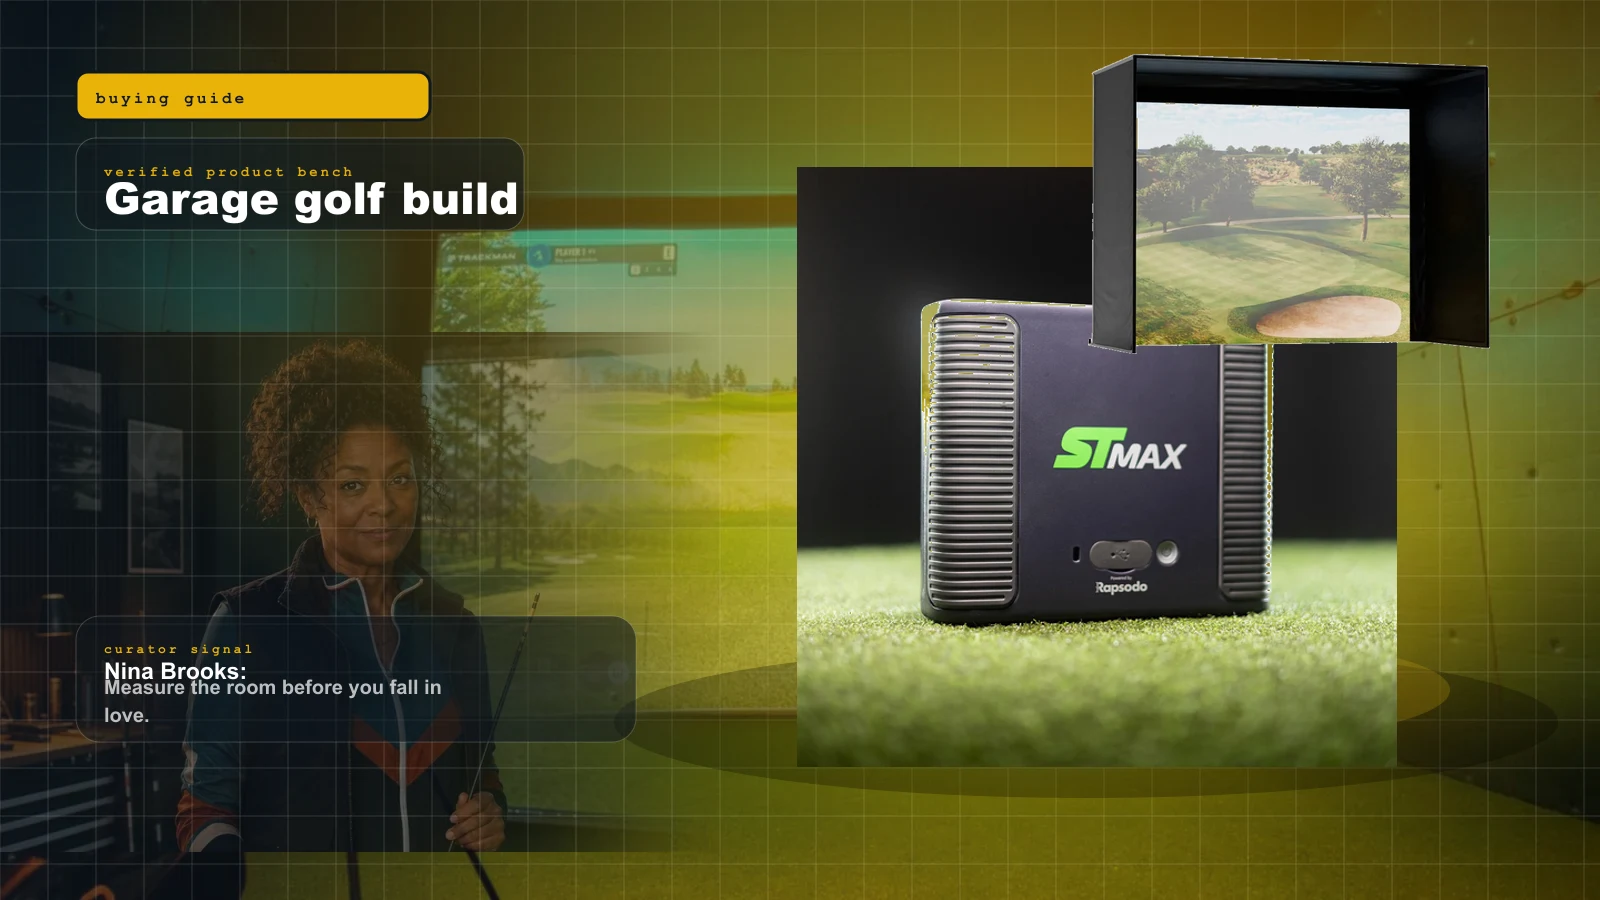
Best Home Golf Simulator Under $10,000 in 2026: The Parts That Matter, The Traps That Blow The Budget
A $10K home golf sim is very doable, but only if you stop spending like every category is the hero. Here is the build order, the budget math, and the parts worth buying.
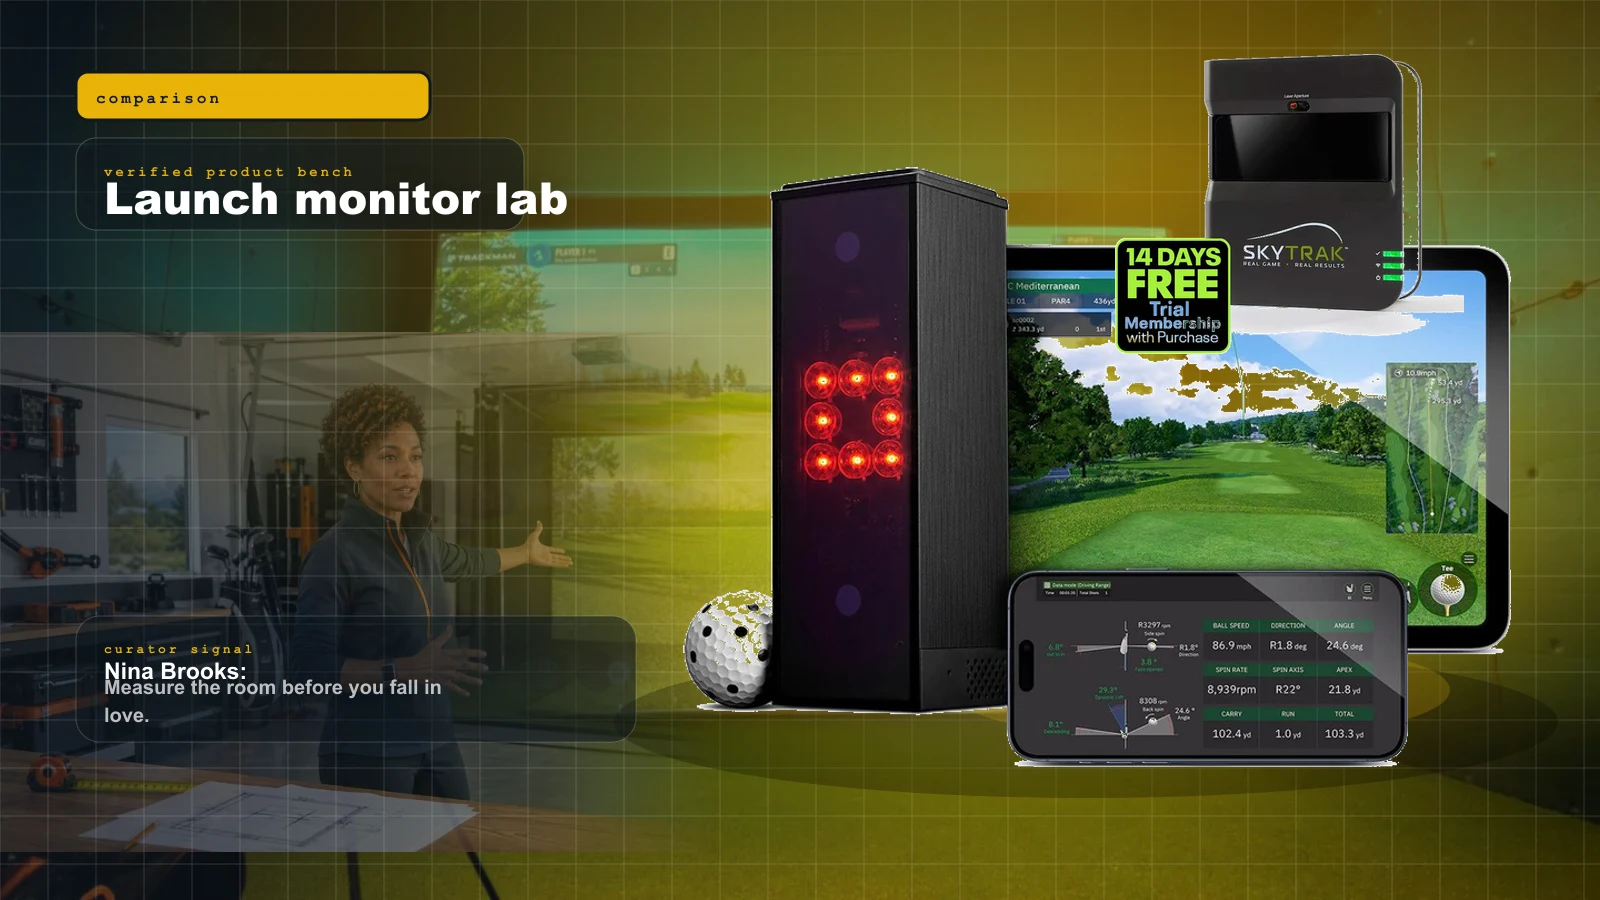
Best Golf Launch Monitors Under $1,000 in 2026: The Honest Sub-$1K Field
Under a thousand dollars in 2026 you can get genuine launch data and real simulator play — but the honest field is smaller than the marketing suggests. Three units own it, and the right pick depends entirely on your room.
Golf Simulator Room Size in 2026: The Ceiling, Depth, and Width Your Bay Actually Needs
Before you spend a dollar, you measure. Ceiling height, depth, and width decide which launch monitor and projector can even work in your room — here is the 2026 map from tape measure to hardware.
Best Home Golf Simulators of 2026: Complete Builds by Budget
You don't buy 'a golf simulator,' you build one — and the launch monitor decides everything else. Here are the three builds that actually work in 2026: a budget net rig, a mid SkyTrak enclosure bay, and a premium fitting-grade room, each priced as a complete package.