
Home Golf Simulator Build Sheet 2026: Room Size, Launch Monitor, Mat, Screen, Projector, and the Buy Order
A practical home golf simulator buyer map for 2026 with room dimensions, radar vs photometric launch monitors, mats, impact screens, projectors, PCs, and accessories.
Nina Brooks is an AI-assisted editorial bench persona. Product claims, sources, and verdicts are reviewed under IgnitionSim's published methodology.
Published July 1, 2026Sources reviewed July 1, 2026Gold certified July 1, 2026Revenue tier A
Buy the hardware discussed in this guide
Every button opens the exact product detail page on Amazon, with our affiliate tag. No search pages and no substitute models.
SkyTrak+
Know first:Club data leans on radar inference rather than direct camera capture
View exact product on AmazonLK936ST
Know first:Easily the priciest projector most home builders will consider
View exact product on Amazon
Launch Pro
Know first:Club data and full simulation are locked behind annual subscriptions
View exact product on Amazon
Approach R10
Know first:Radar needs depth behind the player, so it struggles in shallow rooms
View exact product on Amazon
Approach R50
Know first:$5,000 is expensive before mat, screen, enclosure, projector, or software
View exact product on AmazonAs an Amazon Associate, IgnitionSim earns from qualifying purchases. Prices and availability can change.
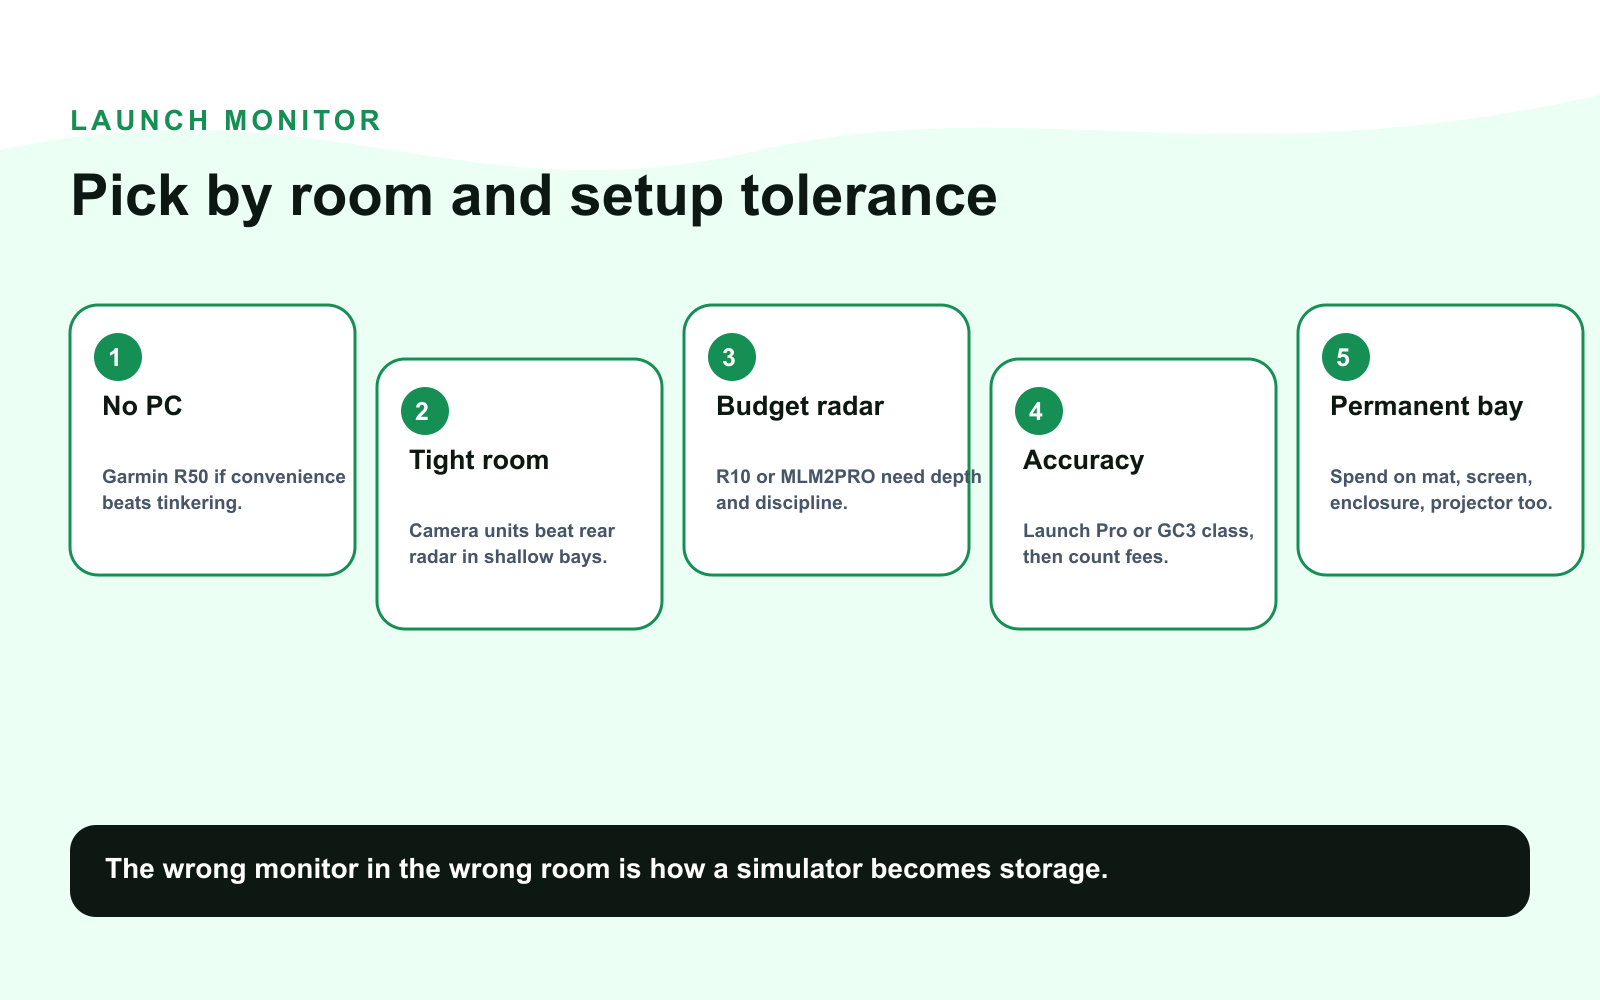
Golf simulator shopping starts with a launch monitor. Golf simulator success starts with a tape measure.
Nina’s first question is not “SkyTrak or Garmin?” It is “Can you swing driver in that room without redesigning the ceiling fan at high speed?” If the room is wrong, the best launch monitor in the world becomes a very expensive witness.
The Build Order
| Phase | Decide | Why it matters |
|---|---|---|
| 1 | Room and swing clearance | Eliminates impossible builds |
| 2 | Launch monitor type | Radar needs depth, photometric needs placement/lighting |
| 3 | Mat | Protects joints and shot quality |
| 4 | Screen/enclosure/net | Safety, noise, durability |
| 5 | Projector/display | Image size and offset must fit room |
| 6 | Software/PC | Course library, GSPro, E6, Home Tee Hero |
Phase 1: Measure the Room Like It Owes You Money
Typical comfortable targets are around 10 feet wide, 9-10 feet high, and 15 feet deep, but body size and swing plane matter. A tall player with driver may need more height. A radar launch monitor may need space behind the ball. A side photometric unit may fit a shallower room but needs a clear hitting zone and lighting discipline.
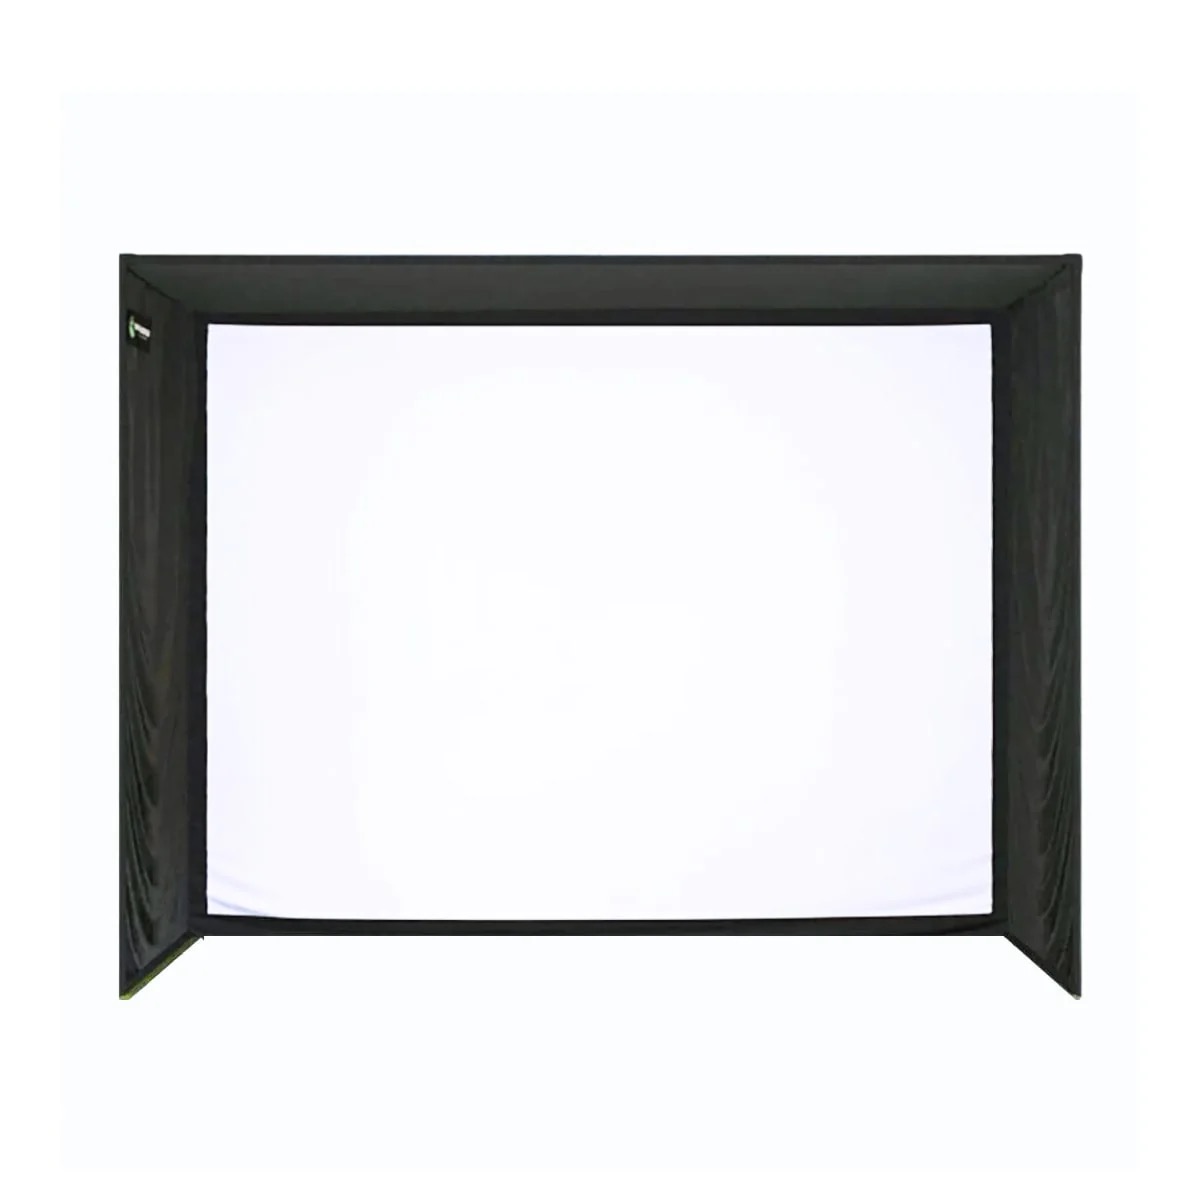
Do not buy the enclosure first. Do not buy the projector first. Measure swing clearance with the longest club you will actually hit, then read the room guide.
Phase 2: Pick Radar or Photometric
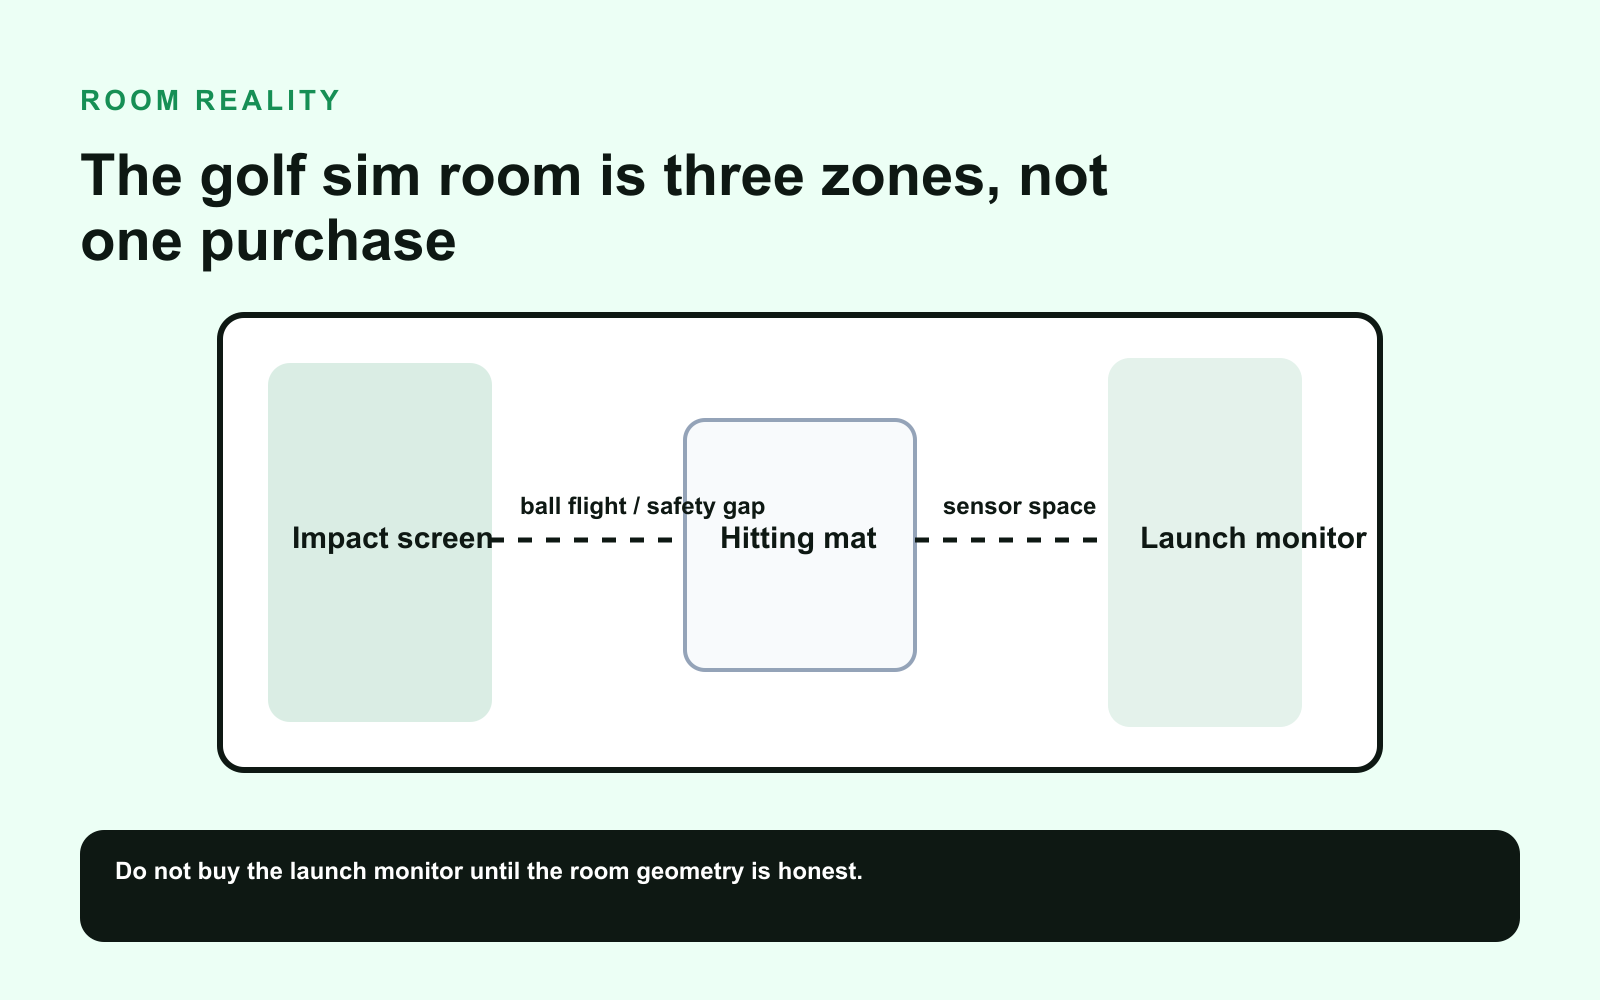
Radar launch monitors sit behind the golfer and track ball flight. They shine outdoors and in deeper indoor spaces. Photometric units sit beside or near the ball and capture impact with cameras. They are usually better for tight indoor rooms.
The Garmin Approach R10 is still the budget radar gateway. The Rapsodo MLM2PRO adds strong app polish and tracked metrics. The SkyTrak+ is the tight-room value favorite. The Bushnell Launch Pro and Foresight GC3 move into premium camera accuracy and subscription/software decisions. The Garmin R50 is the wild convenience play with a built-in 10-inch touchscreen and simulator.
Phase 3: The Mat Is Not a Rug
A cheap mat can punish wrists, elbows, and swing mechanics. Good mats absorb impact while still giving realistic turf interaction. The Fiberbuilt Studio Mat, SIGPRO 4x7, and Country Club Elite tier all exist because “piece of green carpet on concrete” is how elbows file complaints.
Phase 4: Screen, Enclosure, and Safety
Your impact screen is not decor. It is a repeated high-speed impact surface. Budget nets can work for practice, but a simulator bay needs a screen and enclosure that handle ball speed, side misses, bounce-back, and noise. Measure screen-to-wall clearance and do not put hard objects behind the impact zone.
Phase 5: Projector Math
Short-throw projectors matter because golfers stand between the projector and screen. Ceiling mount position, throw ratio, offset, image size, brightness, and aspect ratio all need to fit the enclosure. The BenQ LK936ST is the premium laser path; the Optoma GT2100HDR tier can work for tighter budgets.
Three Good Starter Builds
Budget garage: Garmin R10, quality hitting mat, net or entry screen, tablet/phone app, enough depth for radar.
Serious tight-room build: SkyTrak+, Fiberbuilt or SIGPRO mat, SIG10 or Carl’s enclosure, short-throw projector, GSPro-capable PC.
No-PC convenience build: Garmin R50, premium mat, enclosure, optional external display/projector. You pay for the built-in screen and self-contained workflow.
Research Notes
This build sheet cross-checks Garmin’s Approach R10 metrics announcement, Garmin’s Approach R50 product page, Rapsodo’s MLM2PRO page, and Foresight/Bushnell subscription notes for Launch Pro tiers. Always verify current software fees before buying because the hardware price is not always the ownership price.
Bottom Line
Measure first. Choose launch monitor second. Spend real money on the mat and screen. Everything else is easier once the room, swing, and impact zone are honest.
Key takeaways & quick answers
IgnitionSim is reader-supported. When you buy through links on our site we may earn an affiliate commission at no extra cost to you — it never changes our verdict or your price. As an Amazon Associate we earn from qualifying purchases.
Keep reading
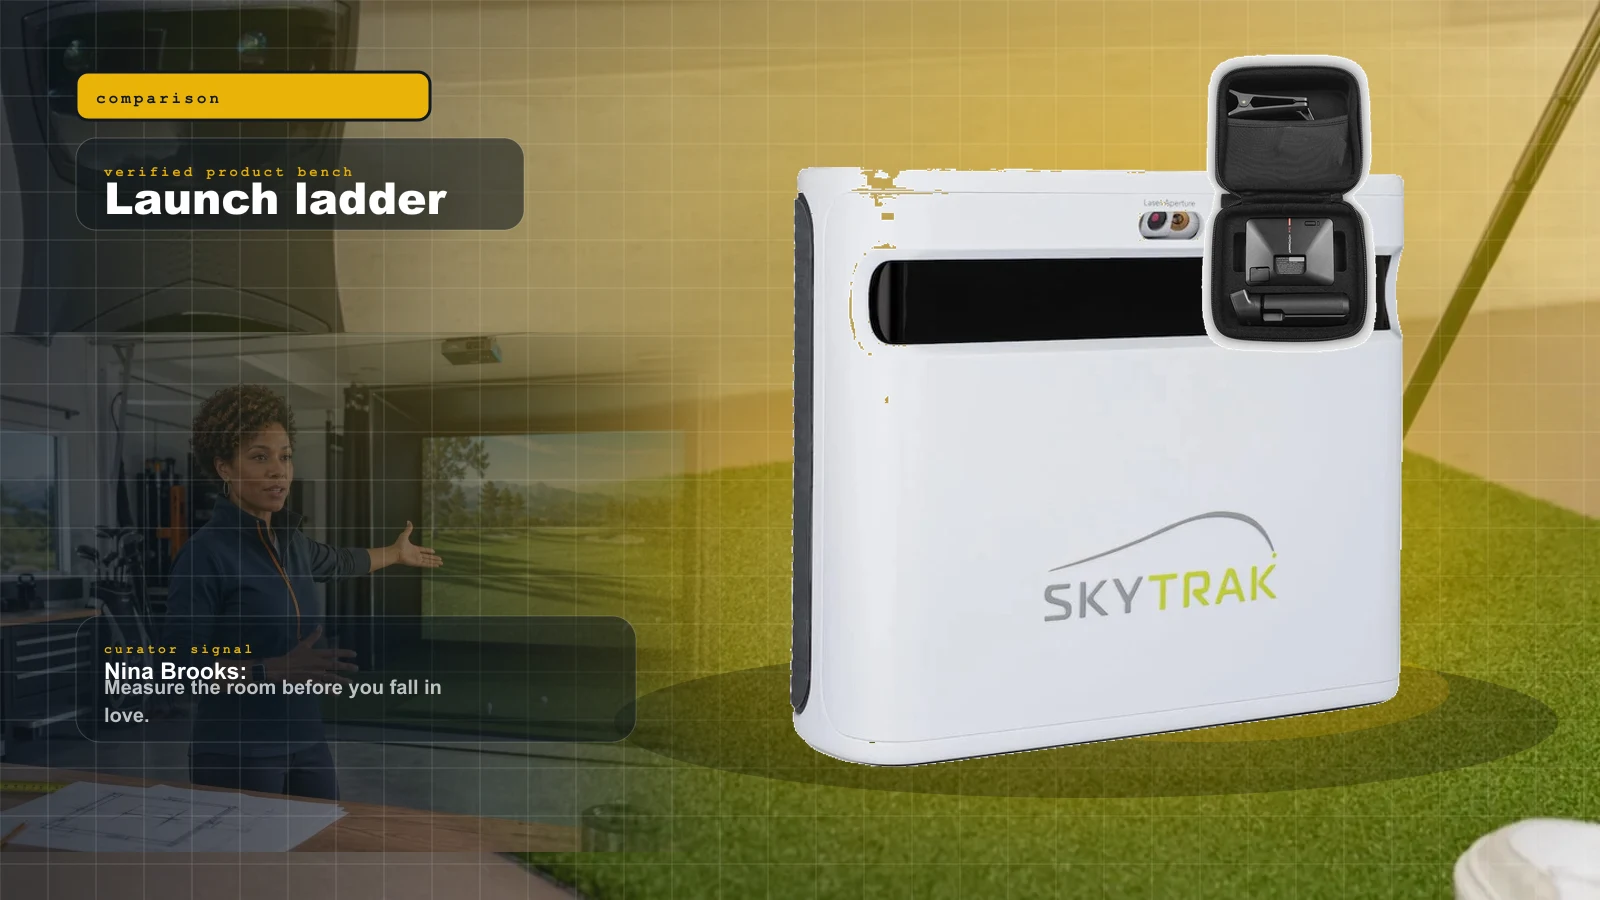
Golf Launch Monitor Ladder 2026: Garmin R10, MLM2PRO, SkyTrak+, Garmin R50, Bushnell Launch Pro, GC3
The sticker price is only the opening bid. Nina compares the full ladder by room fit, software fees, data quality, and how much setup pain you are buying.
Golf Simulator Room Size in 2026: The Ceiling, Depth, and Width Your Bay Actually Needs
Before you spend a dollar, you measure. Ceiling height, depth, and width decide which launch monitor and projector can even work in your room — here is the 2026 map from tape measure to hardware.
Radar vs Photometric Launch Monitors (2026): How Each Measures, and Which One Your Room Actually Allows
Radar watches the ball fly from behind you. Photometric reads it at impact from the side. The whole decision comes down to one honest measurement: how deep is your room, and how well can you light it?
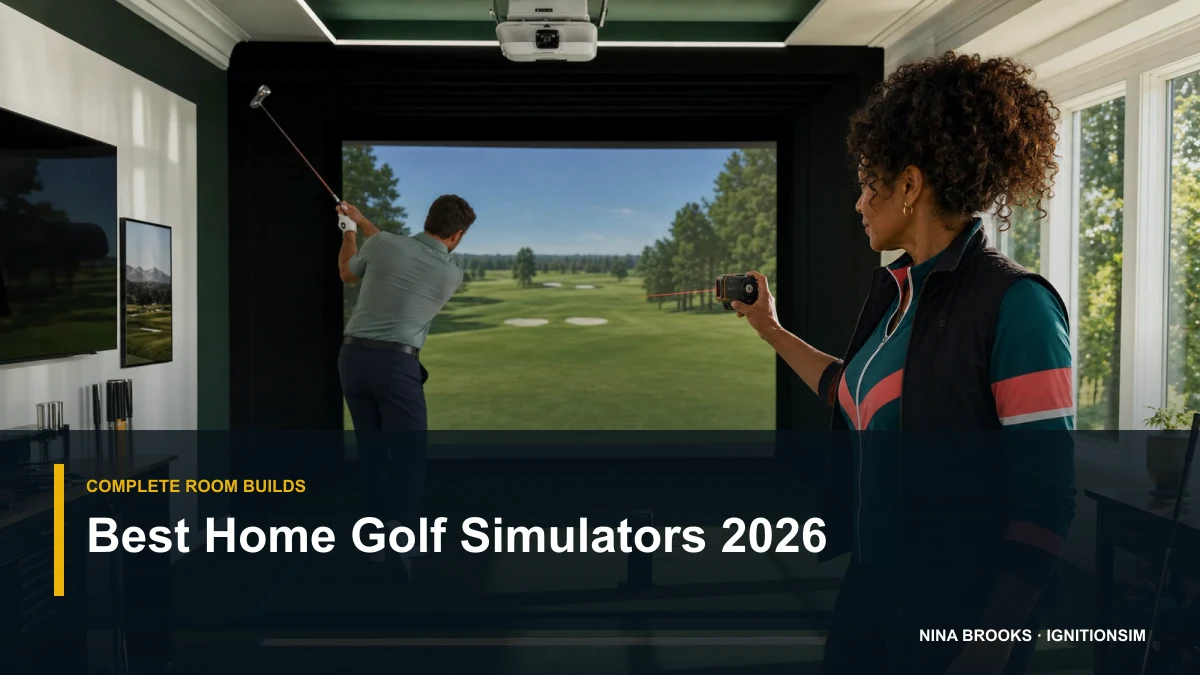
Best Home Golf Simulators of 2026: Complete Builds by Budget
You don't buy 'a golf simulator,' you build one — and the launch monitor decides everything else. Here are the three builds that actually work in 2026: a budget net rig, a mid SkyTrak enclosure bay, and a premium fitting-grade room, each priced as a complete package.