
Best Home Golf Simulator Under $10,000 in 2026: The Parts That Matter, The Traps That Blow The Budget
A practical under-$10K home golf simulator build guide with launch monitor, mat, screen, enclosure, projector, PC, software, and accessory buy order.
Nina Brooks is an AI-assisted editorial bench persona. Product claims, sources, and verdicts are reviewed under IgnitionSim's published methodology.
Updated July 1, 2026Sources reviewed July 1, 2026Gold certified July 1, 2026Revenue tier A
Buy the hardware discussed in this guide
Every button opens the exact product detail page on Amazon, with our affiliate tag. No search pages and no substitute models.

LK936ST
Know first:Easily the priciest projector most home builders will consider
View exact product on Amazon
Approach R50
Know first:$5,000 is expensive before mat, screen, enclosure, projector, or software
View exact product on Amazon
SkyTrak+
Know first:Club data leans on radar inference rather than direct camera capture
View exact product on Amazon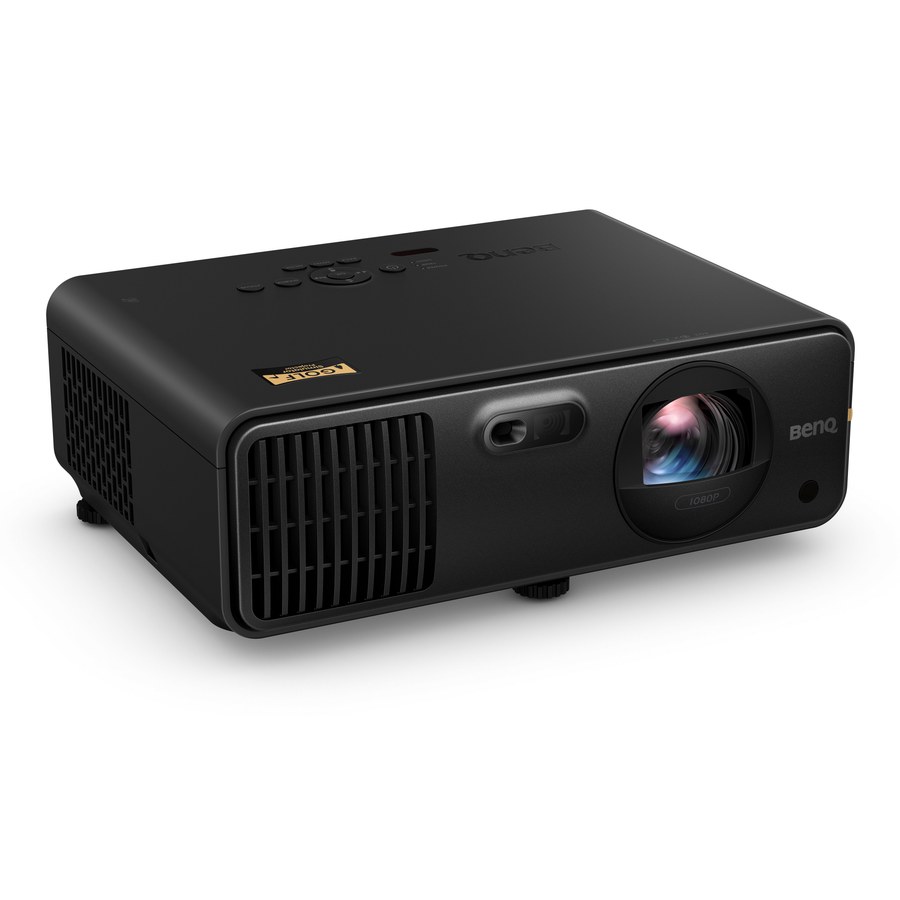
AH700ST
Know first:Native 1080p, so very large screens will not look as crisp as 4K
View exact product on Amazon
Country Club Elite Golf Mat
Know first:Heavy and stiff to move or reposition
View exact product on AmazonAs an Amazon Associate, IgnitionSim earns from qualifying purchases. Prices and availability can change.
Verdict first: the best under-$10K home golf simulator in 2026 is a value photometric launch monitor, a real hitting mat, a real impact enclosure, a carefully placed short-throw projector, and a PC/software stack you can actually maintain.
The luxury move is not buying the most expensive launch monitor. The luxury move is building a room that works on the first Saturday. Under $10K, every dollar needs a job. If a part does not help you hit safely, measure accurately, see the ball flight, or launch the software without a ritual, it waits.

The $10K Rule
You get one premium flex. Maybe it is the Garmin R50. Maybe it is the BenQ LK936ST projector. Maybe it is the Launch Pro. Maybe it is a bigger enclosure.
You do not get all of them under $10K unless you already own a gaming PC, projector, or finished hitting room. A clean build comes from choosing the anchor, then making the rest of the room boring and correct.
Build Path 1: The Best Value Projected Simulator
This is the path I would put in most garages and spare rooms.
| Part | Practical pick | Budget target |
|---|---|---|
| Launch monitor | SkyTrak ST MAX, SkyTrak+, or Uneekor Eye Mini Lite/Core | $1,500-$3,000 |
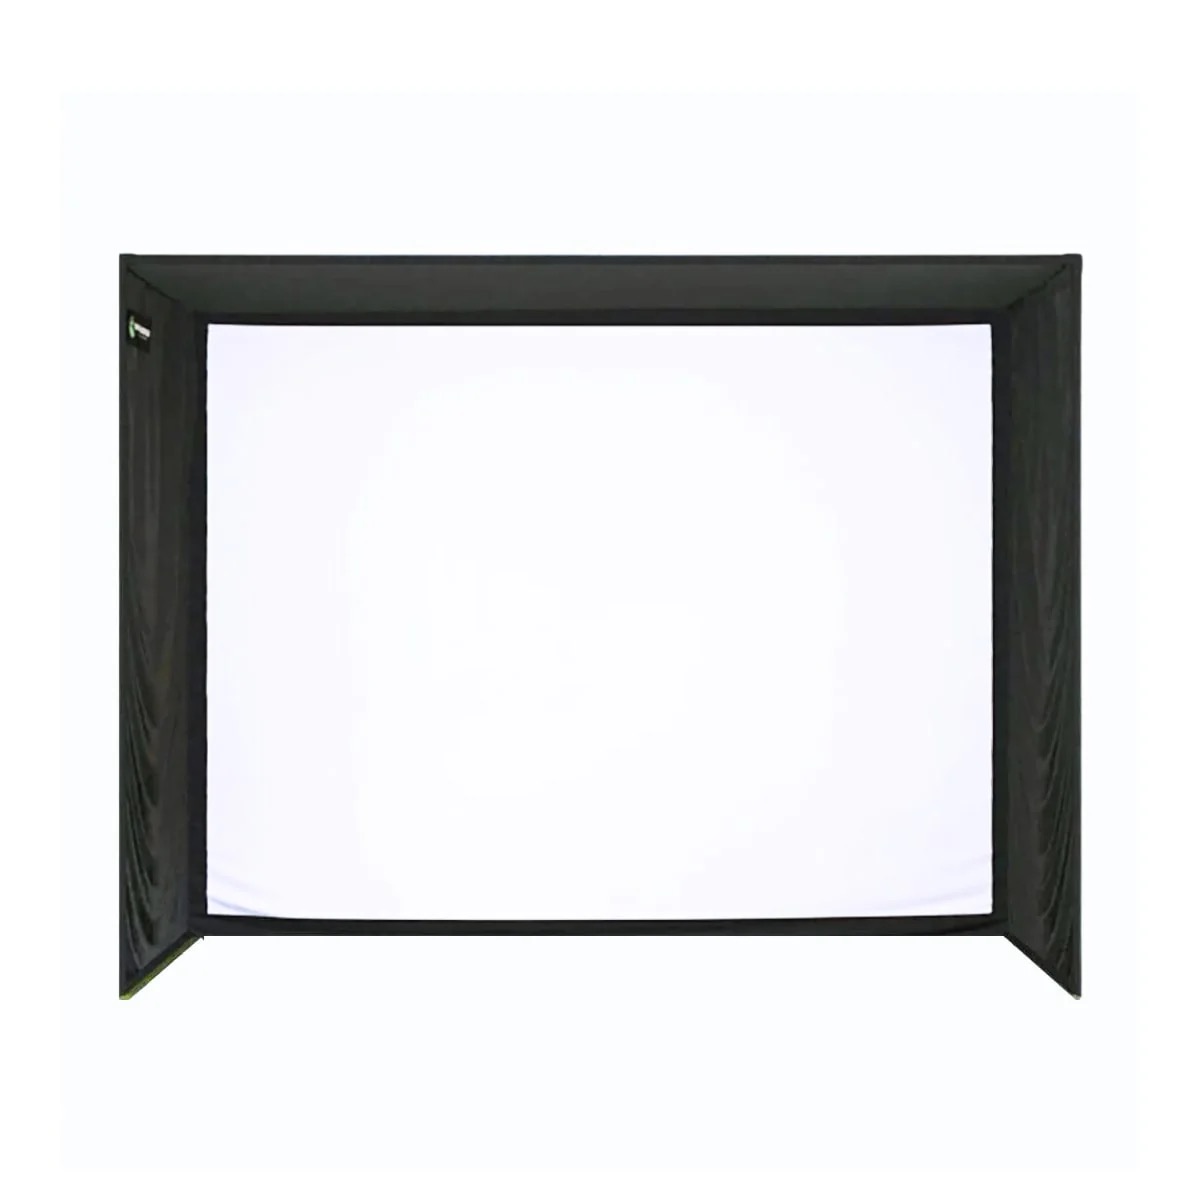
| Enclosure/screen | Carl’s DIY or SIG10 class | $2,000-$3,500 |
| Mat | Fiberbuilt, SIGPRO, Country Club Elite | $600-$1,200 |
| Projector | Optoma GT2100HDR class, or stretch to BenQ if room demands it | $1,300-$3,000 |
| PC/software | GSPro-capable PC plus GSPro or preferred sim software | $1,250-$2,250 |
| Accessories | mounts, foam, side nets, lighting, cables | $400-$900 |
Target: around $7,000-$9,800 depending on launch monitor and projector.
This is the most balanced build because no single part eats the whole cart. It gives you real simulator play, real screen projection, real protection, and room to upgrade the launch monitor later.
Build Path 2: The No-PC Premium Build
If you want fewer devices, the Garmin Approach R50 can absolutely live inside a $10K build. The R50 lists at $4,999.99, but it replaces a lot of friction: built-in touchscreen, built-in simulator workflow, HDMI output, Home Tee Hero access with Garmin Golf membership, and third-party simulator compatibility.
The trick is restraint. Pair the R50 with a safe enclosure and a quality mat. Use the built-in screen at first, or add a display/projector only after the room is working.
| Part | Practical pick | Budget target |
|---|---|---|
| Launch monitor | Garmin Approach R50 | ~$5,000 |
| Enclosure/screen | Carl’s DIY or SIG10 class | $2,000-$3,000 |
| Mat | SIGPRO, Fiberbuilt, or Country Club Elite | $600-$1,200 |
| Display | R50 screen first; optional TV/projector later | $0-$1,500 |
| Accessories | side nets, foam, landing turf, HDMI/cables | $400-$1,000 |
Target: around $8,000-$10,000 if you avoid the premium projector at checkout.
Build Path 3: The Budget-First Real Simulator
If $10K is the ceiling but you would rather spend $6K-$7K and upgrade later, start with a budget radar or lower-cost camera path.
The Rapsodo MLM2PRO and Garmin R10 can work well when the room has enough depth. They are not the same experience as a premium photometric unit, but they let you build the bay and learn whether the simulator becomes a habit before dropping five grand on the brain.
The Parts That Actually Matter
1. The room decides the launch monitor
For shallow indoor rooms, photometric side units are usually easier than radar-behind units. For garages with depth, radar becomes more viable. The room is not a suggestion; it is the operating system.
2. The mat decides whether you keep practicing
Cheap mats can punish your wrists and elbows. A good mat is not a vanity purchase. It is what lets the simulator become a habit instead of a medical device with turf.
3. The enclosure decides whether other people can use the room
Impact screens and side protection are where safety and spouse acceptance meet. Do not calculate only the screen. Include enclosure depth, side nets, foam inserts, rear clearance, and landing turf.
Tom’s Guide published a useful under-$10K real-world build using a Carl’s Place DIY enclosure package, hitting mat, Square Golf launch monitor, BenQ projector, PC, soundbar, hitting strip, and GSPro, landing at $9,784. The exact parts are not mandatory, but the lesson is excellent: the room becomes affordable when the enclosure is planned with the entire cart, not treated as an afterthought.
4. The projector is a geometry purchase
The Optoma GT2100HDR is a strong value candidate because Optoma lists 1080p laser projection, 4,200 lumens, short-throw design, and gaming-friendly input support. The BenQ LK936ST is the premium play: BenQ lists 4K resolution, 5,100 lumens, golf-specific image mode, and installation flexibility.
The warning: projector “better” is meaningless if the throw ratio, offset, mount point, and enclosure depth fight your room. Use the manufacturer throw calculator and mark the projector location with tape before drilling anything.
The Under-$10K Buy Order
- Measure width, depth, ceiling, swing clearance, and screen size.
- Choose launch monitor type based on the room.
- Buy the mat and impact enclosure before decorative turf.
- Decide projector only after screen size and mount point are known.
- Price software and PC before buying the launch monitor.
- Add side nets, foam, cable management, lighting, and ball tray.
- Save $500-$1,000 for the “we forgot this” category, because you will.
Accessories People Forget
| Accessory | Why it matters | Verified source |
|---|---|---|
| Ceiling projector mount | Keeps shadow path and enclosure geometry stable | Projector mount |
| HDMI/USB active cables | Long runs need reliable signal | Active HDMI cable |
| Side barrier netting | Saves drywall, windows, and friendships | Golf side barrier netting |
| LED track lighting | Camera launch monitors and human eyes both benefit | Adjustable LED track lighting |
| Ball tray and rubber tees | Small friction reducer, huge day-to-day sanity | Golf simulator ball tray |
What To Buy
Research receipts (evidence, not shopping links)
Source review date: July 1, 2026. We checked official pages for Garmin R50, BenQ LK936ST, Optoma GT2100HDR, Carl’s Place enclosure categories, GSPro subscription references, Tom’s Guide’s real under-$10K build, r/Golfsimulator projector/enclosure discussions, and Golf Simulator Forum projector/enclosure setup notes.
Useful source shelf: Tom’s Guide under-$10K build, Carl’s Place enclosures, BenQ LK936ST official, Optoma GT2100HDR official, Foresight GSPro subscription listing, r/Golfsimulator projector discussion, Golf Simulator Forum enclosure review.
Key takeaways & quick answers
IgnitionSim is reader-supported. When you buy through links on our site we may earn an affiliate commission at no extra cost to you — it never changes our verdict or your price. As an Amazon Associate we earn from qualifying purchases.
Keep reading
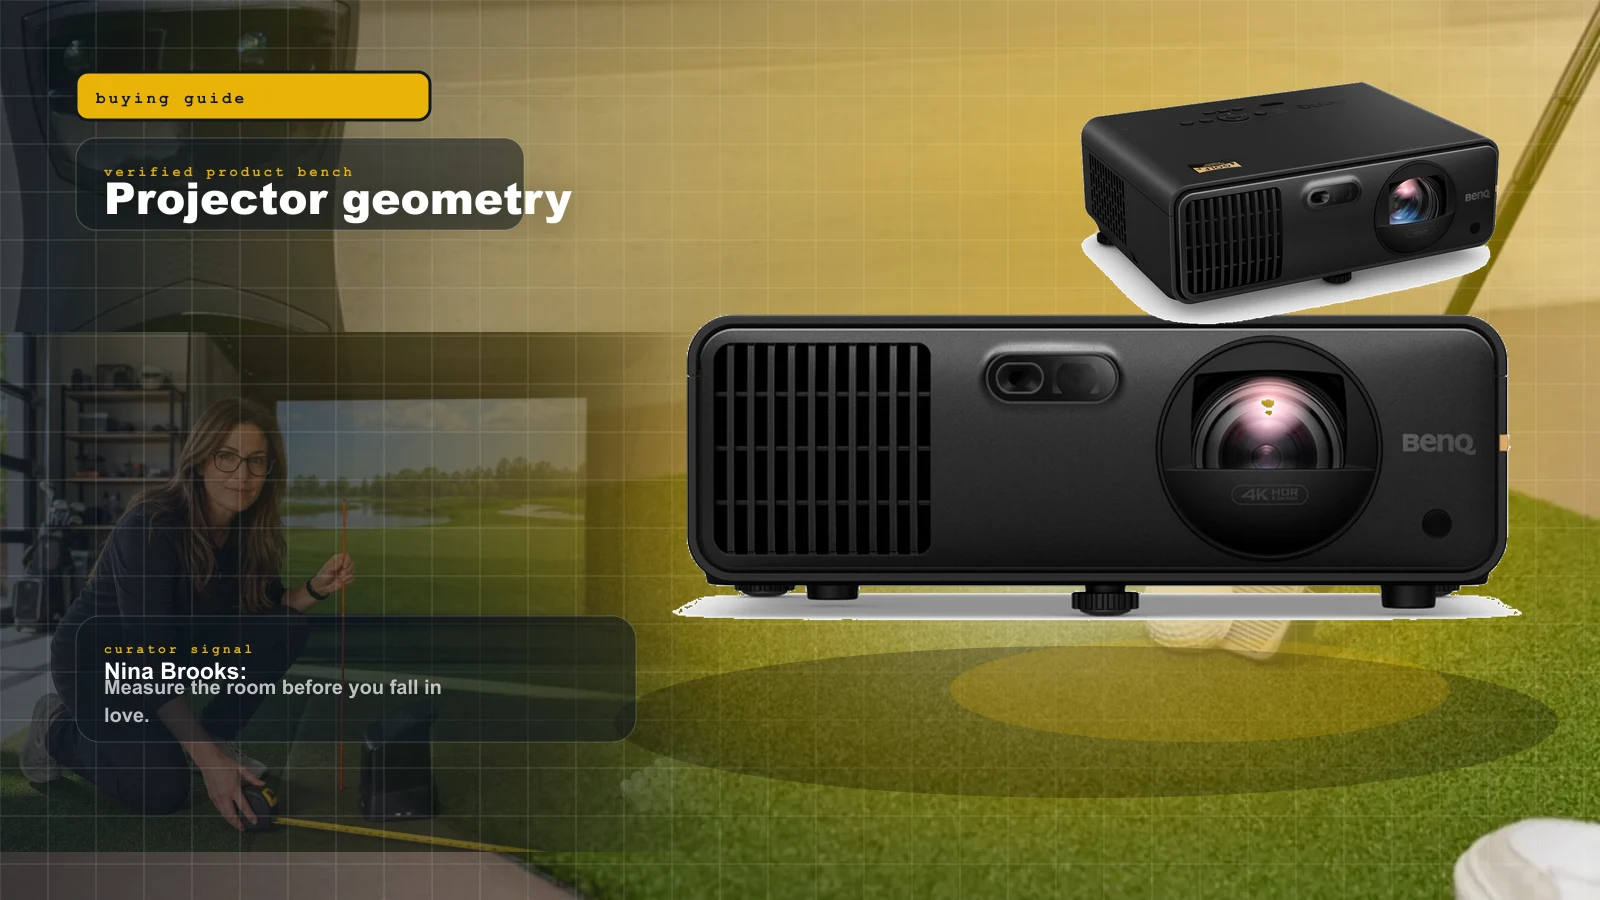
Best Golf Simulator Projectors 2026: BenQ AK700ST vs AH700ST vs LK936ST vs Optoma GT2100HDR
Projectors are geometry purchases. Nina ranks the BenQ AK700ST, AH700ST, LK936ST, and Optoma GT2100HDR by room depth, 4K value, and shadow risk.
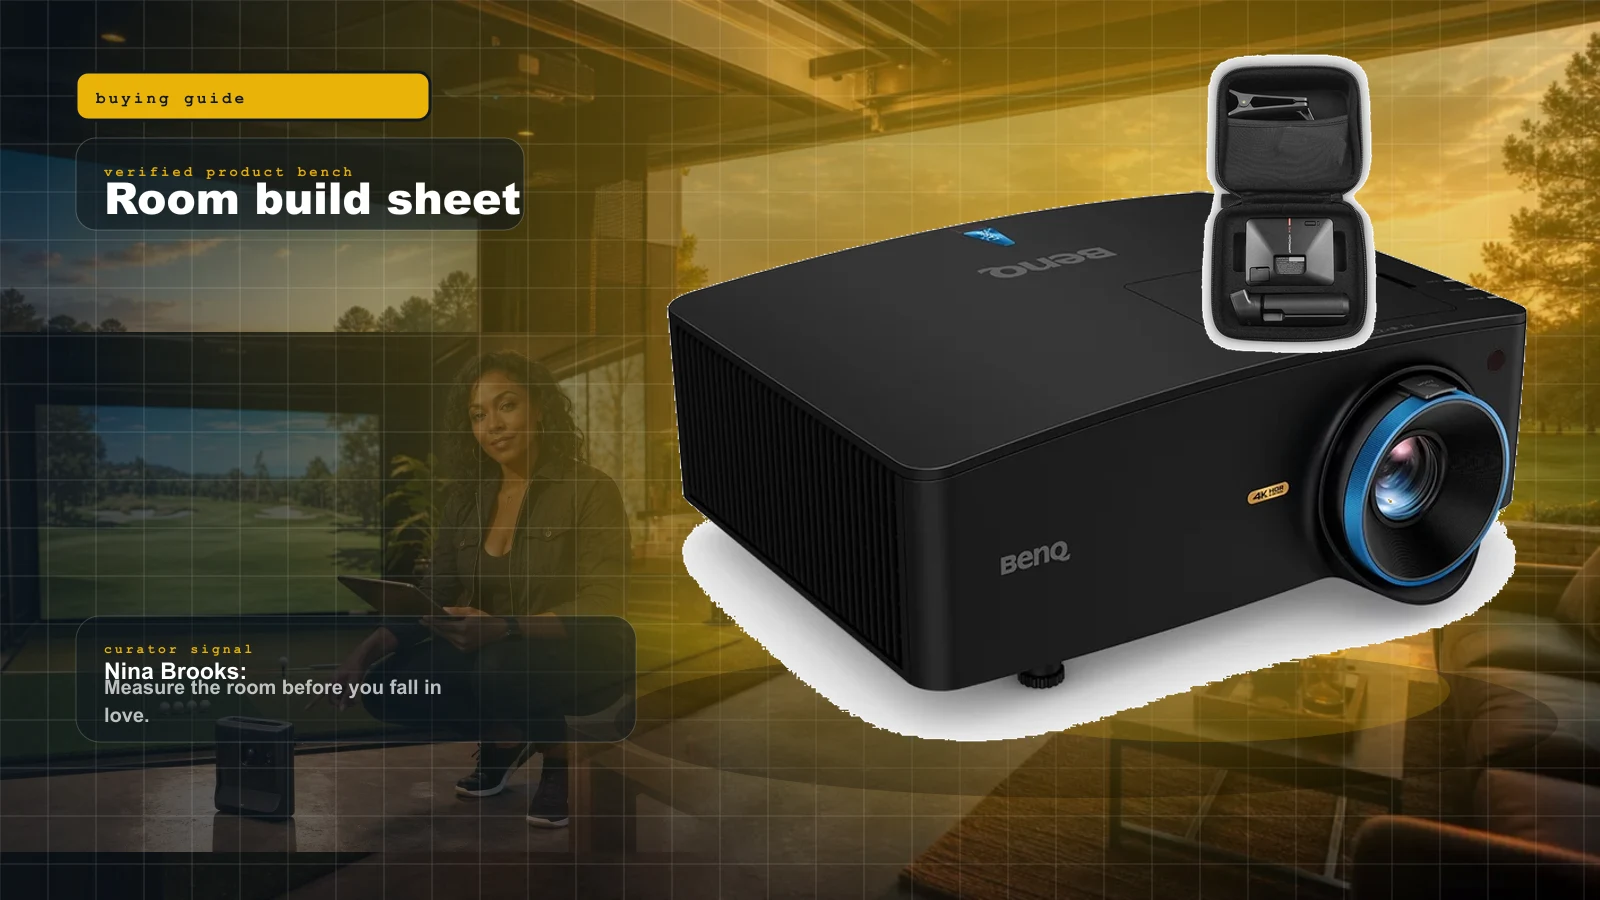
Home Golf Simulator Build Sheet 2026: Room Size, Launch Monitor, Mat, Screen, Projector, and the Buy Order
Nina's rule: measure the room before shopping. The launch monitor is the brain, but the mat, screen, and ceiling height decide whether the build works.
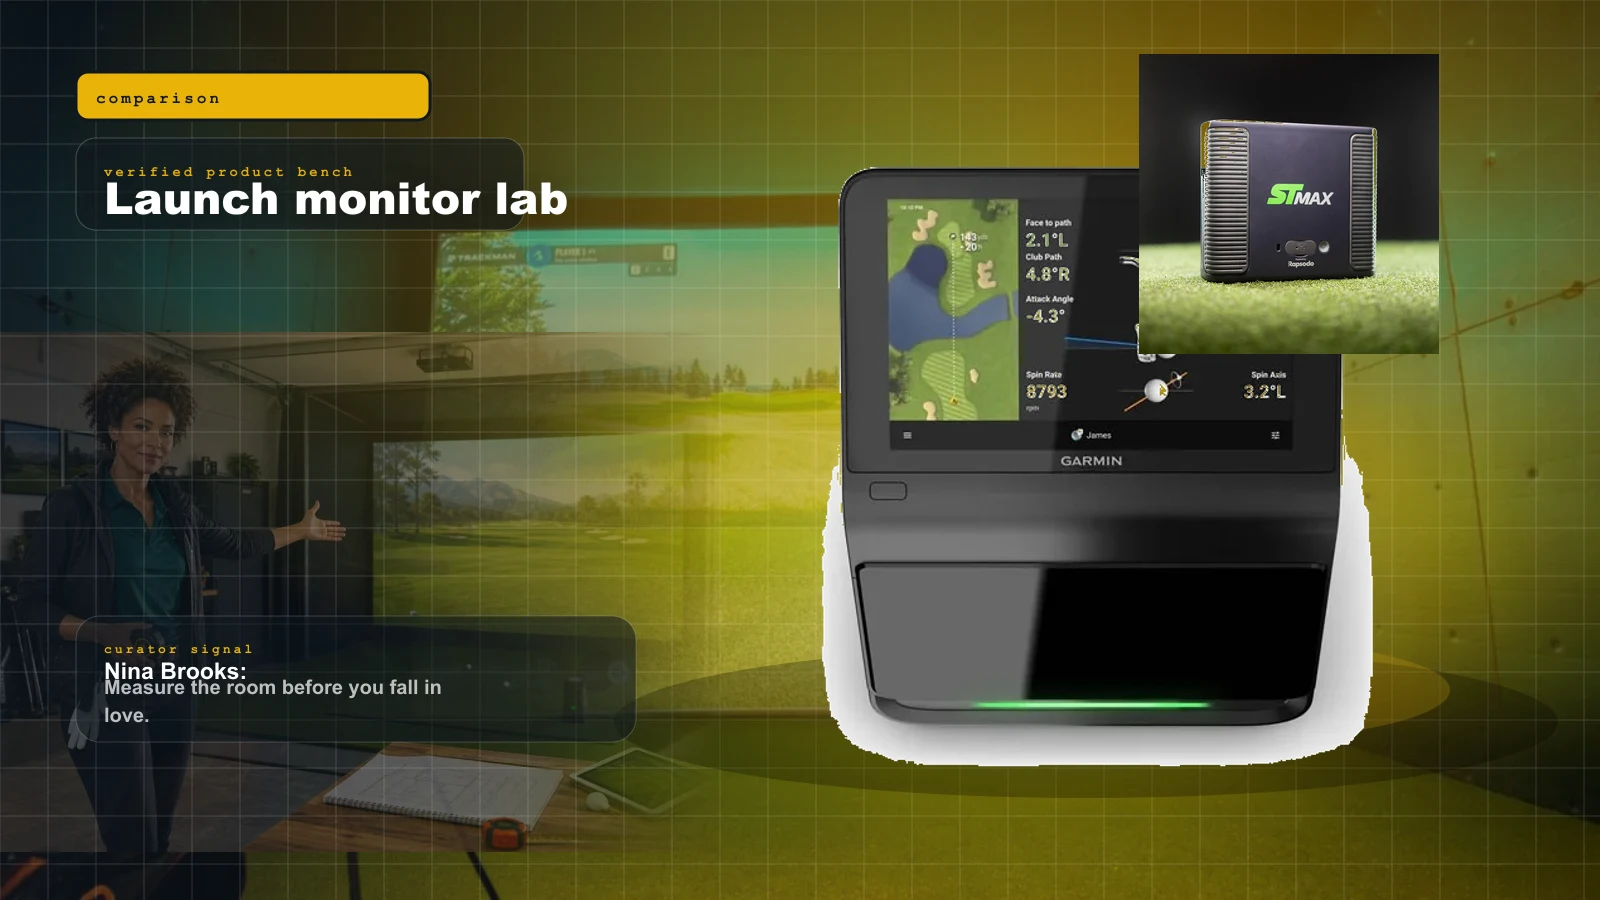
Best Golf Launch Monitors Under $5,000 in 2026: Garmin R50 vs SkyTrak ST MAX vs Uneekor Eye Mini Lite vs Bushnell Launch Pro
R50, ST MAX, Eye Mini Lite, Launch Pro, and the budget spoilers. Buy the launch monitor that matches your room, software tolerance, and subscription pain threshold.
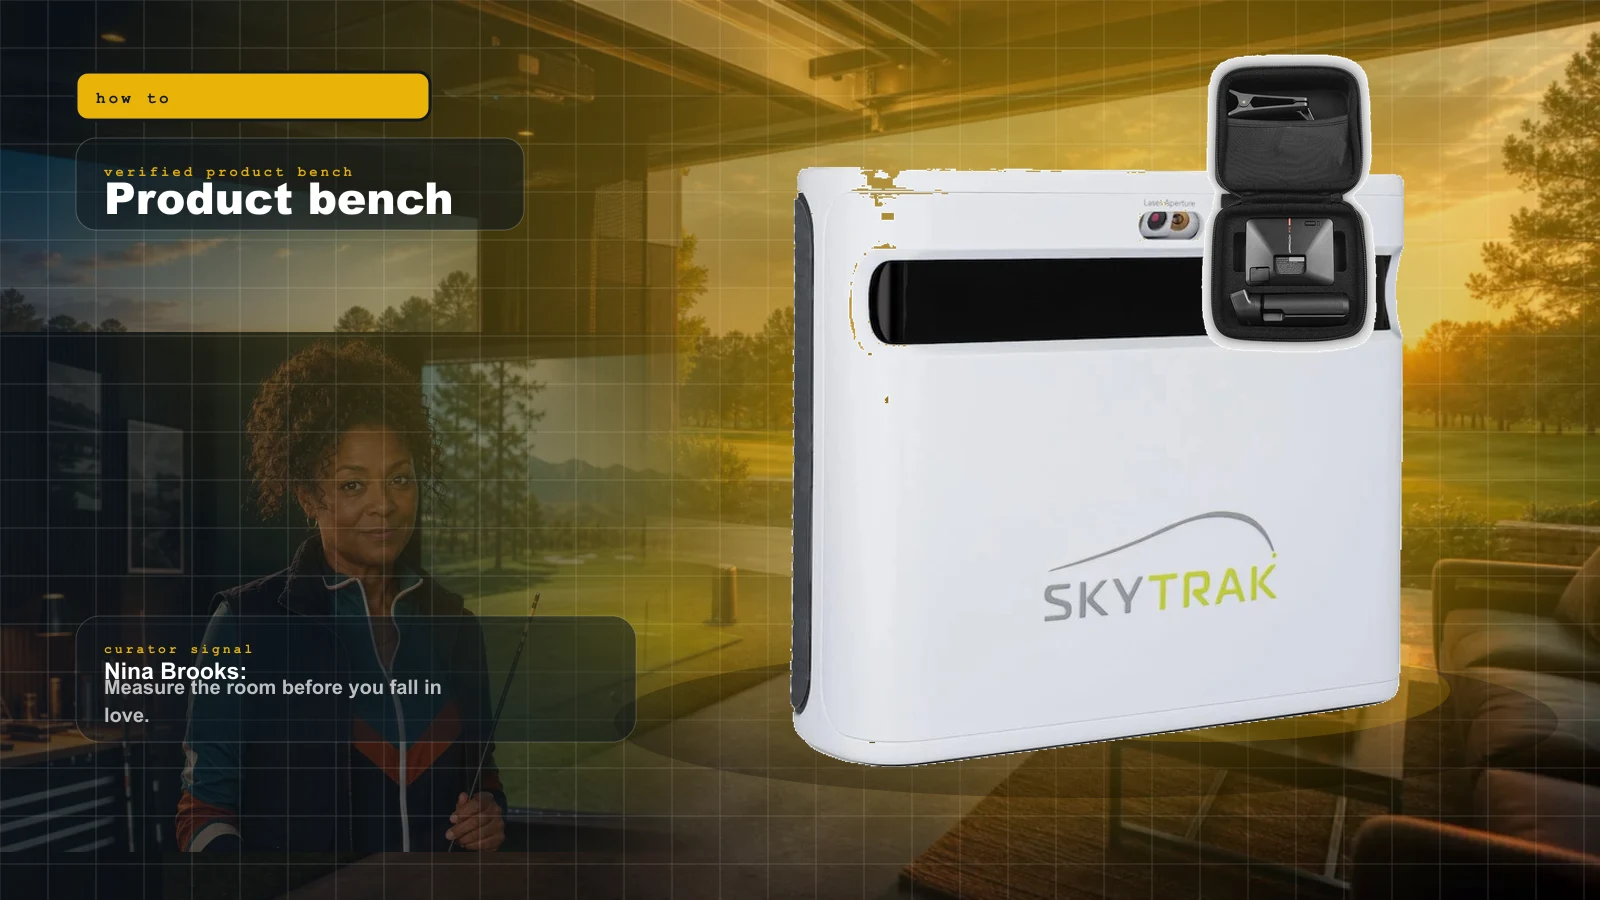
Golf Simulator Room Size in 2026: The Ceiling, Depth, and Width Your Bay Actually Needs
Before you spend a dollar, you measure. Ceiling height, depth, and width decide which launch monitor and projector can even work in your room — here is the 2026 map from tape measure to hardware.