
Garage Golf Simulator Build Guide 2026: Ceiling, Depth, Cold, and the Buy Order That Works
A measure-first garage golf simulator build guide for 2026: real ceiling and depth numbers, the cold-garage traps, a component-by-component budget table, and the order to buy in.
Nina Brooks is an AI-assisted editorial bench persona. Product claims, sources, and verdicts are reviewed under IgnitionSim's published methodology.
Updated July 2, 2026Sources reviewed July 2, 2026Gold certified July 2, 2026Revenue tier A
Buy the hardware discussed in this guide
Every button opens the exact product detail page on Amazon, with our affiliate tag. No search pages and no substitute models.


Country Club Elite Golf Mat
Know first:Heavy and stiff to move or reposition
View exact product on Amazon
Approach R10
Know first:Radar needs depth behind the player, so it struggles in shallow rooms
View exact product on Amazon
SkyTrak+
Know first:Club data leans on radar inference rather than direct camera capture
View exact product on AmazonAs an Amazon Associate, IgnitionSim earns from qualifying purchases. Prices and availability can change.
Verdict first: the best garage golf simulator in 2026 is a measure-first build — you confirm the ceiling to the lowest obstruction, let the room’s depth pick the sensor, spend your safety budget on the screen, your comfort budget on the mat, and solve the cold before you solve the software. Do it in that order and a $3,000-to-$5,000 two-car bay feels like a room you want to live in.
The garage is where most home simulators are born and the least forgiving room in the house to build one in. You inherit a concrete slab that slopes toward the door for drainage, a ceiling interrupted by an opener rail, and walls that were never meant to take a mishit 7-iron. None of that is a dealbreaker. But it means the order you do things in matters more than the gear you buy — the single most common regret on r/Golfsimulator is buying the launch monitor first and discovering the room second.
Step 1: Measure Before You Spend a Dollar
Reverse the usual instinct. Your room dimensions decide which sensing technology even works, and that is the room size conversation you should have before you check out of any cart. Three numbers govern a garage.
| Dimension | Hard minimum | Comfortable | Ideal |
|---|---|---|---|
| Ceiling height | 8.5 ft | 9 ft | 10 ft |
| Width (side to side) | 10 ft | 12 ft | 14–16 ft |
| Depth (toward screen) | 12 ft | 15 ft | 16+ ft |
Measure ceiling height to the lowest obstruction, not the drywall. Garage door tracks, the opener motor, and exposed joists routinely eat 6 to 10 inches. If your raw ceiling is 9 feet but the door track hangs at 8 feet 4 inches over the hitting zone, you have an 8-foot-4 room — and at that height most players are limited to wedges and short irons. The fix is often a high-lift or side-mount garage door conversion, which relocates the track up the wall or to the side and can hand you back close to a foot of swing room. If the ceiling simply cannot be fixed, the whole build shifts strategy — see our low-ceiling simulator guide before you buy an overhead unit that can’t fit.
Tape your actual driver to a broomstick, stand where you'll hit, and make a full, slow-motion swing — reaching the very top of the backswing where the clubhead is highest behind you. If it touches anything, you have your answer before any money changes hands. Do this at the exact hitting spot, because the opener rail is usually lowest right over the tee.
Step 2: Let the Room’s Depth Pick the Sensor
Garages tend to be deep but ceiling-limited, and that shape steers the technology choice more than any spec sheet does.
Radar units like the Garmin Approach R10 ($600) read the ball from behind the hitter, so they need depth. Garmin’s own placement guidance puts the unit 6 to 8 feet behind the ball with a clear ball-flight path, and recommends roughly 15 feet of total room length and about 9 feet of ceiling for indoor use. A deep two-car garage is friendly to that; a shallow one-car bay is not. Photometric units like the SkyTrak+ ($2,995) sit beside the ball and tolerate tighter, shallower rooms — they trade depth for a lighting-consistency requirement. Overhead camera units demand 9 to 10 feet of clearance for the downward throw and are the wrong tool for a low garage, full stop.
If you are starting at the affordable end, our breakdown of launch monitors under $1,000 covers the R10, Rapsodo MLM2PRO, and Square Golf trade-offs in detail. Spend here in proportion to how seriously you’ll use the data — not because a forum thread told you to.
Step 3: The Enclosure and Screen Are Your Safety System
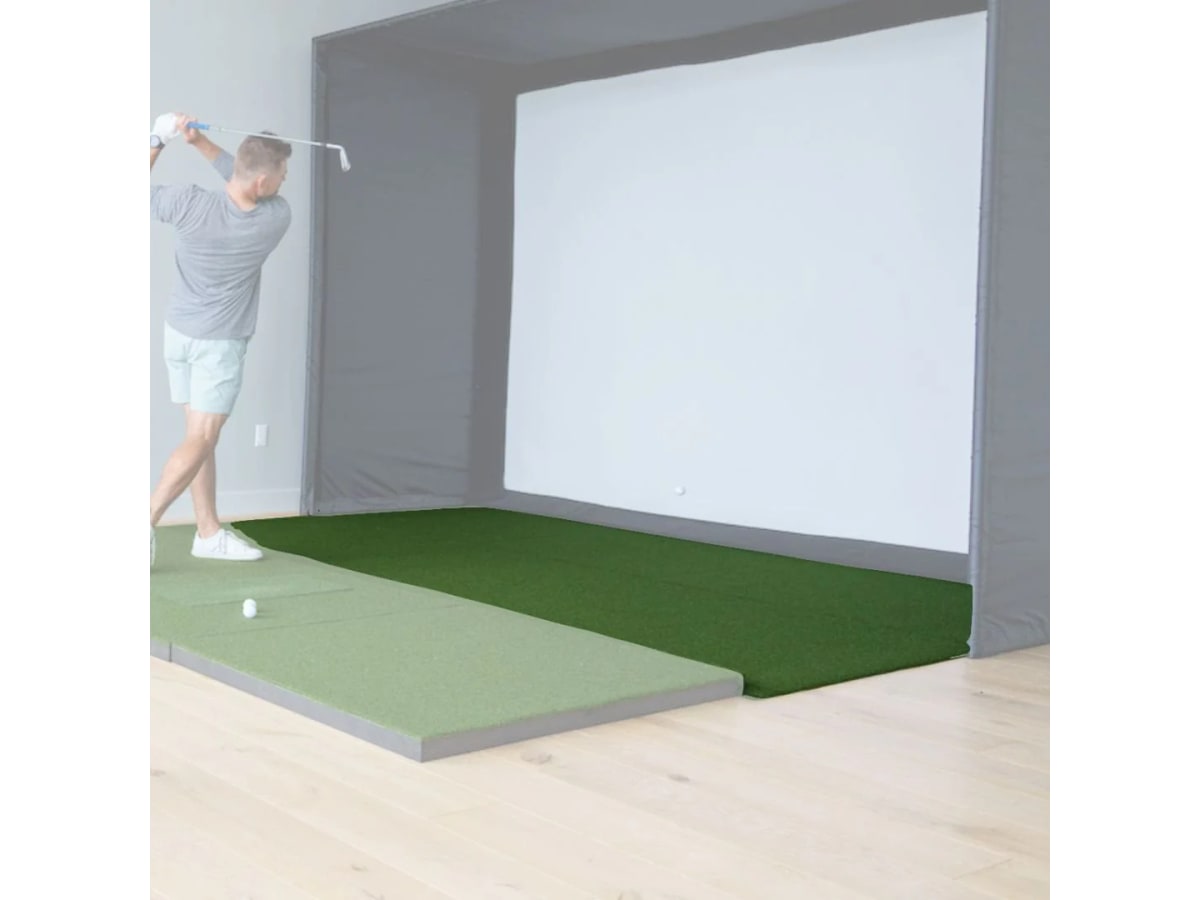
This is where garage builds get under-budgeted. The impact screen is not a movie screen; it is the thing standing between a 150-mph ball strike and your drywall. A bare net is fine for a hit-into-the-dark practice bay, but a real bay wants a tensioned screen inside a frame, with releasable zip ties and a weighted bottom cable to kill bounceback. Our impact screen and enclosure guide walks through the material tiers and the bounceback physics; the short version is that a premium tightly-woven screen costs more and bounces less, and the tensioning matters as much as the fabric.
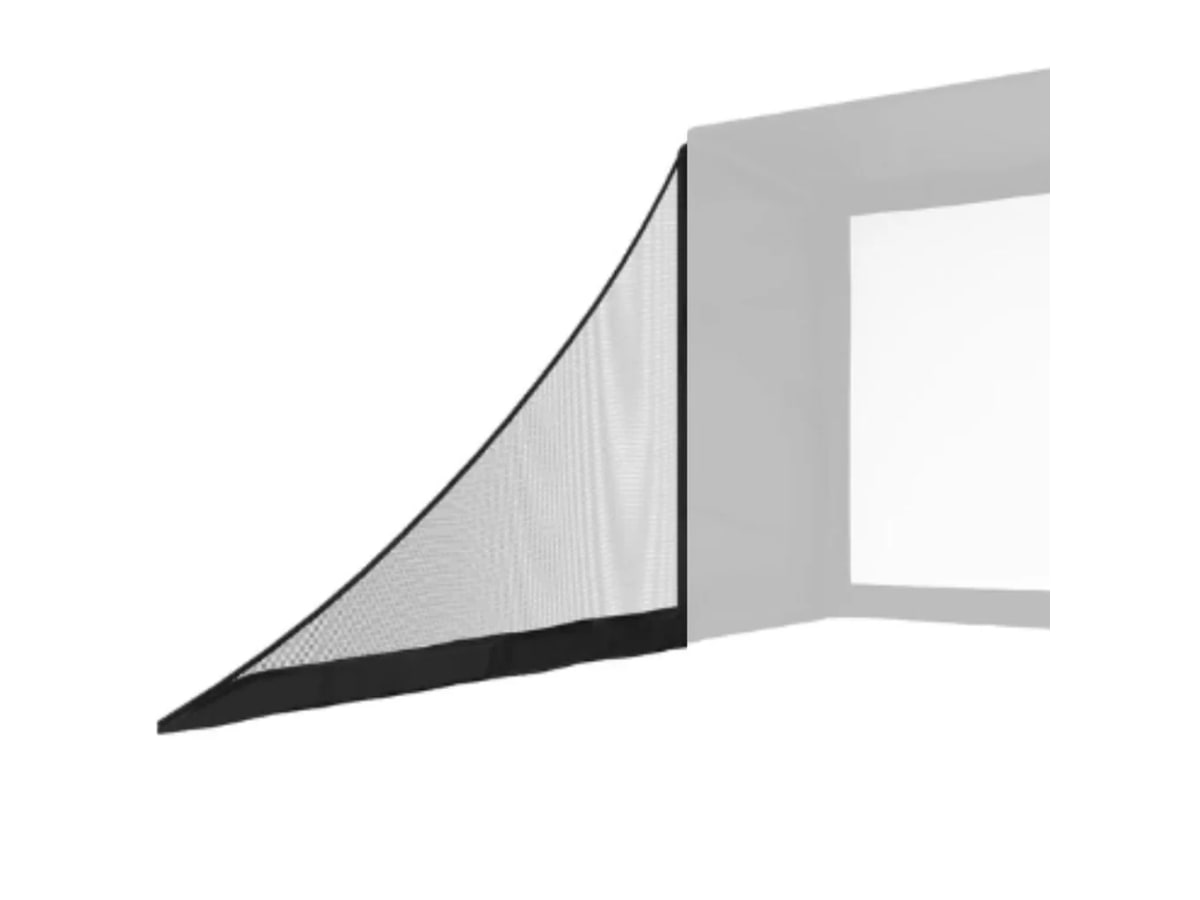
Budget $1,000 to $3,000 for a DIY enclosure kit plus screen at the garage tier. Build the frame 12 to 18 inches off the back wall so the screen has room to absorb the strike and the ball never reaches concrete. And add side barrier nets: in a garage, a shank finds a window, a water heater, or the neighbor’s car far more easily than in a finished basement.
Step 4: Projector and Mat — the Comfort Layer
A short-throw projector earns its keep in a garage because it mounts close to the screen and keeps your body out of the beam, so you stop casting a shadow on your own shot. A tight throw ratio at 3,000-plus lumens handles ambient garage light. The tightest mainstream option, the Optoma GT2100HDR (~$1,199), fills a 12-foot screen from under 6 feet of throw — which is exactly what lets it clear the swing arc in a shallow garage where a longer-throw unit can’t fit. Budget $700 to $1,500, and use the manufacturer’s throw calculator, marking the mount point with tape before you drill.
The mat is the most injury-relevant cheap part of the build. A premium turf platform that absorbs impact and accepts a real tee protects your wrists and elbows across thousands of swings; a $100 doormat-grade mat transmits shock into your joints and corrupts your contact data. Budget $300 to $700 and treat it as non-negotiable.
The Garage Parts List and Budget Targets
Here is the whole build as a shopping table, with realistic 2026 garage-tier targets. These are the lines that turn a bare bay into a playable one; add roughly 10–15% on top for the cables, mounts, and “we forgot this” items every build discovers.
| Component | Practical garage pick | Budget target |
|---|---|---|
| Launch monitor | Garmin R10 (deep bay) or SkyTrak+ (shallow bay) | $600–$3,000 |
| Enclosure + impact screen | Carl’s Place DIY kit + screen tier | $1,000–$3,000 |
| Short-throw projector | Optoma GT2100HDR class | $700–$1,500 |
| Hitting mat | Country Club Elite or better | $300–$700 |
| Side barrier netting | SIGPRO pair (10’ x 8’) | $200–$400 |
| Landing-pad turf | Floor protection + putting strip | $200–$600 |
| PC / software | GSPro-capable Windows PC + GSPro | $1,000–$1,750 |
| Leveling + climate | Hitting platform, heater/insulation | $150–$600 |
| All-in | Functional two-car garage bay | $3,000–$8,000 |
The pattern most first-timers miss: the launch monitor is a smaller share of a good build than they expect. The room — screen, projector, mat, netting, and the cold fix — carries most of the cart. For the full tier-by-tier cost breakdown across budget, mid, and premium builds, see what a home golf simulator actually costs.
The Garage-Specific Gotchas
A garage punishes four things a finished room never will. Handle them here, or discover them the hard way.
- The cold. The Garmin R10 is rated to operate down to 14°F, but lithium batteries drain fast near freezing, impact screens stiffen and rebound harder in the cold, and — the sneaky one — moving a projector or PC between a warm house and a cold garage causes internal condensation that can kill electronics. If you have real winters, a low-wattage thermostat-set heater or genuine climate control is the difference between year-round play and a three-season bay.
- The slab slopes. Every garage floor is poured with a drainage pitch — commonly about 1 inch of drop per 8 feet toward the door. That tilt curves your putts and skews your stance, so your practice plane no longer matches what the launch monitor measures. A simple leveled plywood-and-2x4 hitting platform under the mat fixes it and keeps your data honest.
- Parking duty. If the car still needs the bay, a freestanding frame on casters or a hinged wall-mounted platform lets you stow everything — at the cost of re-leveling the mat and re-aiming the projector each session. Plan the stow method before you buy the frame.
- Lighting. Bare garage bulbs swing and cast shadows; a west-facing window floods the bay at sunset. Photometric camera units especially hate inconsistent light, so plan diffuse, fixed LED lighting into the build.
The garage-build regret order is remarkably consistent across r/Golfsimulator: nobody wishes they'd bought a fancier launch monitor first. They wish they'd upgraded the screen (bounceback), fixed the sloped floor with a real platform, and priced the winter heating before committing — not after the first January session in a 38-degree bay. A frozen, dim, tilted two-car garage is the most expensive way to not play golf.
Power, PC, and Software
GSPro and E6 want a Windows machine. Whether that has to be a full gaming rig is a real question we answer in do you need a gaming PC for a golf simulator — the short answer for a 1080p garage projector is that an RTX 4060/16GB-class build (roughly $1,000–$1,500) is plenty, and GSPro runs about $250/year on top. One garage-specific note: run a proper circuit. A projector, a PC, a launch monitor, and a space heater on one tired garage outlet is how you trip a breaker mid-round every winter.
Who Should Skip the Garage Build
If your garage ceiling tops out under 8.5 feet to the lowest obstruction and a high-lift door conversion is off the table, a full-swing bay will frustrate you — you’ll be limited to wedges and short irons. Consider a dedicated short-game and putting setup, or relocate to a basement with the height. And if you cannot heat the space and you live somewhere with hard winters, price the climate control honestly before committing. Both problems are cheaper to solve on a spreadsheet than after the gear arrives.
The Buy Order
- Measure width, depth, and ceiling to the lowest obstruction — then confirm the swing clearance with the broomstick test.
- Let the room’s depth pick the sensor type: radar for a deep bay, photometric for a shallow one.
- Buy the mat and the impact enclosure (with side nets) before any decorative turf.
- Decide the projector only after screen size and mount point are known; verify throw with the calculator.
- Level the floor with a hitting platform and solve the cold — heater or insulation — before the first session.
- Price the PC and GSPro subscription before you fall in love with a launch-monitor spec sheet.
- Reserve 10–15% for the cables, mounts, and “we forgot this” category, because you will.
What to Buy
The Verdict
A garage is a great home for a simulator precisely because it is usually deep and you do not mind a ball strike near concrete the way you would in a finished basement. Measure to the lowest obstruction first, let the room’s depth pick the sensor, spend your safety budget on the screen and side nets, your comfort budget on the mat, and solve the slope and the cold before the software. Do it in that order and a $3,000-to-$5,000 build will feel like a room you want to live in — not a January regret with turf.
Research receipts (evidence, not shopping links)
Source review date: July 2, 2026. We checked official and retailer pages for the Garmin Approach R10 (placement, room-length, and operating-temperature specs), the SkyTrak+, the Optoma GT2100HDR, Carl’s Place DIY enclosures, and SIGPRO netting, plus 2026 garage-ceiling-height guides, garage-floor-slope and leveling threads, and cold-garage climate-control discussions on r/Golfsimulator and the Golf Simulator Forum.
Useful source shelf: Garmin Approach R10 owner’s manual — specifications, Garmin — indoor/outdoor R10 placement tips, PlayBetter — garage golf simulator ceiling height, My Garage Golf — proper ceiling height for golf simulators, Golf Simulator Forum — level platform for a sloped garage floor, Golf Simulator Forum — winter garage users, projector/PC in and out, Optoma GT2100HDR official.
Key takeaways & quick answers
IgnitionSim is reader-supported. When you buy through links on our site we may earn an affiliate commission at no extra cost to you — it never changes our verdict or your price. As an Amazon Associate we earn from qualifying purchases.
Keep reading
What a Home Golf Simulator Actually Costs in 2026: Real All-In Budgets by Tier
Most people price the launch monitor and forget the room. Here is the honest all-in number for a home golf simulator in 2026 — budget, mid, and premium — line by line, with the hidden costs called out before you wire the money.
Golf Simulator Room Size in 2026: The Ceiling, Depth, and Width Your Bay Actually Needs
Before you spend a dollar, you measure. Ceiling height, depth, and width decide which launch monitor and projector can even work in your room — here is the 2026 map from tape measure to hardware.
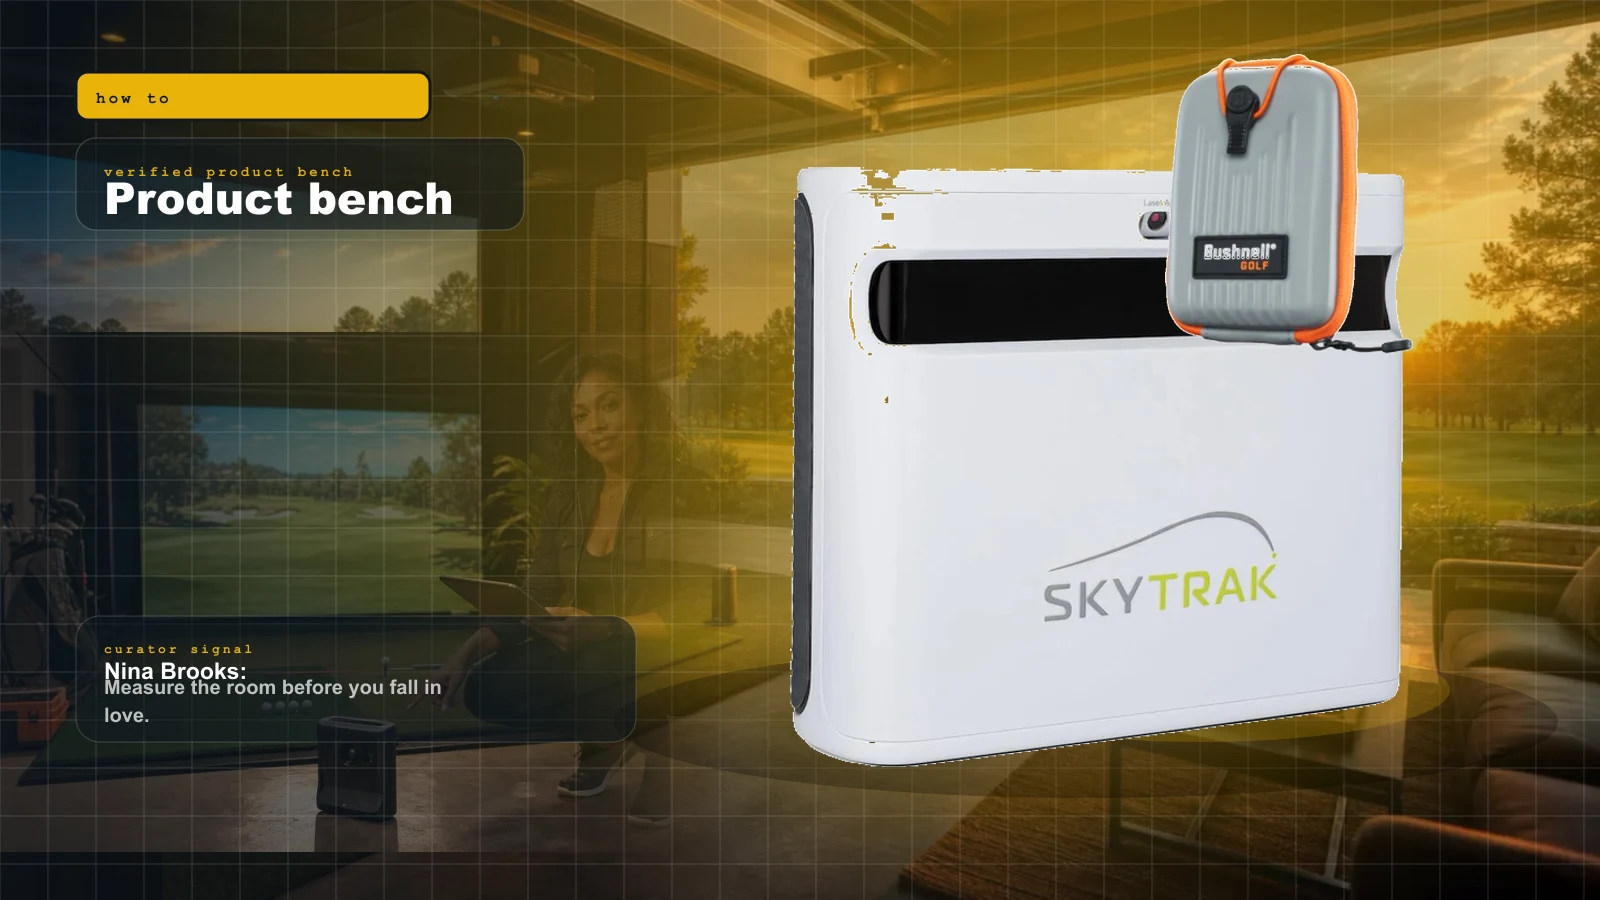
Low-Ceiling Golf Simulator: The 8.5-Foot Basement Survival Guide for 2026
An 8.5-foot basement is the most common real-world golf-sim room and the one the spec sheets tell you can't work. It can — if you choose a side-mount photometric launch monitor, a short-throw projector, and accept a couple of honest swing compromises.
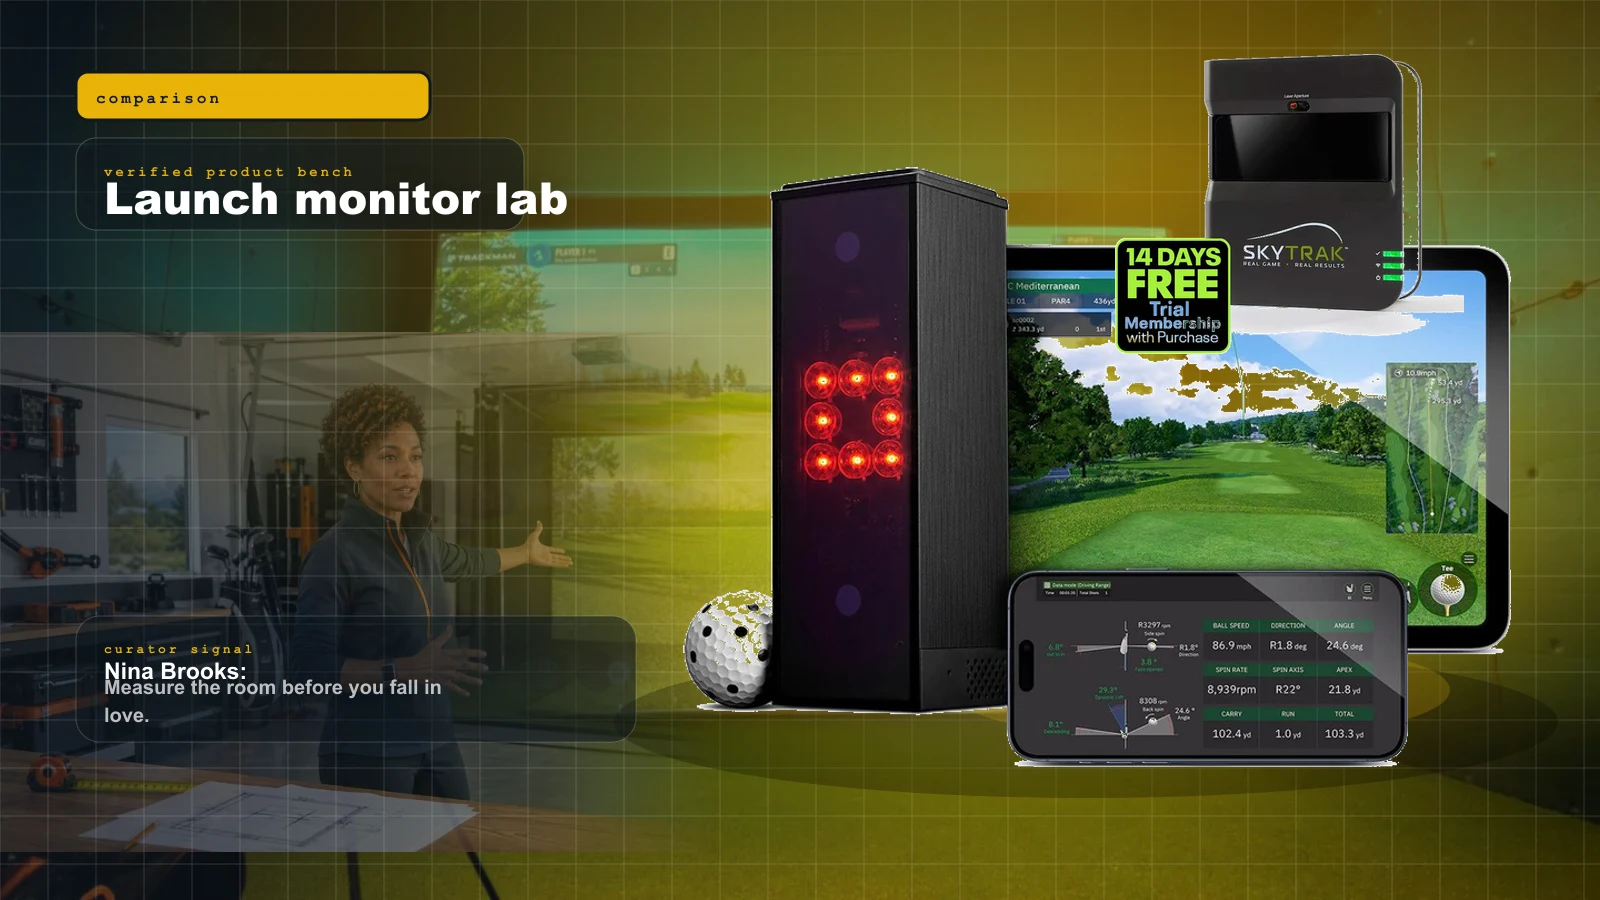
Best Golf Launch Monitors Under $1,000 in 2026: The Honest Sub-$1K Field
Under a thousand dollars in 2026 you can get genuine launch data and real simulator play — but the honest field is smaller than the marketing suggests. Three units own it, and the right pick depends entirely on your room.