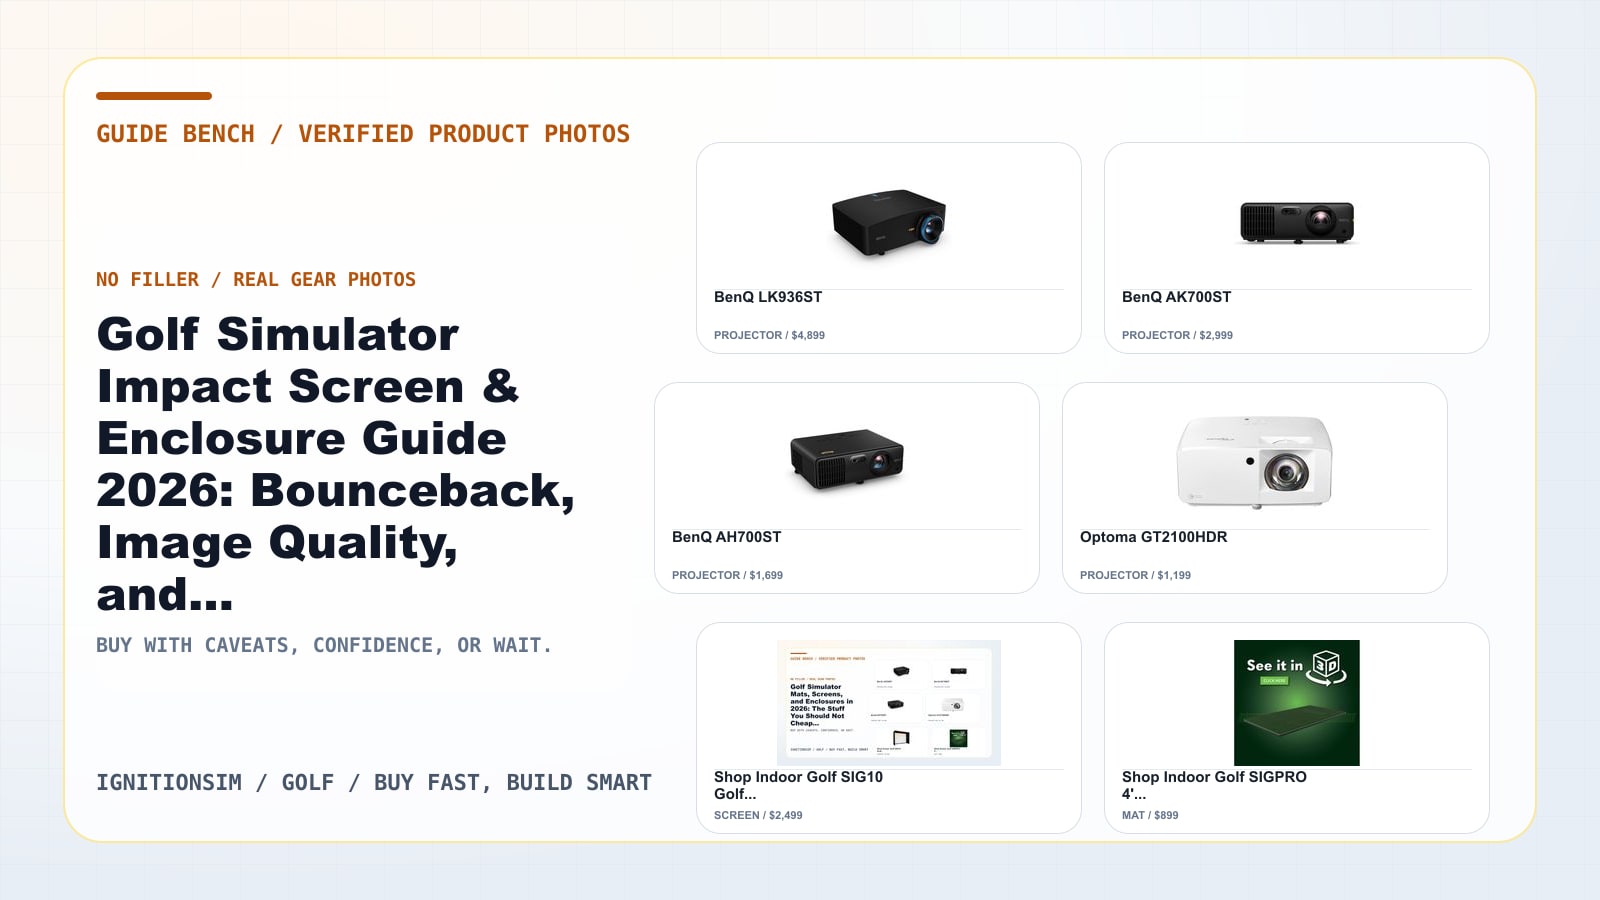
Golf Simulator Impact Screen & Enclosure Guide 2026: DIY vs Premium, Bounceback Safety, and the Image-Quality Buy
How to choose a golf simulator impact screen and enclosure in 2026: DIY Carl's Place vs premium SIG10, SIGPRO Premium screen material, bounceback safety, tensioning, side protection, and sizing against your projector.
Updated July 2, 2026Sources reviewed July 2, 2026Gold certified July 2, 2026Revenue tier B
Verdict first: for most home builders in 2026 the right answer is a Carl’s Place DIY enclosure with a mid-premium screen, hung with give and an air gap; step up to a premium all-in-one like the SIG10 only when you have a dedicated ~11-foot-wide room and want the frame, padding, and zero-border screen fill engineered for you. Buy the SIGPRO Premium screen specifically when image quality is the priority.
The impact screen is the one component in your bay that is also a piece of safety equipment. It is the thing standing between a driver-struck golf ball traveling 150-plus mph and your face, the drywall behind it, and the projector in front of it. It is also the surface your projected image lands on, so it doubles as the most-watched square footage in the room. Buyers tend to treat it as an afterthought — frame’s just a frame, screen’s just a screen — and that’s exactly how people end up with a ball back in their shins and a fairway that looks like it’s printed on a bedsheet.
Let me break down the DIY-vs-premium call, what actually determines whether a screen is safe, sharp, and durable, and how to size the whole thing against your projector.
DIY vs Premium: The Enclosure Decision in One Table
Two roads lead to an enclosed bay. Neither is wrong; they solve different problems.
| DIY enclosure kit (Carl’s Place) | Premium all-in-one (SIG10 class) | |
|---|---|---|
| What you get | Impact screen + nylon enclosure + hardware; you supply frame or add the pipe kit | Complete bay: frame, side/ceiling padding, surround, and a premium screen |
| Starting cost | Kit commonly ~$750 on sale up to ~$1,000+ regular, before screen tier | ~$2,000 for the enclosure with the SIGPRO Premium screen included |
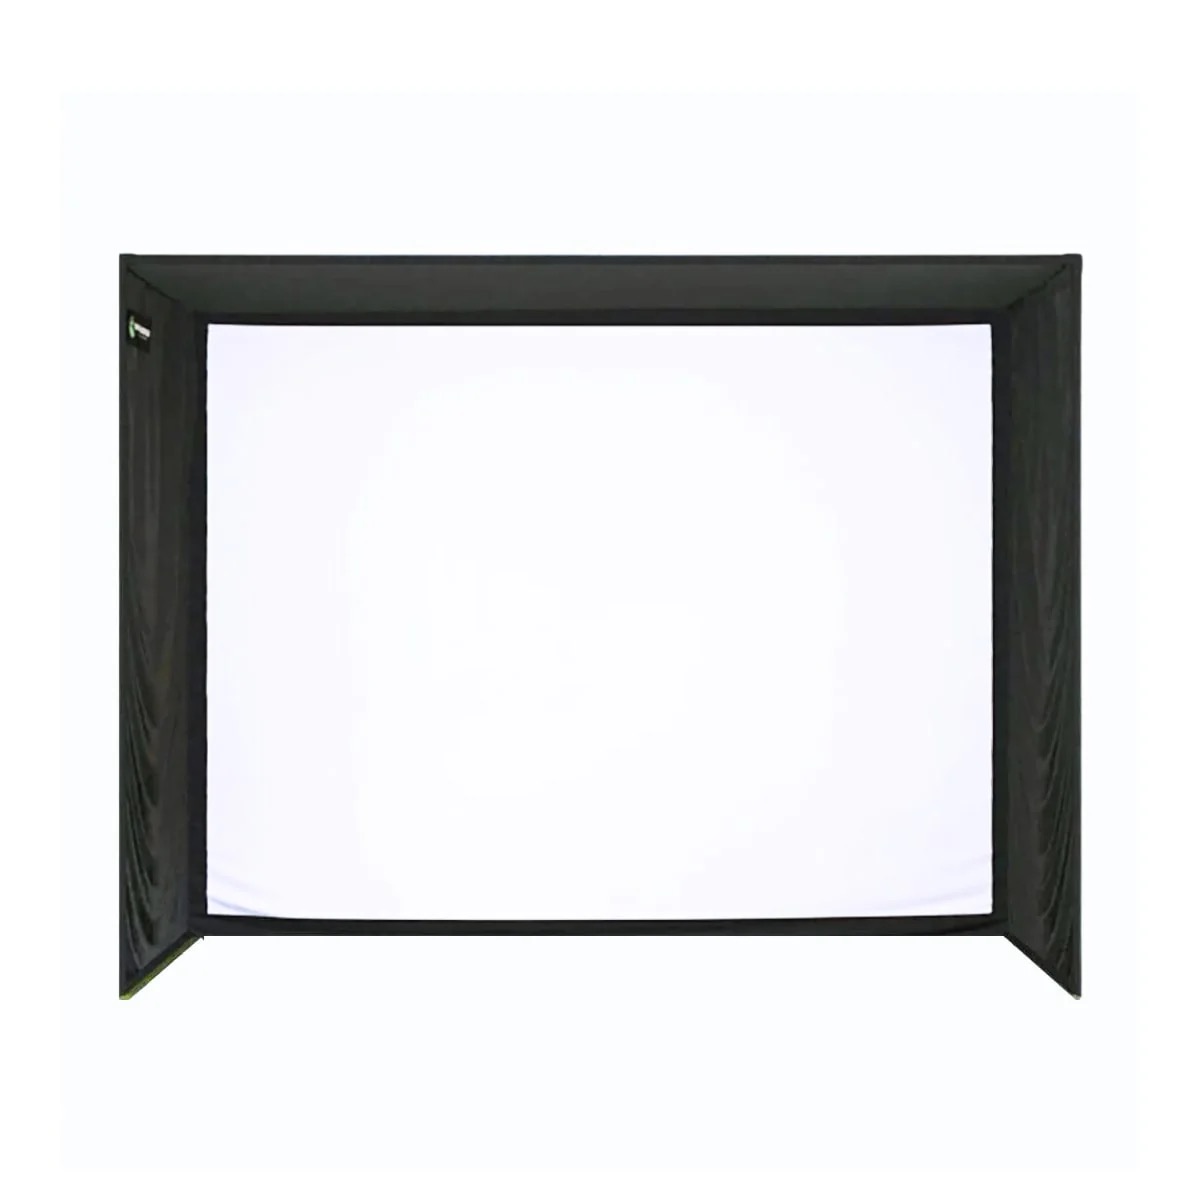
| Screen fill | Depends on how well you size and hang it | Engineered to fill 100% of the screen with zero white border |
| Room fit | Flexible — size to an odd room | Fixed ~10’10” W x 8’4” H x 5’ D 4:3 footprint |
| Assembly | DIY build; frame math is on you | Two people, under an hour, no power tools |
| Bounceback control | Releasable zip ties + weighted bottom cable + no-border bottom | Same principles, plus a frame rated to 250 mph impacts |
| Best for | Tight budgets, odd rooms, spending on the sensor | Dedicated rooms wanting turnkey, engineered peace of mind |
Prices move with promos and screen tier, so check current pricing before you commit — Carl’s runs frequent sales and the SIG10 has appeared between roughly $1,999 and $2,499 depending on promo and screen upgrade. The rule holds regardless of the exact number: DIY buys flexibility and savings; premium buys out the ways a build goes wrong.
You can slot either option into a full budget in the under-$10K build guide, where the enclosure is planned with the whole cart instead of as an afterthought.
Bounceback Is Mostly an Installation Problem
Here’s the counterintuitive truth from independent testing and a thousand forum build logs: most dangerous bounceback comes from how the screen is hung, not from the screen itself. A properly installed premium screen returns a driver shot only 1 to 3 feet toward the golfer — a non-event at normal hitting distance.
The mistakes that cause real rebound:
- Pulling the screen drum-tight. A screen needs give. Tension it so it’s flat and wrinkle-free but still flexes on impact — that flex is what absorbs the ball’s energy. A trampoline-tight screen launches the ball straight back.
- Hanging it flat against a hard wall. The screen needs an air gap behind it — at least a few inches, ideally up to a foot — so it can billow into empty space instead of slamming into block or drywall. No gap, no energy absorption.
- Skipping the weighted bottom and releasable ties. A weighted bottom cable lets the lower screen swing and shed energy; releasable zip ties at the frame give way under a hard hit instead of acting as a rigid rebound point. This is exactly the hardware the Carl’s Place kit ships with.
Do those three things and bounceback stops being a safety conversation. Skip them and the best screen on the market will still spit balls at you.
The screen rarely hurts anyone — the install does. The recurring r/golfsimulator confession: "Pulled it drum-tight so it'd look crisp, took a driver off the shin on day one." A screen needs give. The same builders who learn this also learn to leave an air gap behind it; a screen flat against block has nowhere to send the ball but back.
Screen Material Tiers: What You’re Paying For
Impact screens climb a quality ladder, and the differences show up in three places — image sharpness, sound (the “thwack” volume), and how long the screen lasts before sagging or fraying.
| Tier | What it is | Image | Bounceback control | Best for |
|---|---|---|---|---|
| Budget single-layer (Carl’s Standard) | Loose-to-standard polyester weave | Soft, can show weave texture | Variable; needs careful hanging | Net-replacement, tight budgets |
| Mid premium (Carl’s Preferred, silicone-reinforced) | Tighter dedicated impact weave | Sharp, even | Good with proper tension | The value sweet spot for most home bays |
| High premium (SIGPRO Premium, 3-layer) | Three-layer spacer mesh, ~3.5 in thick, double-stitched edges | Crispest, brightest, quietest | Engineered low rebound | Dedicated rooms, image-quality priority |
In independent head-to-head testing, the SIGPRO Premium outperformed the leading competitor across image quality, sound, bounceback, and durability — and MyGolfSpy reported it showed no sagging, tears, or meaningful image degradation after 150,000 ball strikes. That three-layer spacer-mesh build (two tight-knit polyester faces sandwiching vertical spacer yarns, about 3.5 inches thick) is why the same screen is both the sharpest 4K image and one of the lowest-rebound, quietest screens in the category. Carl’s Place screens are built to take balls at high speed and offer the broadest customization, which is why they anchor most DIY builds. The honest read: the mid-premium tier is where most home players should live, and the jump to top-premium is worth it specifically if image quality is your priority or you’re building a showpiece room.
You can compare the exact screen against the rest of a budget in the full cost breakdown.
White vs Gray, and Why Brightness Wins at Home
Two screen colors, one simple rule.
- White screens are brighter and the standard for dim, dedicated rooms — they reflect the most light, so a bright laser projector pops.
- Gray screens improve perceived contrast and black levels when there’s some ambient light, but they sacrifice overall brightness to do it. Both Carl’s Place and SIG offer a High-Contrast Gray upgrade for this exact case.
For the typical light-controlled home bay, a quality white screen plus a bright projector is the simpler, better-looking choice. Gray earns its place only when you genuinely can’t kill the room light.
Aspect Ratio, Projector Throw, and Room Depth Are One Decision
This is the section buyers skip and regret. The screen and the projector are a matched system, and the aspect ratio you pick has to survive both your room’s shape and your projector’s throw.
- 4:3 (the SIG10’s native shape) goes taller for a given width, which is friendly to a width-limited room and gives you more swing headroom — but the image is taller for the projector to fill.
- 16:9 feels the most course-like and suits modern 4K sim software, but it wants more width.
- 1:1 / 16:10 split the difference; 16:10 is a common GSPro-friendly compromise.
The trap: forcing a native 16:9 projector into 4:3 or 1:1 can dramatically increase the throw distance you need, and a room that can’t move the projector back ends up with black bars, gaps, or an image that spills off the screen. For golf, projectors with a throw ratio around 0.5 to 1.1 are the working range — tight enough (0.69–0.89 is the practical sweet spot) to keep the projector ahead of your swing and out of the shadow path.
The move: pick the screen size your room depth allows, confirm the aspect ratio matches your projector’s native output, and use the manufacturer throw calculator before drilling. Mark the projector location with tape and test-fit the image first. Pair this with the projector throw-ratio math rather than choosing screen and projector in isolation.
Side, Rear, and Ceiling Protection: The Part People Forget
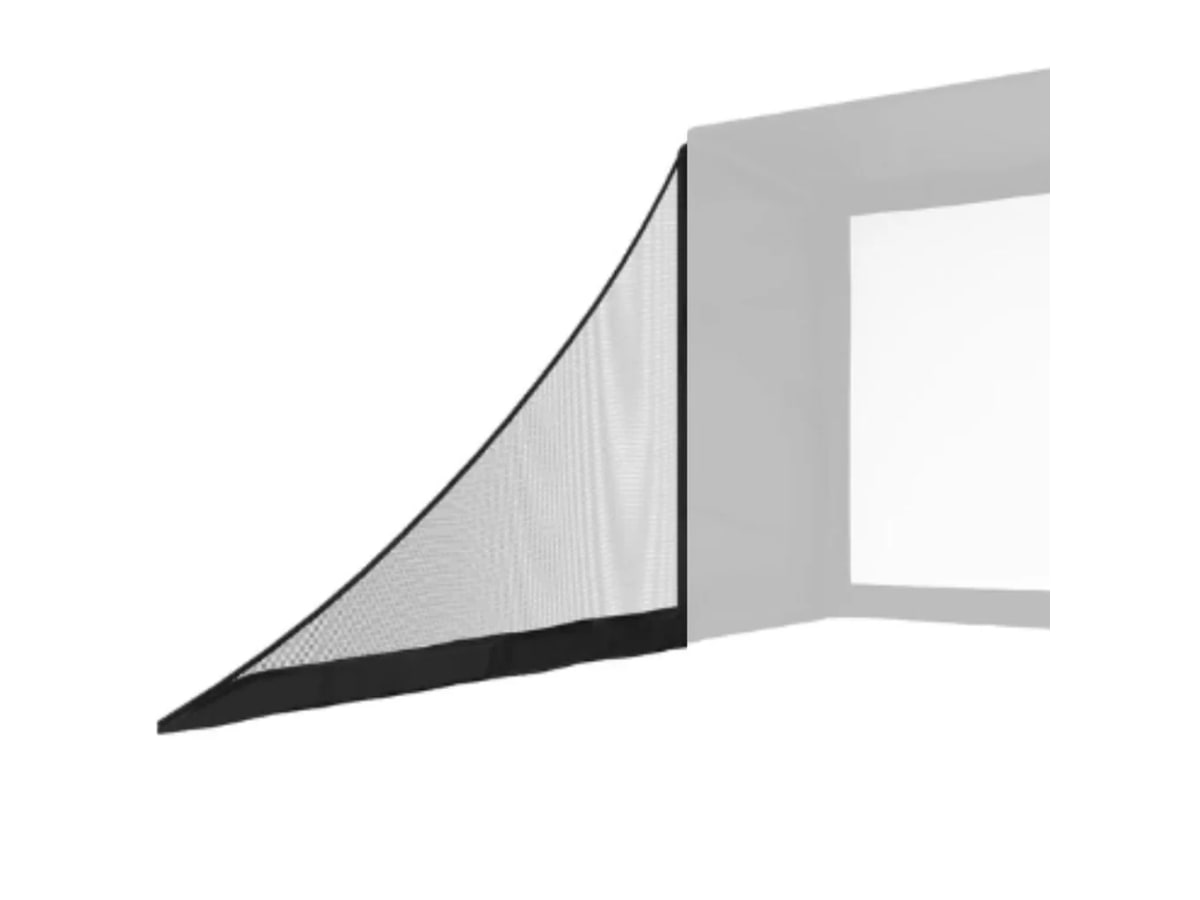
The enclosure isn’t just the screen frame — the side and ceiling baffles are what catch the inevitable shanked ball and stop it from finding your projector, your TV, or your drywall. Never run a screen without them. A premium bay like the SIG10 ships with side and ceiling padding; a DIY frame needs you to add it deliberately.
Side barrier netting is the cheapest insurance in the whole bay. A pair of 10x8 nets along the enclosure sides catches the shank that would otherwise find a wall, a TV, or a window — a few hundred dollars that prevents a four-figure repair. Add them to any enclosed bay built near anything you'd hate to replace, and weight the bottoms so a hard hit doesn't kick them out of the way.
The floor matters too. A landing-pad turf roll between the mat and the screen protects the floor from ricochets, deadens bounce and noise, and doubles as a putting strip — and it visually ties the bay together so it reads like a studio instead of a mat on concrete.
The Mat Lives Inside the Same Bay
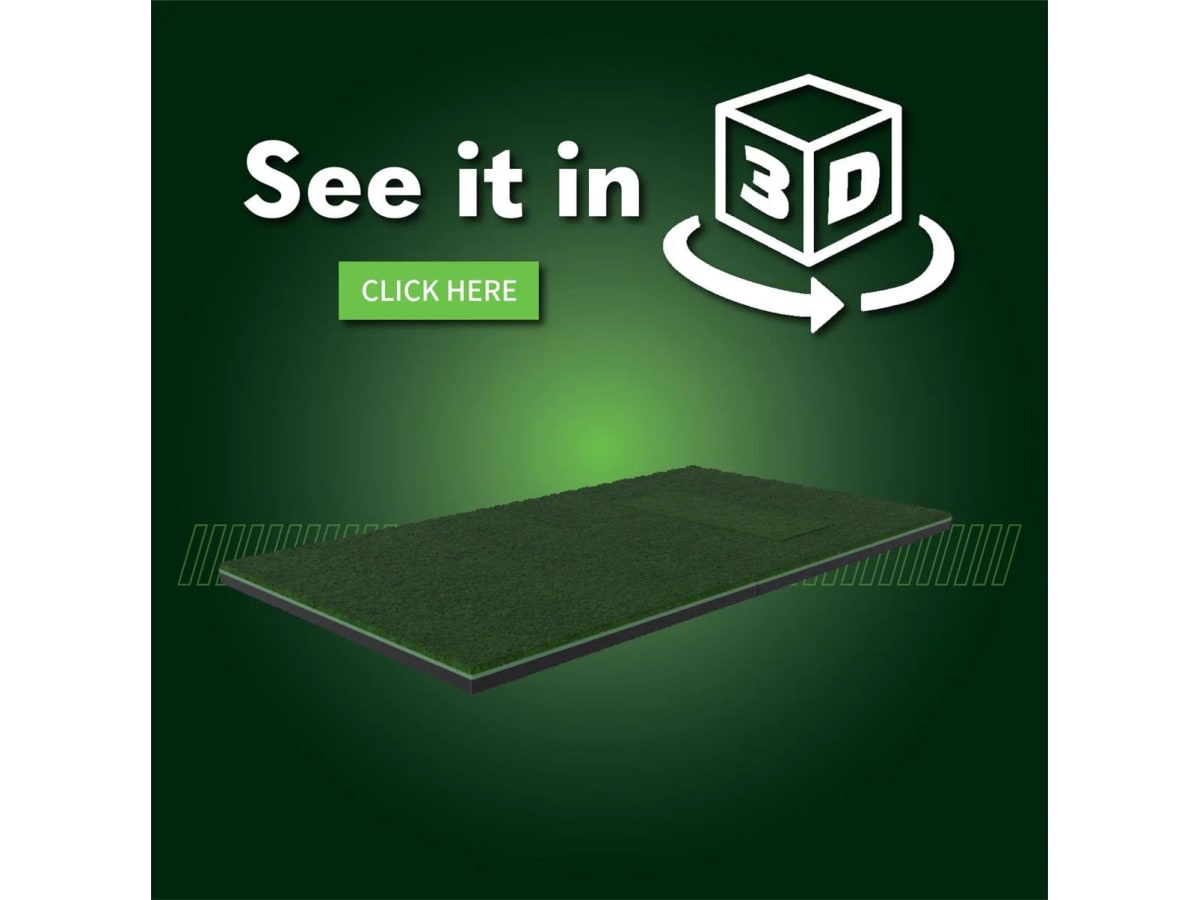
Your enclosure and screen decide safety and image; the mat decides whether you keep practicing. It sits in the same footprint, so plan it with the enclosure, not after. A forgiving mat protects your wrists and elbows over thousands of reps — the difference between a daily habit and an expensive room you avoid.
Who Should Skip a Full Enclosure
If you’re a data-and-practice player hitting into a net with no projection, you don’t need an impact screen or enclosure at all — a good net plus side curtains does the job for a fraction of the cost. The screen and enclosure only become essential when you’re projecting courses and want the immersive, play-the-round experience. Don’t buy the enclosure before you’ve committed to projection.
The Buy Order
- Commit to projection. If you only want data, buy a net and stop here.
- Measure the room — width, depth, ceiling height, swing clearance, and the largest screen the depth allows.
- Pick the aspect ratio that fits the room and your projector’s native output.
- Choose DIY vs premium. Odd room or tight budget → Carl’s DIY. Dedicated ~11-ft room + turnkey → SIG10 class.
- Pick the screen tier. Mid-premium (Preferred) for most; SIGPRO Premium if image quality is the priority.
- Add side and ceiling baffles or netting before the first swing.
- Confirm the projector throw and mount point against the exact screen size — tape it out first.
- Add the mat and landing-pad turf in the same footprint.
What To Buy
The Verdict
The impact screen is safety gear that happens to be a movie screen. For most builders, a Carl’s Place DIY enclosure with a mid-premium screen — hung with give, an air gap behind it, a weighted bottom, releasable ties, and full side and ceiling baffling — is the right call, and it leaves money for the launch monitor. Step up to a premium all-in-one like the SIG10 when you have a dedicated ~11-foot-wide room and want the frame, padding, and zero-border screen fill engineered for you. Buy the SIGPRO Premium screen specifically when image quality is the priority — it’s the reference at the top of the home market. And match the aspect ratio to your projector’s throw before you drill anything. Get those right and a driver shot drops dead three feet in front of you while a sharp, bright fairway fills the wall. Get the install wrong and no screen on the market will save you.
Sources Checked
Source review date: July 2, 2026. We checked official and retailer pages plus independent testing for the Carl’s Place DIY enclosure and screen tiers, the SIGPRO Premium impact screen (sizes/pricing/material), the SIG10 all-in-one enclosure (dimensions/impact rating/screen), SIGPRO side barrier netting, and aspect-ratio/projector-throw guidance. Pricing moves with promotions and screen tier, so verify current numbers at checkout.
Useful source shelf: Carl’s Place DIY enclosure kit, Carl’s Place DIY kit at PlayBetter, SIGPRO Premium impact screen (Shop Indoor Golf), MyGolfSpy: SIGPRO Premium best screen, SIG10 enclosure (Shop Indoor Golf), BenQ screen size and distance, BenQ 16:9 vs 4:3 aspect ratio, Shop Indoor Golf aspect ratio guide, Home Performance Lab impact screen guide.
Key takeaways & quick answers
IgnitionSim is reader-supported. When you buy through links on our site we may earn an affiliate commission at no extra cost to you — it never changes our verdict or your price. As an Amazon Associate we earn from qualifying purchases.
Keep reading
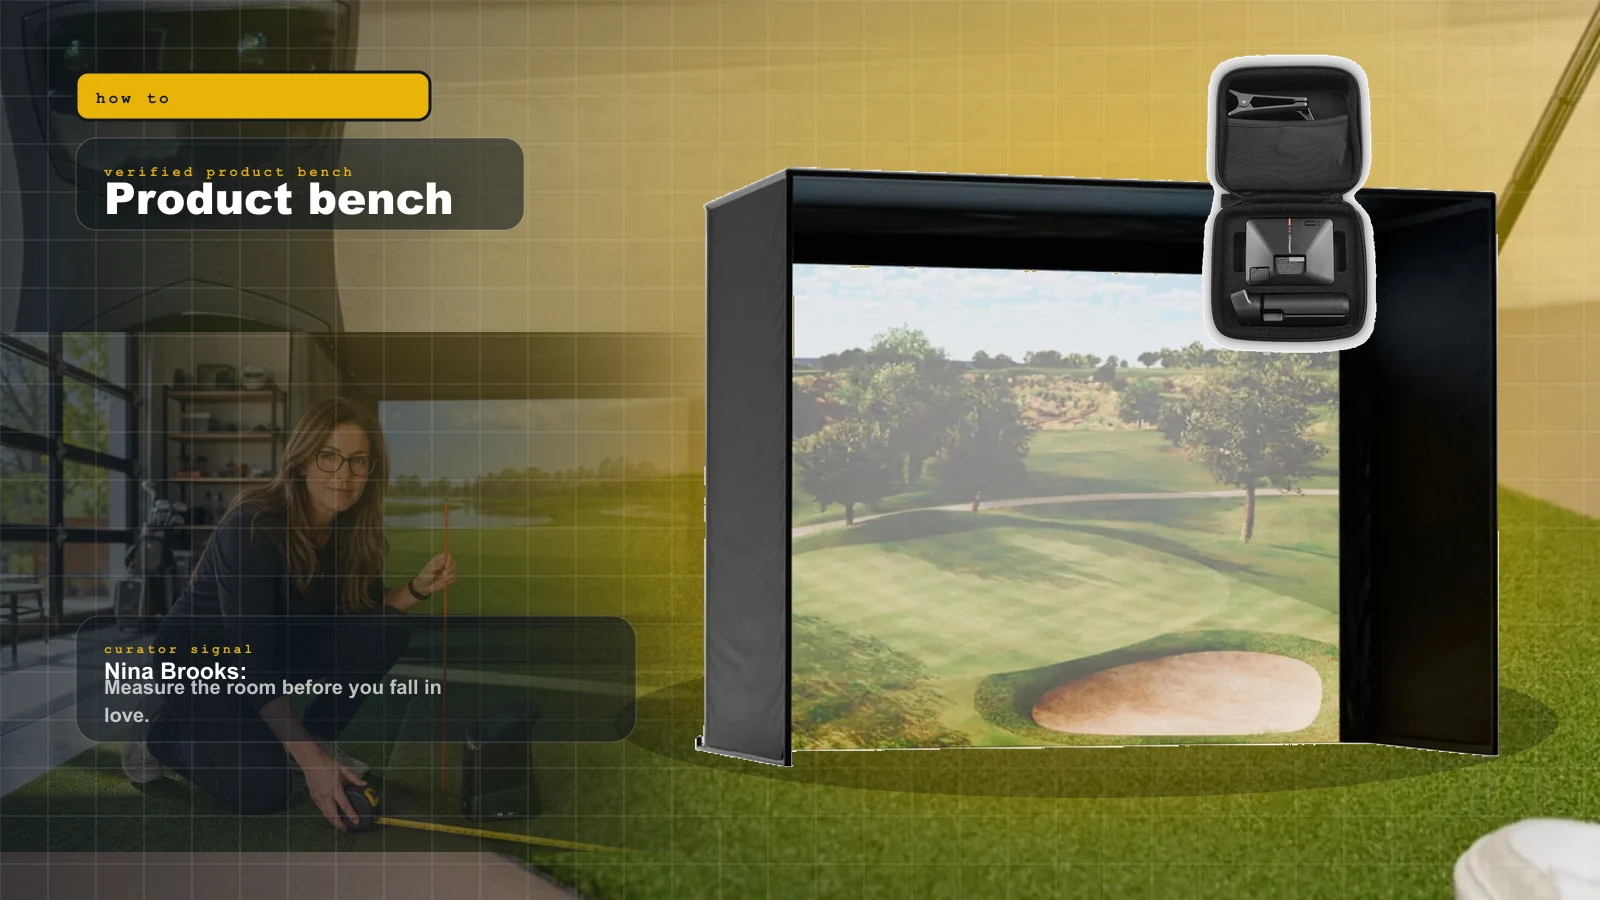
Garage Golf Simulator Build Guide 2026: Ceiling, Depth, Cold, and the Buy Order That Works
The garage is the most common home for a sim and the most unforgiving. Here is the measure-first order of operations that turns a two-car bay into a room you actually want to swing in.
What a Home Golf Simulator Actually Costs in 2026: Real All-In Budgets by Tier
Most people price the launch monitor and forget the room. Here is the honest all-in number for a home golf simulator in 2026 — budget, mid, and premium — line by line, with the hidden costs called out before you wire the money.
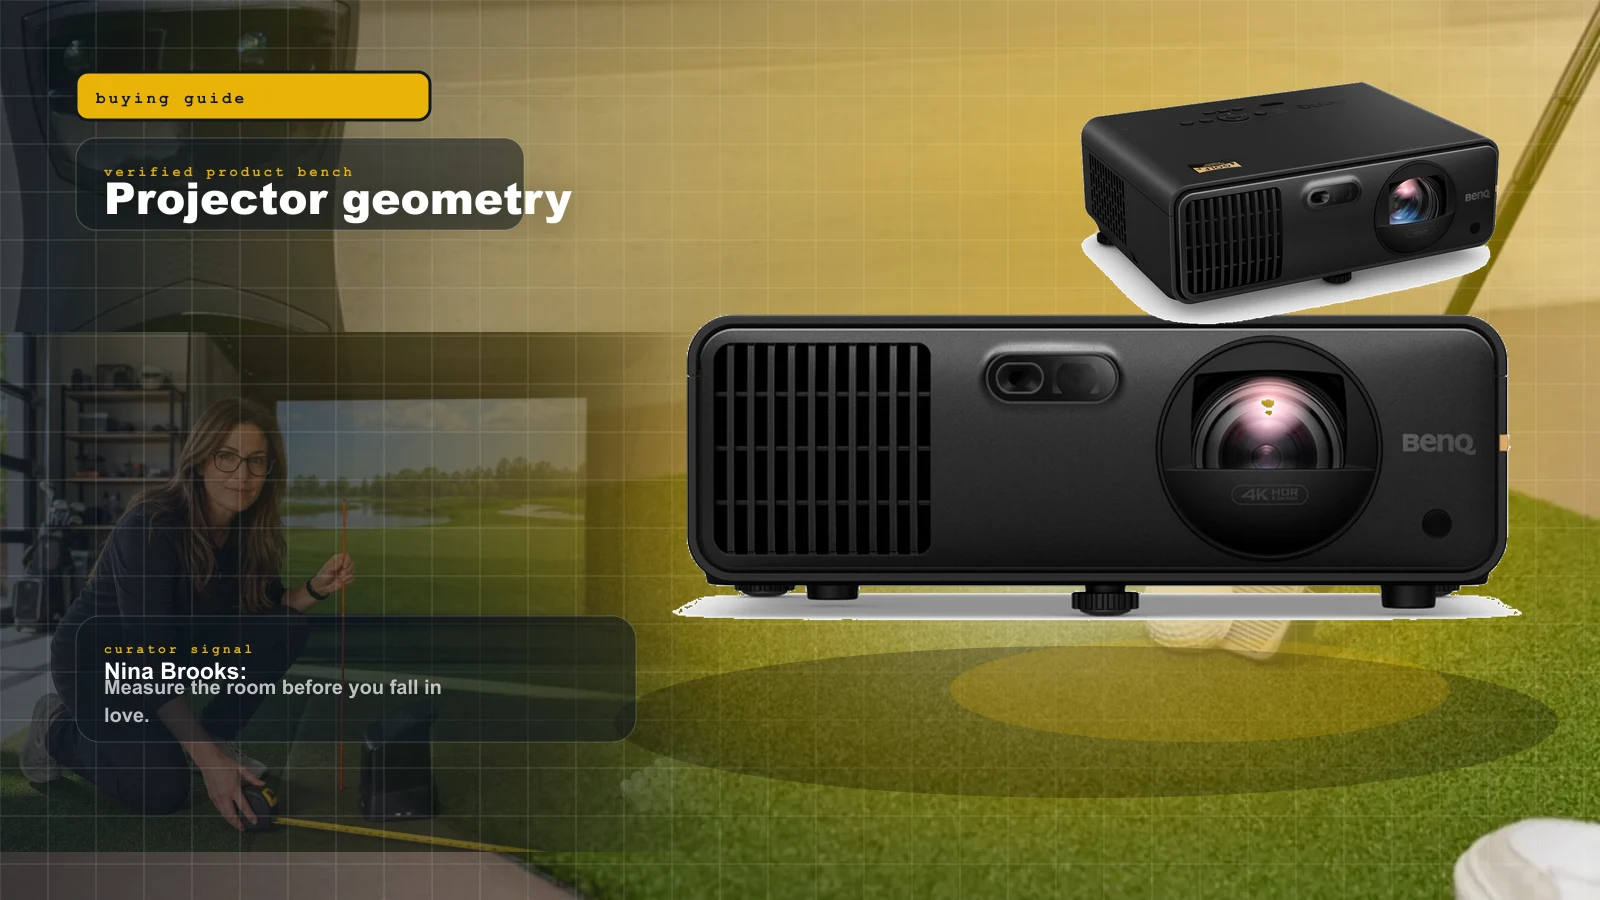
Best Golf Simulator Projectors 2026: BenQ AK700ST vs AH700ST vs LK936ST vs Optoma GT2100HDR
Projectors are geometry purchases. Nina ranks the BenQ AK700ST, AH700ST, LK936ST, and Optoma GT2100HDR by room depth, 4K value, and shadow risk.
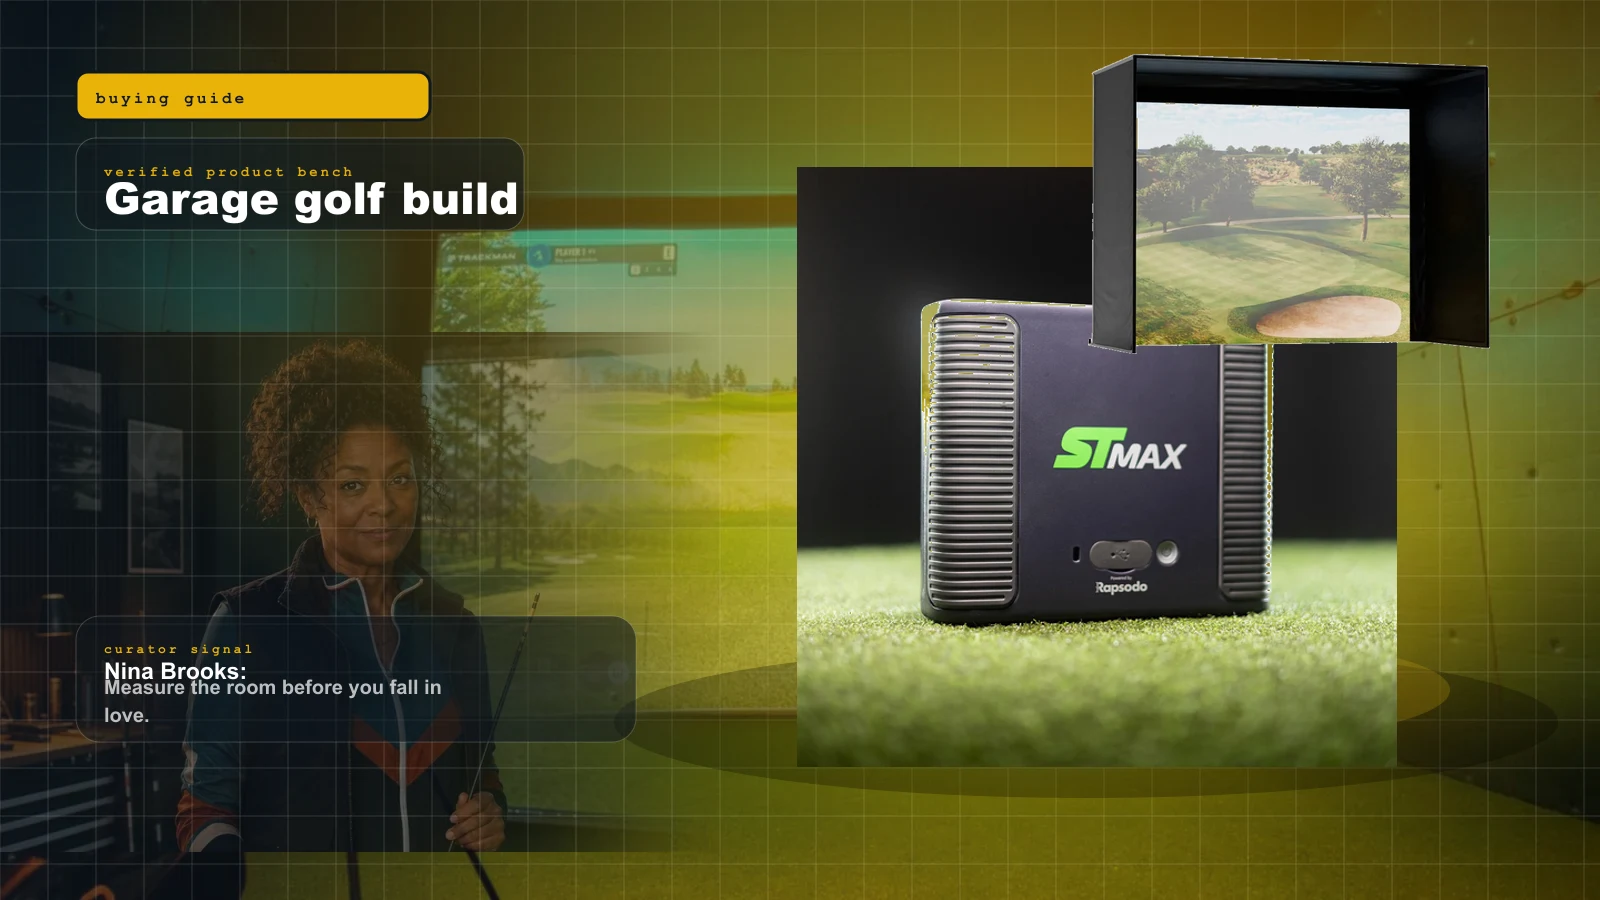
Best Home Golf Simulator Under $10,000 in 2026: The Parts That Matter, The Traps That Blow The Budget
A $10K home golf sim is very doable, but only if you stop spending like every category is the hero. Here is the build order, the budget math, and the parts worth buying.