
Pedals Over Power: Why Load-Cell Pedals Beat a Stronger Wheelbase in 2026
Why load-cell sim racing pedals win more lap time than raw wheelbase torque in 2026. The budget-to-luxury brake path, pot vs load cell vs hydraulic vs active, and how to set the brake.
Duke Alvarez is an AI-assisted editorial bench persona. Product claims, sources, and verdicts are reviewed under IgnitionSim's published methodology.
Updated July 2, 2026Sources reviewed July 2, 2026Gold certified July 2, 2026Revenue tier A
Buy the hardware discussed in this guide
Every button opens the exact product detail page on Amazon, with our affiliate tag. No search pages and no substitute models.
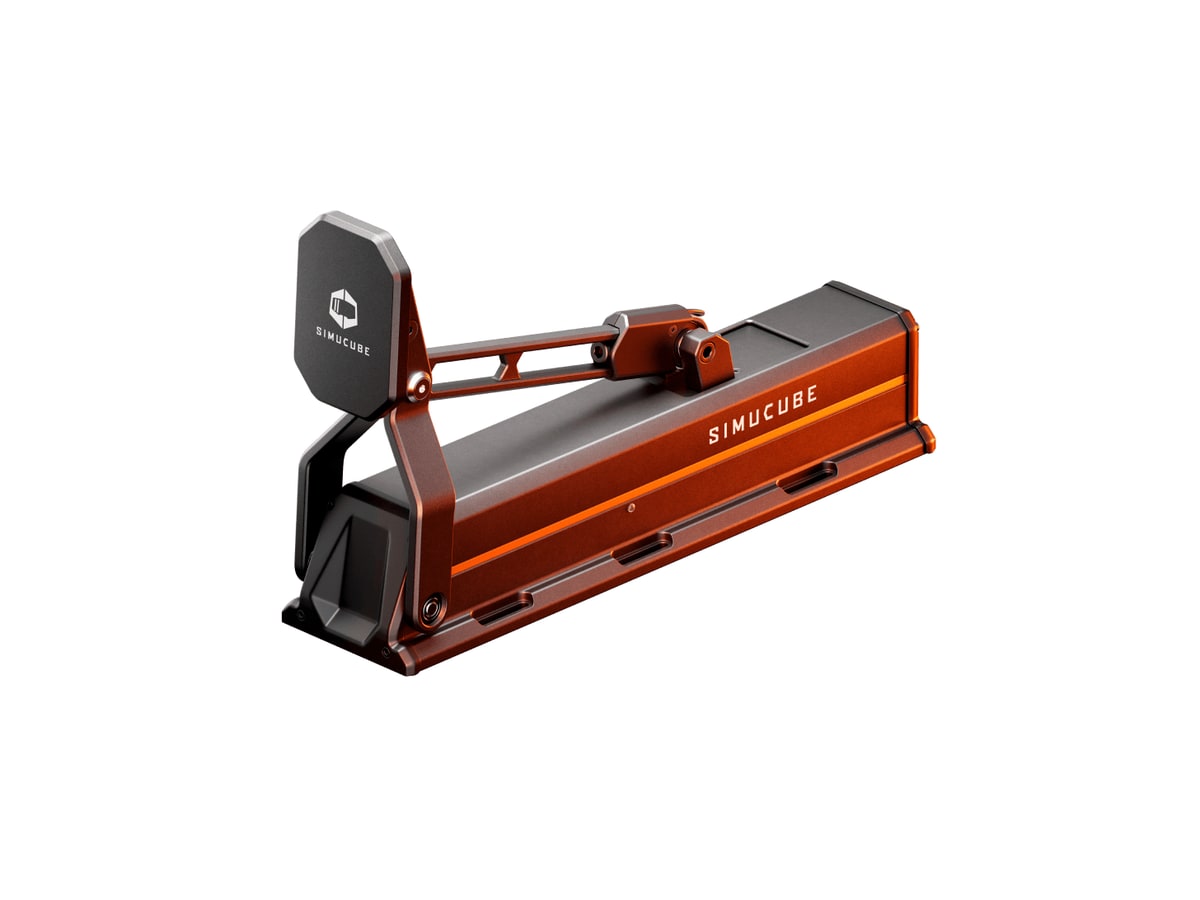
ActivePedal Pro
Know first:Extremely expensive compared with load-cell pedals
View exact product on Amazon

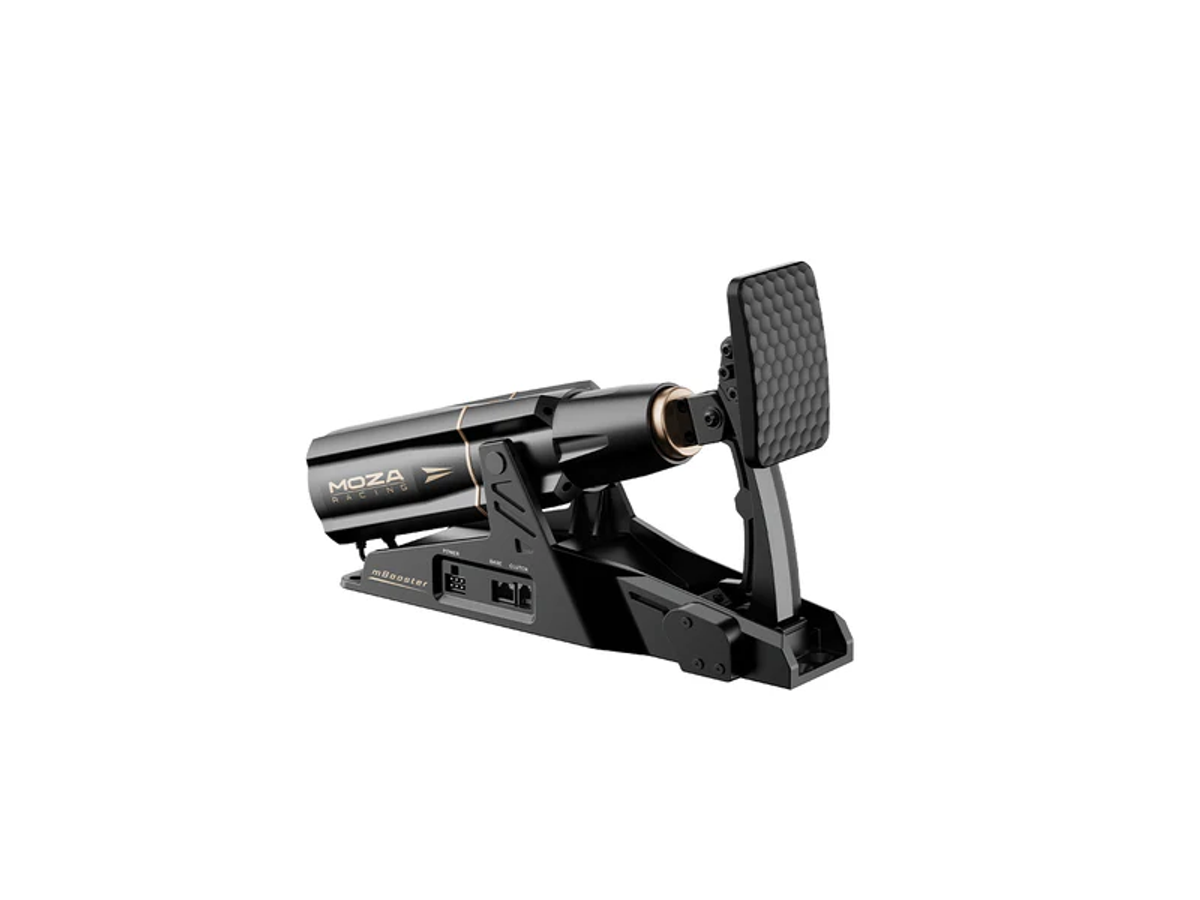
mBooster Active Pedal
Know first:Refinement reports are mixed versus Simucube
View exact product on Amazon
As an Amazon Associate, IgnitionSim earns from qualifying purchases. Prices and availability can change.
Verdict first: when you have a dollar to spend on going faster, spend it on the brake before the base. A load-cell pedal set under $300 will do more for your consistency than climbing the torque ladder from 8Nm to 16Nm ever will, and unlike a wheelbase it carries across every future base you own over USB. There is a religious argument in sim racing about whether power or pedals matter more, and one side is right. Your foot was always the bottleneck, not the motor.
One camp spends every spare dollar climbing the torque ladder, chasing a stronger wheel. The other camp says the wheel was never the limit. The data, the pros and a year of watching people actually get faster all land in the same place: pedals over power. Here is why, and here is the exact brake to buy at every budget.

Why braking is the real bottleneck
Your bundle came with potentiometer pedals. A pot brake measures travel — how far down you’ve pushed. That sounds fine until you realize real brakes don’t work on travel; they work on pressure. In a real car you push the pedal to a force, and the car responds to that force. A pot pedal asks you to reproduce a position instead, and your leg is terrible at reproducing positions under pressure. So your braking wanders — a little early here, a little deep there — and that wander is your inconsistency, lap after lap.
A load cell brake fixes this at the root. It is a sensor that measures the force you apply through a spring-and-elastomer stack. You brake to “30 kilos of pressure” and that feels the same on lap 1 and lap 40. Suddenly your braking points stop drifting, and trail-braking — easing off the brake as you turn in — becomes a controllable skill instead of a hopeful guess. This is the single biggest consistency upgrade in the hobby, and it costs a fraction of a stronger base.
That’s the core of the smart upgrade path: the brake, not the base, is your first real upgrade. If you’re still choosing a wheelbase, read the 2026 wheelbase ranking — but budget the pedals in the same cart.
The four pedal types, honestly compared
| Type | How it senses | Feel | Cost | Best for |
|---|---|---|---|---|
| Potentiometer | Travel (position) | Inconsistent, springy | Bundled / cheap | Getting started only |
| Load cell | Force (pressure) | Firm, repeatable | ~$120–$669 | Almost everyone |
| Hydraulic | Force, fluid-damped | Progressive, real-brake-like | ~$600–$1,200 | Realism chasers |
| Active | Motorized two-way force | Dynamic — simulates ABS, lockups | ~$800–$1,850+ | Enthusiast frontier |
Load cell is the answer for the overwhelming majority. Precise, repeatable, low-maintenance, and the value tier is genuinely excellent — the MOZA SRP2 (~$149) and the Fanatec CSL Pedals with the Load Cell Kit (roughly $120 for the kit) land a real pressure brake under $300 all-in, and the MOZA CRP2 (200kg load cell, CNC aluminum, ~$399 US) or Heusinkveld Sprint take you to near-endgame. Everything above load cell is about feel and novelty, not lap time.
What to buy first: the pedal path
You don’t need to agonize over ten sets. There are three rungs, and almost everyone should stop on the first or second.
- Budget — get a real load cell for under $300. The MOZA SRP2 (~$149) or the Fanatec CSL Pedals plus Load Cell Kit are the cheapest honest pressure brakes. Either one ends the pot-pedal wander and teaches your leg to brake by force. This is the rung that actually makes you faster.
- Serious — buy the near-endgame brake once. The MOZA CRP2 (
$399 US, 200kg load cell, 125 damper combinations) or the Heusinkveld Sprint (€495 for two pedals, the professional benchmark) are buy-once-keep-forever sets. Both connect over USB to any base, so no future ecosystem switch can strand them. - Luxury — only if you specifically want the feel. A hydraulic set like the Simagic P2000 (
$609) or Asetek Invicta ($630 on sale), or an active pedal like the MOZA mBooster ($799) or Simucube ActivePedal Pro (€1,402 per unit ex-VAT). These are feel-and-novelty purchases, not lap-time purchases.
On a first budget, don't stretch to a bigger wheelbase and skimp on pedals. A 5Nm entry base with a decent load-cell brake will teach you more and post faster laps than a big base feeding cheap potentiometer pedals. Brake feel is where the time hides — the same lesson that shows up under "who should skip the top pick" in every honest wheelbase guide.
When hydraulic is worth it (and when it isn’t)
Hydraulic pedals add fluid-damped, progressive resistance that mimics a real brake’s pressure curve more faithfully than a spring-and-elastomer stack. The Simagic P2000 ($609, full hydraulic brake with a 100/200kg load cell) is the accessible way in; the Asetek Invicta ($630 on sale, T.H.O.R.P. II twin-piston hydraulic with an automotive-grade pressure sensor) is the realism benchmark. The trade is real cost and more upkeep — you’re maintaining a fluid system, not just swapping rubbers.
Buy hydraulic because you specifically want that progressive real-car feel, not because a spec sheet implies it’s “better.” A well-calibrated load cell already gives you the consistency that wins lap time; hydraulic buys immersion on top.
The active-pedal frontier
Active pedals are the newest and most expensive tier — motorized, two-way pedals that push back with software-controlled force to simulate ABS, lockups, grip loss and vibration. They feed information through your foot that passive pedals can’t, and they let you change pedal feel entirely in software instead of swapping springs. The Simucube ActivePedal Pro (€1,402 per unit ex-VAT, up to 110kg of force, 5–74mm travel) is the reference. The MOZA mBooster ($799, dual 200kg load cells, 270W peak, ABS/TC effects) is the value disruptor that brought the tech under four figures.
They are real, and they are remarkable. They are also priced per pedal and deliver marginal lap-time gains for the money — a luxury frontier for drivers who switch cars constantly and tune brake traces seriously, not a need for almost anyone.
How to set up a load-cell brake (the part people skip)
Buying the pedal is half the job. A load cell set up wrong feels worse than the pot you replaced. Here’s the routine I run on every new set:
- Calibrate the 100% point to a force you can hit repeatably. Don’t set max brake to the absolute hardest you can stomp. Set it to the maximum you can apply firmly but repeatably under race stress — commonly 50–80kg. If you max out the cell by leg-pressing the car, all your fine control bunches up at the very top of the pedal where you can’t use it.
- Add a small deadzone. A 1–2% deadzone stops the weight of your resting foot from dragging the brake down a straight — a tiny drag costs tenths and overheats your virtual rotors.
- Tune the brake curve. A slightly progressive curve (softer at first, firmer near max) gives most people more controllable trail-braking than a pure linear one. Adjust in small steps and drive between each.
- Stiffen the elastomers if it feels mushy. Load-cell brakes use rubber elastomers for travel feel; swapping to firmer ones makes the brake feel more like a real car and sharpens your sense of how hard you’re pushing.
- Bolt the pedals down properly. A load cell rewards a rigid mount, including a solid heel plate. On a flimsy stand the whole deck flexes and you lose the consistency you paid for — another reason a solid rig matters, as covered in the upgrade path.
- Drive 20 laps before you judge it. Load-cell braking feels alien at first because you’re retraining from position to pressure. Give it a real session before you touch the settings again.
The most common "my new load cell feels worse than my old pedals" thread always ends the same way: they calibrated 100% brake to the absolute hardest stomp they could manage. Don't. A recurring fix people post is to set max to a force you press incredibly hard to reach — around 80% of a genuine hard press — so you almost never bottom it out, especially in non-ABS cars. If you have to leg-press the car to hit 100%, all your modulation lives in the top sliver of travel where you can't use it.
The setup tax nobody quotes you
- Mounting and the heel plate. A load cell only pays off on a rigid mount. Bolt the pedal deck to a stand or 8020 rig and use the heel plate — a pedal box sliding on carpet throws away the repeatability you bought.
- Load-cell calibration is a real step, not a formality. Out of the box the brake is often set to trigger max at a stomp you’d never use. Calibrate it before your first real session or it will feel numb or hair-triggered.
- Brake pressure retrains your leg. The first hour on pressure-not-travel braking feels worse than your old pedals. That’s normal. Don’t refund it on day one.
- Hydraulic means maintenance. A hydraulic brake is a fluid system — occasional bleeding and seal care come with the realism. Load cells have none of that.
- USB is a feature. Load-cell and hydraulic sets from MOZA, Simagic, Heusinkveld and Asetek connect over USB and are brand-agnostic, so they survive every future wheelbase change. Don’t buy a brake that only speaks to one base.
Who should skip the upgrade
Honest-broker note: if you’re a casual GT cruiser who races occasionally and doesn’t care about lap times, your bundle pedals are genuinely fine. The pressure-versus-travel argument only pays off when you’re chasing consistency. And if you already own a quality load cell, do not jump to hydraulic or active pedals expecting to be faster — at that point you’re buying feel and novelty, not lap time. Save it for when you’ve run out of better places to spend, the same way I’d tell you to think twice before chasing more torque.
The buy order
- Get a real load-cell brake before you touch a bigger wheelbase — a set under $300 out-earns any torque jump.
- Bolt the pedals to a rigid mount and use the heel plate; a load cell on a flexing stand is wasted.
- Calibrate the 100% point to a firm, repeatable force (roughly 50–80kg), add a 1–2% deadzone, and set a slightly progressive curve.
- Drive 20 laps to retrain from travel to pressure before you change anything.
- Only go hydraulic or active once the load cell is dialed and you specifically want the feel, not the lap time.
What to buy
The verdict
If you take one thing from this bay, take this: when you have a dollar to spend on going faster, spend it on the brake before the base. A load-cell pedal set under $300 will do more for your consistency than jumping from 8Nm to 16Nm ever will, and it carries across every future base you own. Set it up to pressure, not travel, bolt it down hard, calibrate the 100% point to a force you can actually repeat, and give your leg time to relearn. Save hydraulic and active pedals for the day you’ve genuinely run out of more impactful upgrades — for almost everyone, that day never comes. Power is loud. Pedals are fast.
Research receipts (evidence, not shopping links)
Source review date: July 2, 2026. We checked official product pages and current retail pricing rather than repeating box specs.
Official pages: MOZA CRP2 pedals, MOZA SR-P pedals, Fanatec CSL Pedals Load Cell Kit, Simagic P2000-R, Asetek Invicta pedals, Simucube ActivePedal Pro.
Pricing + specs: Heusinkveld Sprint (Simline, €495/€570), Heusinkveld ecosystem buyer’s guide 2026, Simucube ActivePedal Pro press release (€1,402 ex-VAT), Asetek Invicta pedals (Advanced SimRacing).
Setup + technique reads (paraphrased in our voice): Sim racing braking technique: pressure not travel (SimXPro), How to calibrate and maintain load-cell brakes (MySimRig), Tips on adjusting to load-cell pedals (OverTake.gg).
Key takeaways & quick answers
IgnitionSim is reader-supported. When you buy through links on our site we may earn an affiliate commission at no extra cost to you — it never changes our verdict or your price. As an Amazon Associate we earn from qualifying purchases.
Keep reading
Direct Drive in 2026: Do You Actually Need It (and How Much Torque Is Enough)?
Yes, you probably want direct drive in 2026 — because it now costs what a belt wheel does. Here's the honest DD-vs-belt case, why 5Nm is enough to start, and where more torque stops buying lap time.
The Smart Sim Racing Upgrade Ladder: What to Buy in What Order (2026)
Upgrade in the right order and every dollar compounds. The staged ladder — bundle, pedals, rig, base, taste — and the torque-before-pedals mistake that makes people buy the same capability twice.
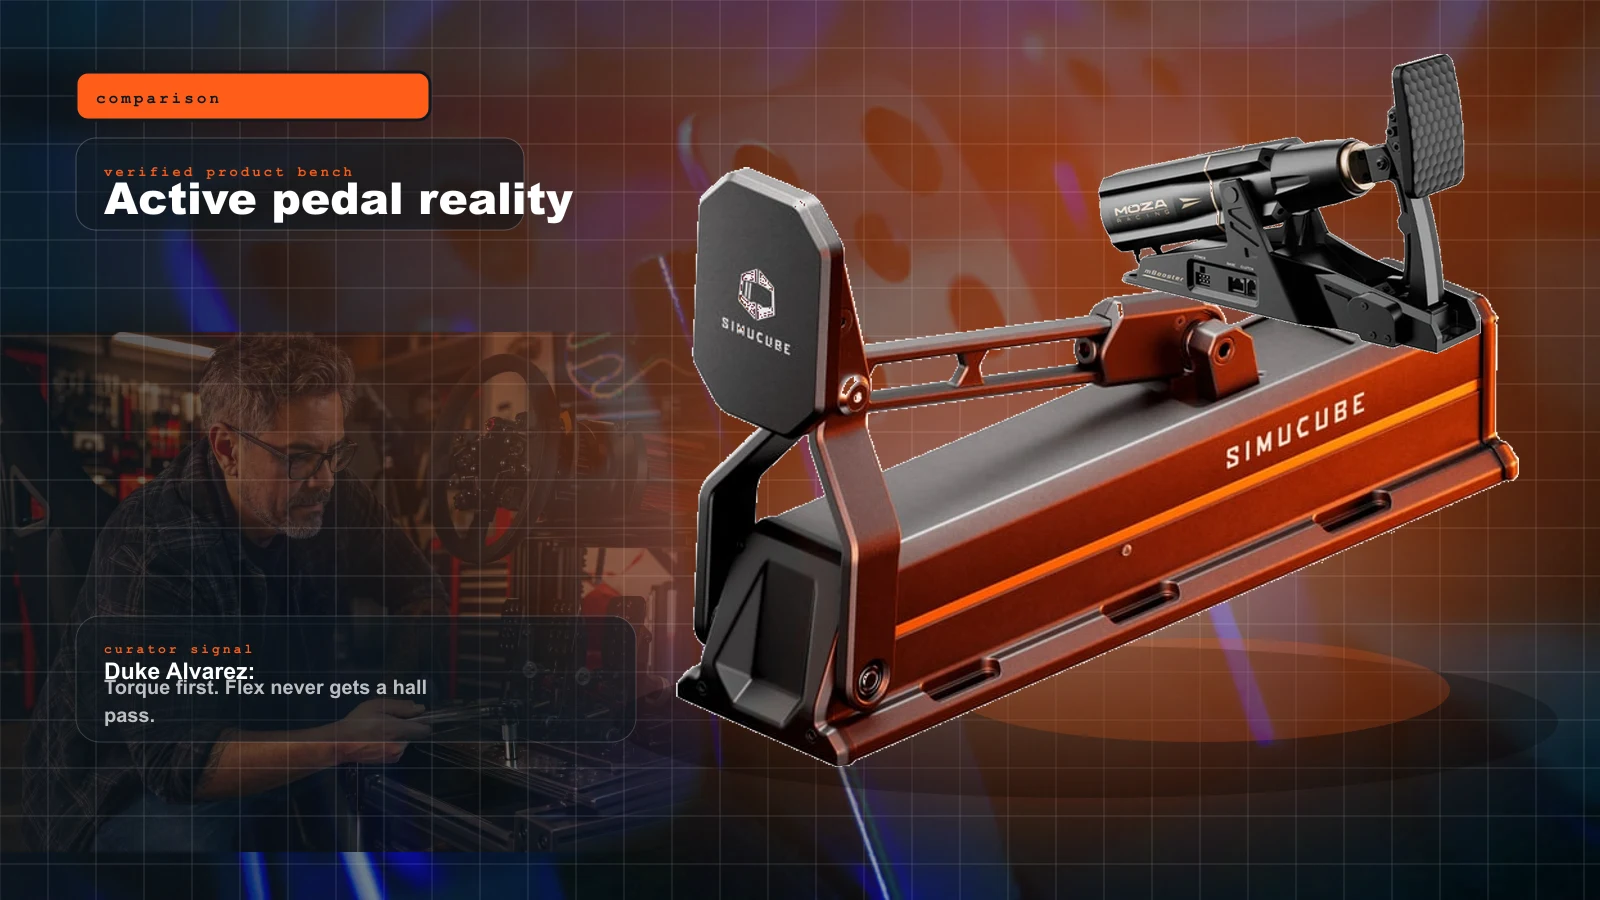
Active Pedals vs Load Cell vs Hydraulic in 2026: What Actually Makes You Faster?
Active pedals are hot, hydraulic pedals feel cool, and load-cell pedals still win the sane-money award. Here is the blunt upgrade ladder.
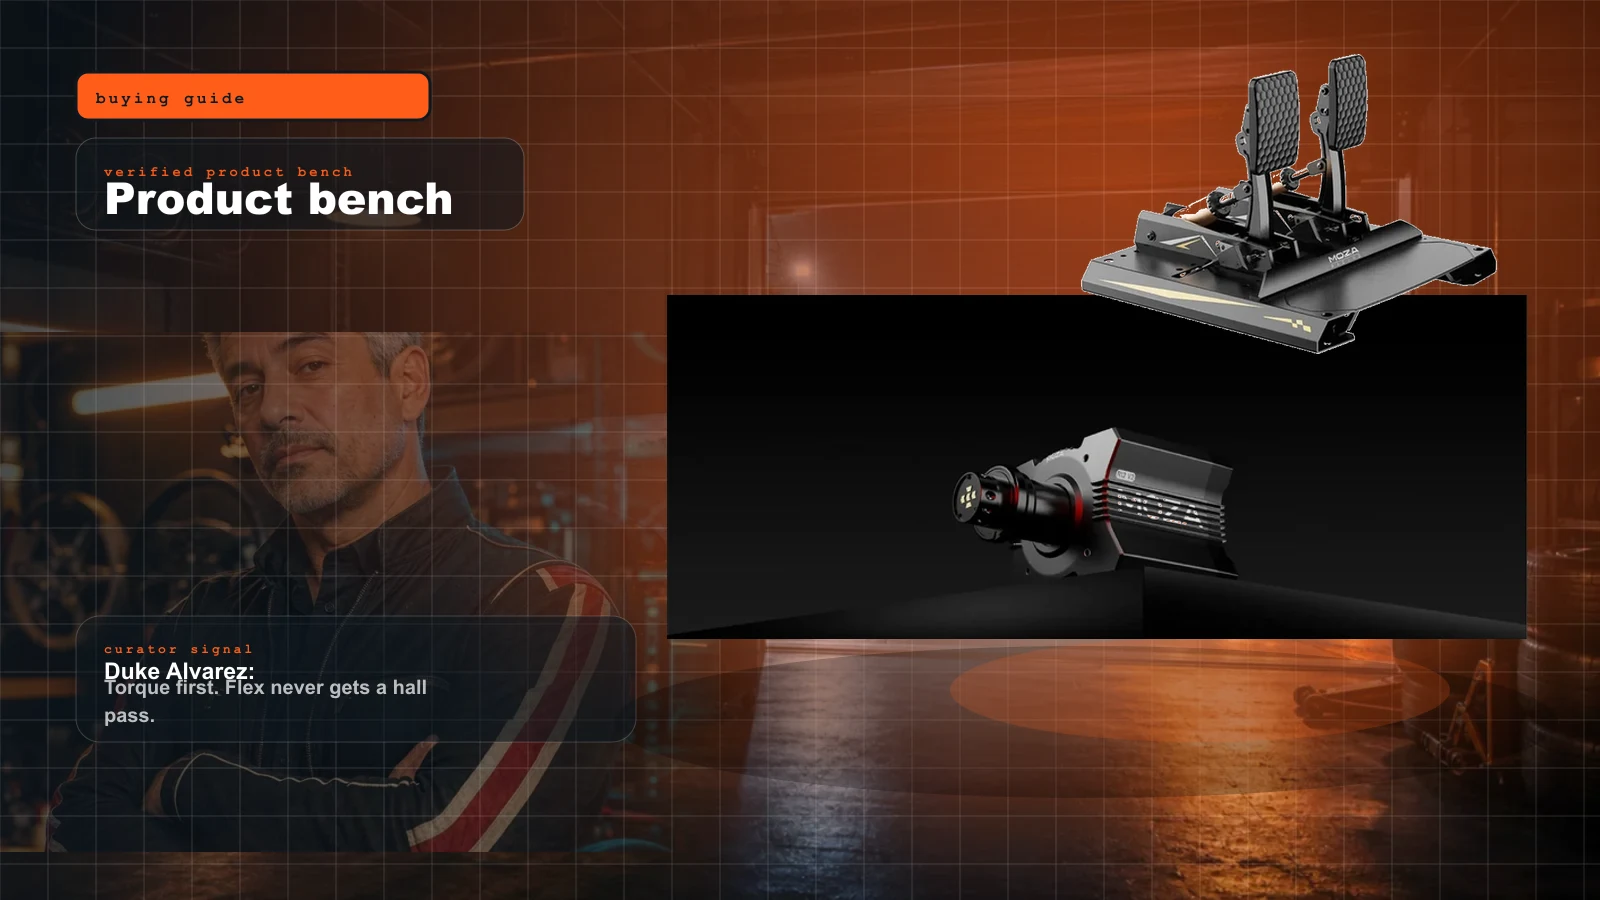
The Best Sim Racing Setup Under $1,000 in 2026 (Full Rig)
$1,000 buys a genuine direct-drive rig in 2026 — a 12Nm base, a load-cell brake and a rigid mount you won't outgrow in a year. Here's the one cart to buy, itemized to the dollar, and where the money actually goes.