FlightSimBuilder G1000 vs RealSimGear G1000 vs MOZA MGX1000: Best Glass Cockpit Hardware in 2026
FlightSimBuilder G1000 vs RealSimGear G1000 vs new MOZA MGX1000 comparison: aircraft compatibility, touchscreen, DisplayLink, software, footprint, ports, training fit, and 2026 verdict.
Val Chen is an AI-assisted editorial bench persona. Product claims, sources, and verdicts are reviewed under IgnitionSim's published methodology.
Updated July 15, 2026Sources reviewed July 15, 2026Gold certified July 15, 2026Revenue tier A
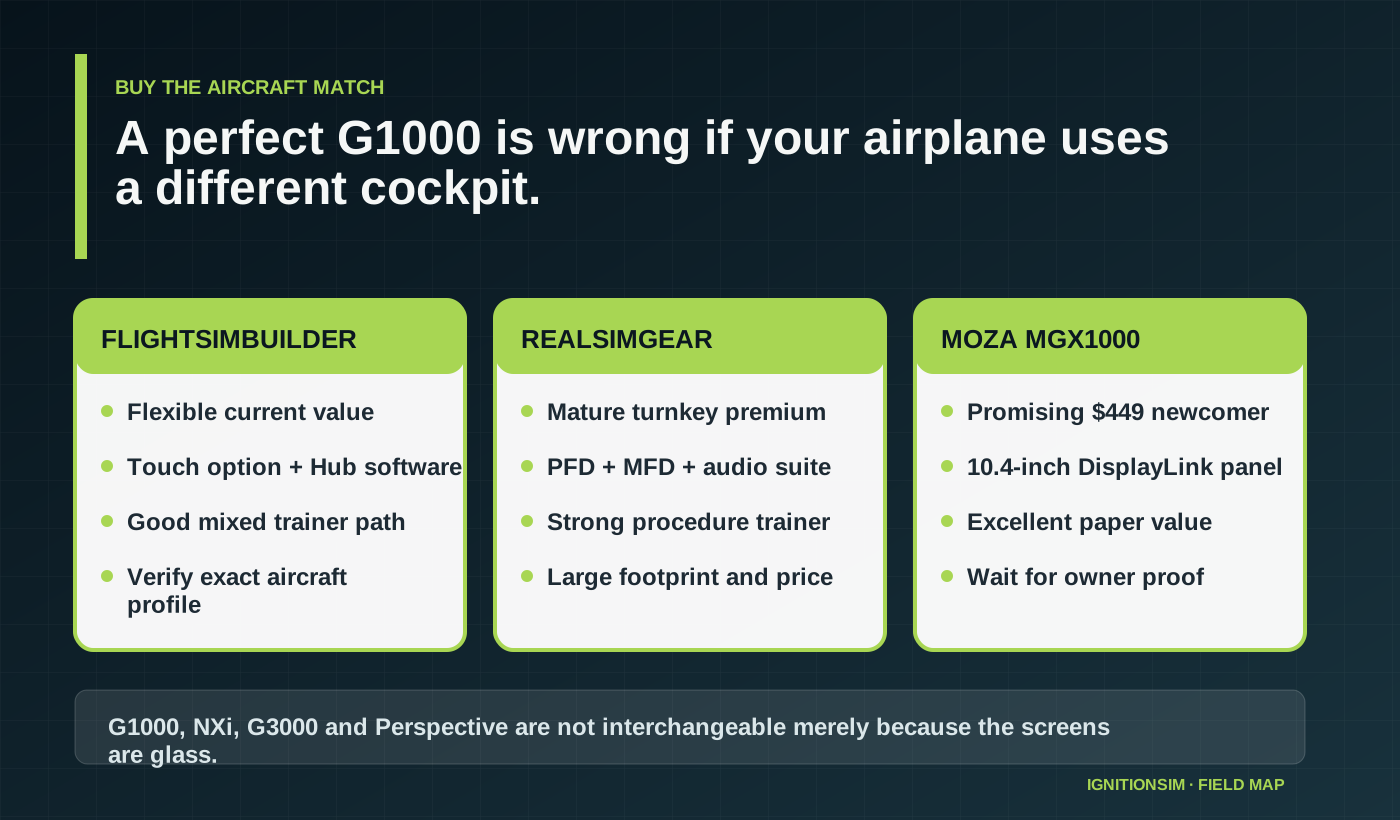
Verdict first: buy FlightSimBuilder G1000 TNxi when touchscreen flexibility and current value matter; buy RealSimGear when you want the mature premium suite and can afford the full trainer; wait on MOZA MGX1000 until shipping owners prove the aircraft integrations you need. The biggest trap is not choosing the wrong brand. It is buying perfect G1000-shaped hardware for an aircraft that uses G3000, Perspective, or a different physical layout.
MOZA’s July 8 announcement changes the conversation. A true-size 10.4-inch panel at $449 per unit, with DisplayLink rather than a GPU video output, is aggressive. It also arrived days before this article was researched. There is no meaningful long-term owner record yet. That makes MGX1000 interesting and unproven at the same time.
FlightSimBuilder and RealSimGear are easier to judge because people can already buy, install, map, and complain about them. FlightSimBuilder pushes touchscreen flexibility and value. RealSimGear sells a more mature, tightly integrated training suite at a higher system price. None of them escapes the aircraft-compatibility question.
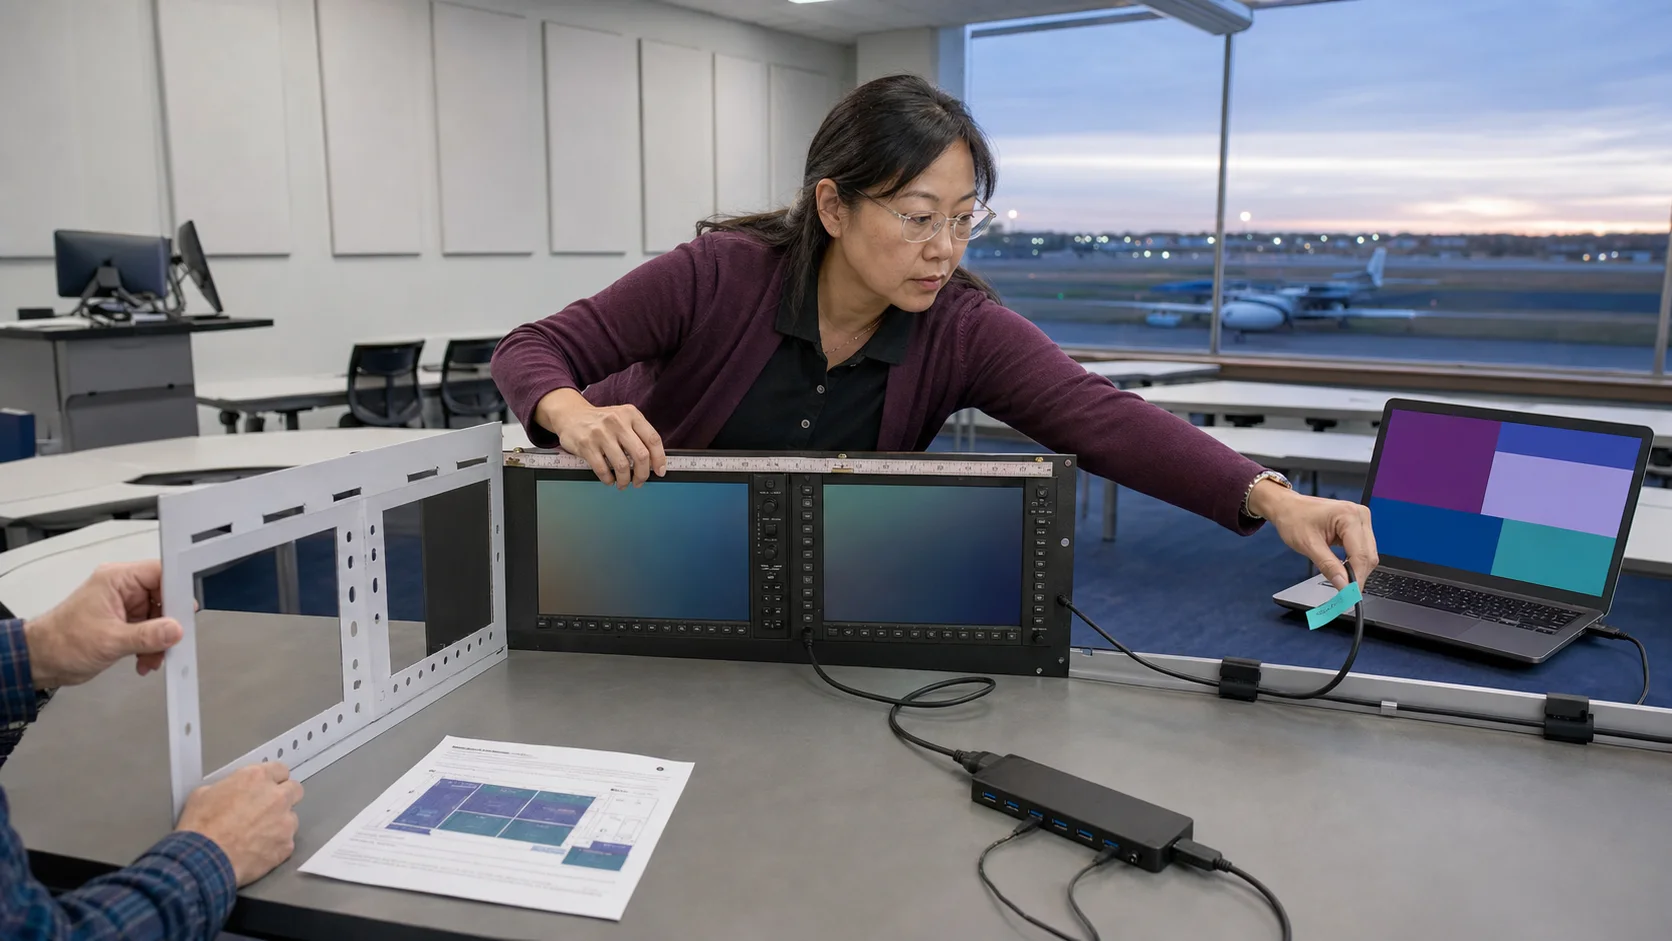
AI-assisted editorial scene, not a Garmin interface or product test. The screens are deliberately generic; the useful action is measuring the station and tracing the cable architecture.
Before buying a bezel, write down the exact aircraft, exact avionics variant, exact simulator, and exact procedure you want to practice. “It has glass screens” is not a compatibility plan.
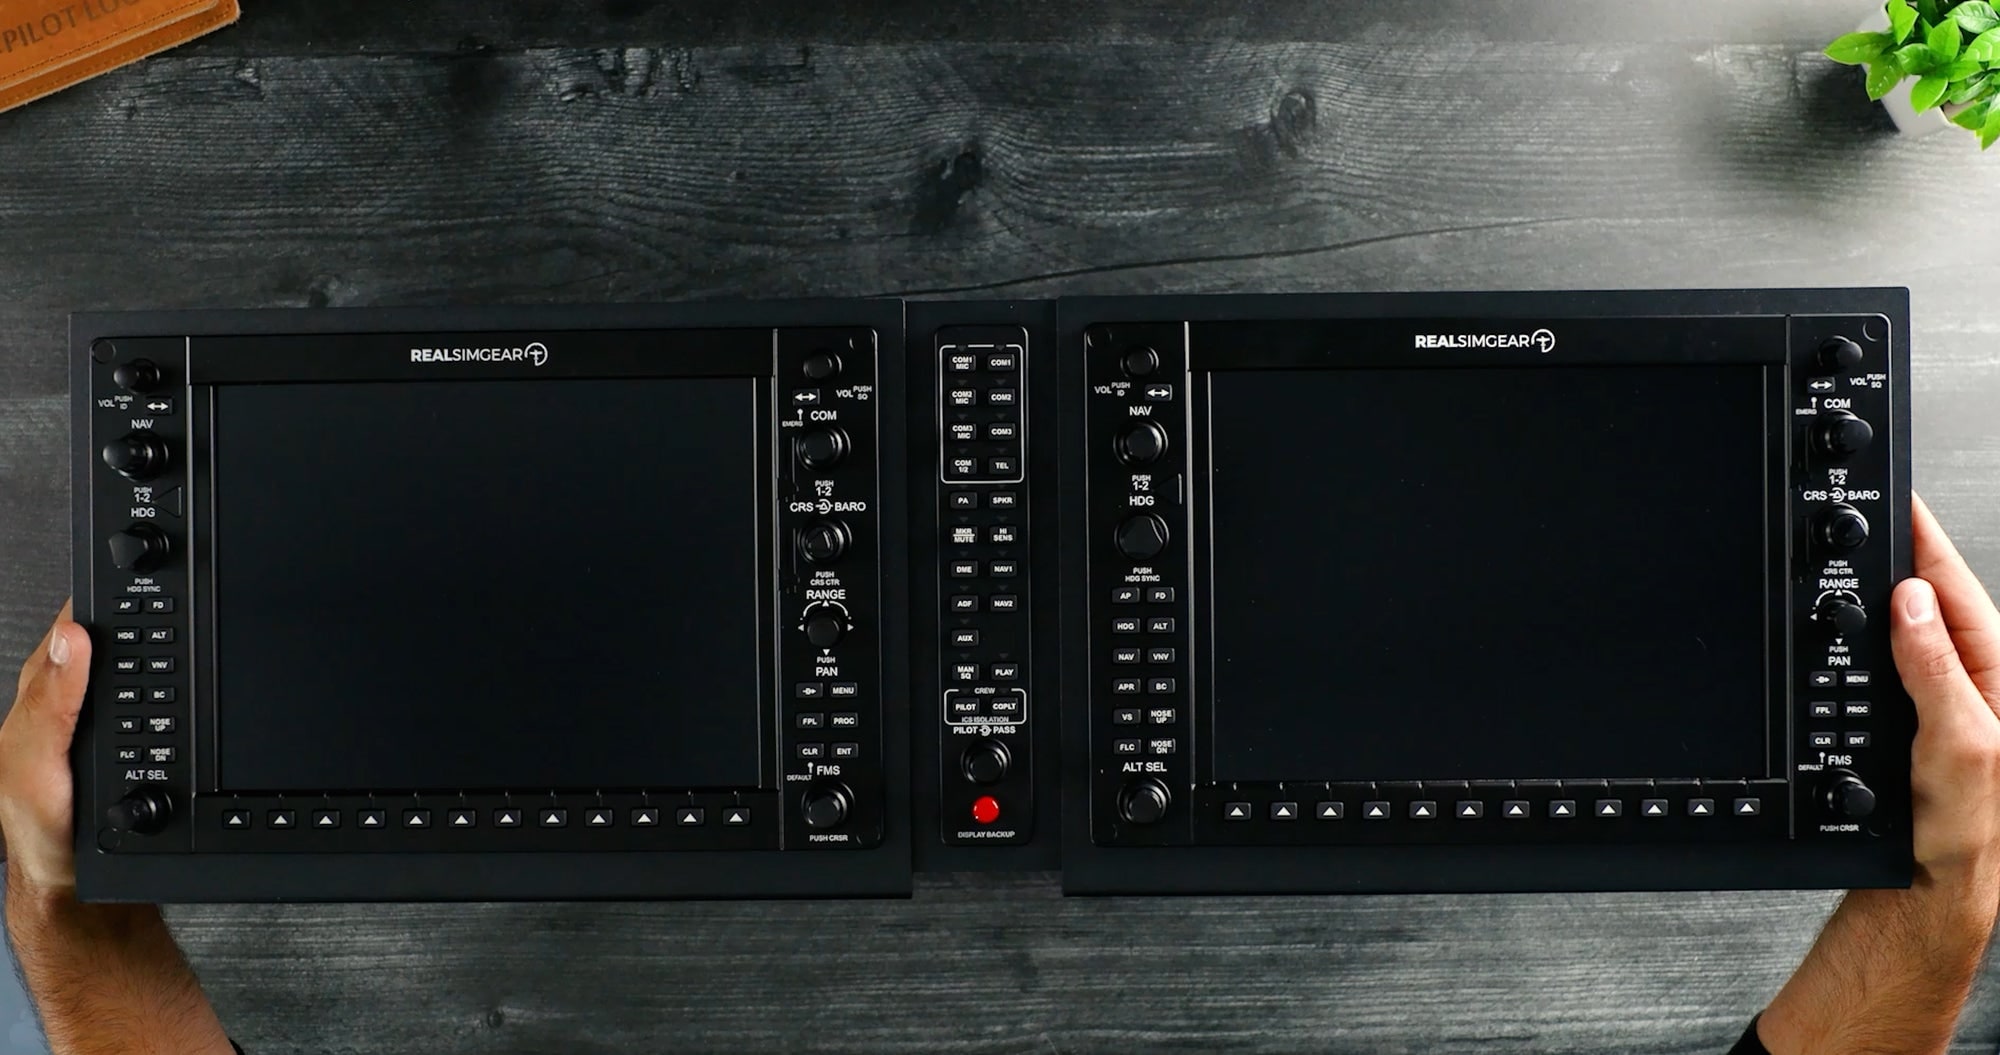
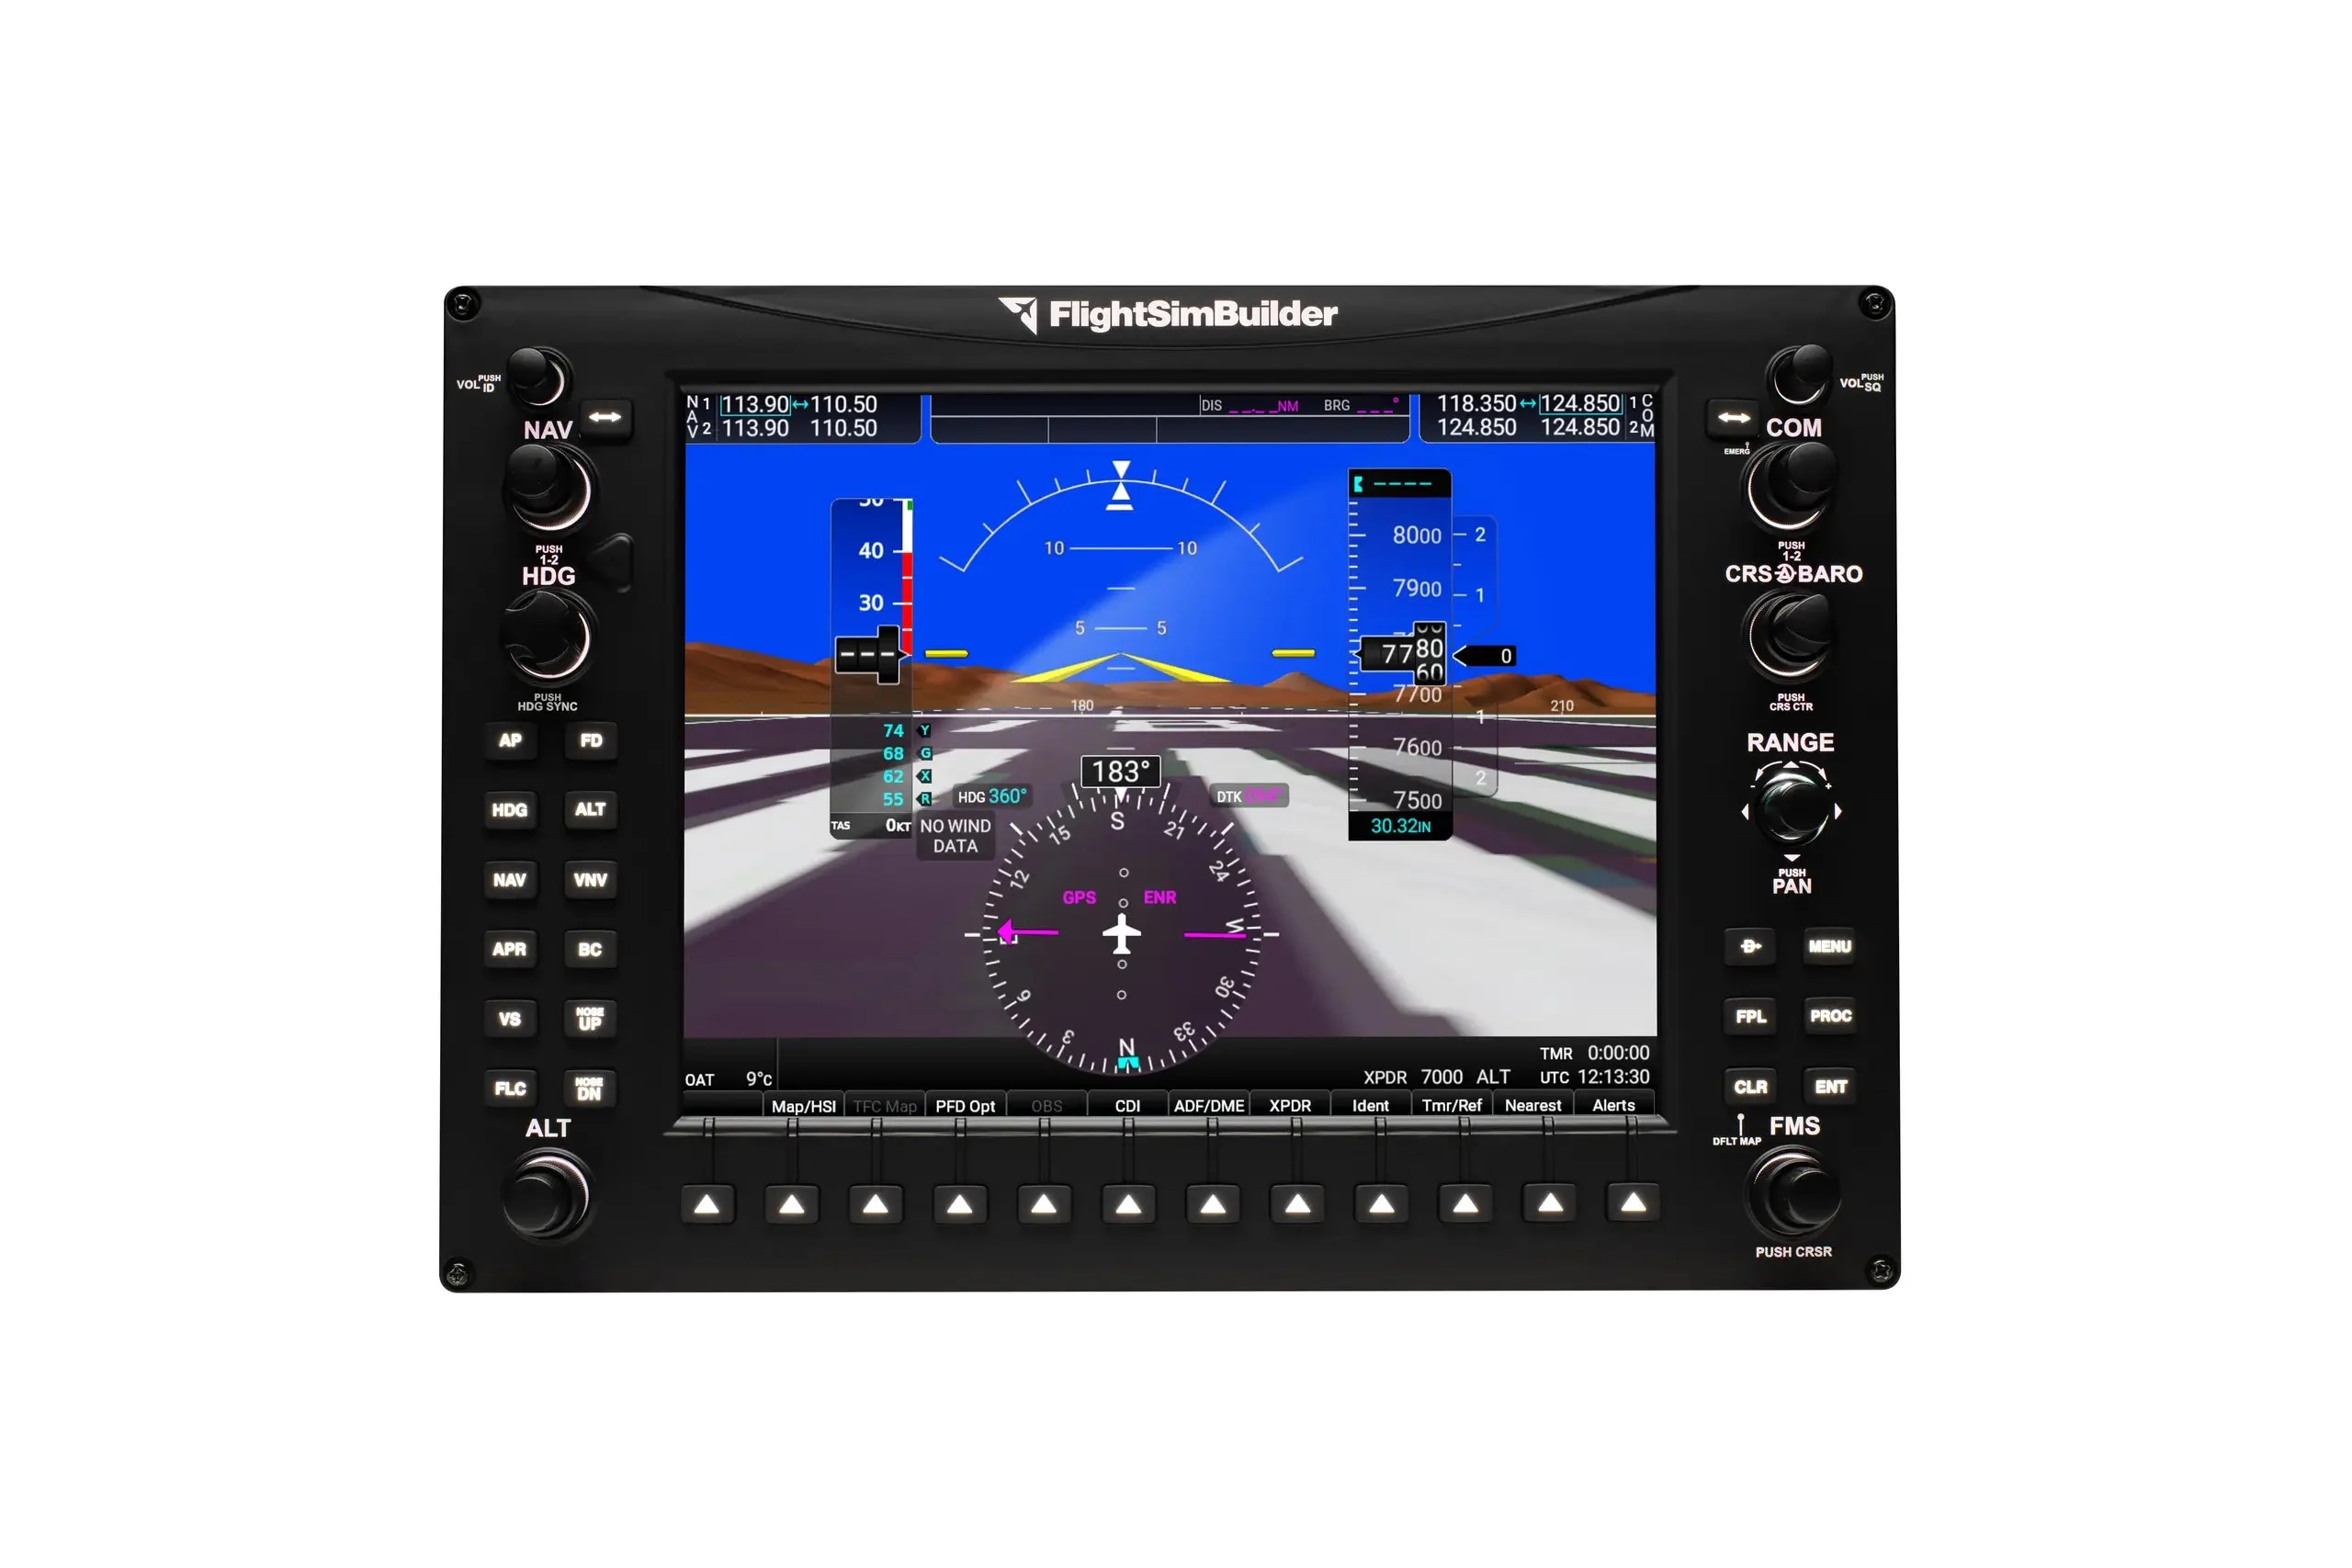
What does each G1000 system actually look like?
Why is FlightSimBuilder the value recommendation?
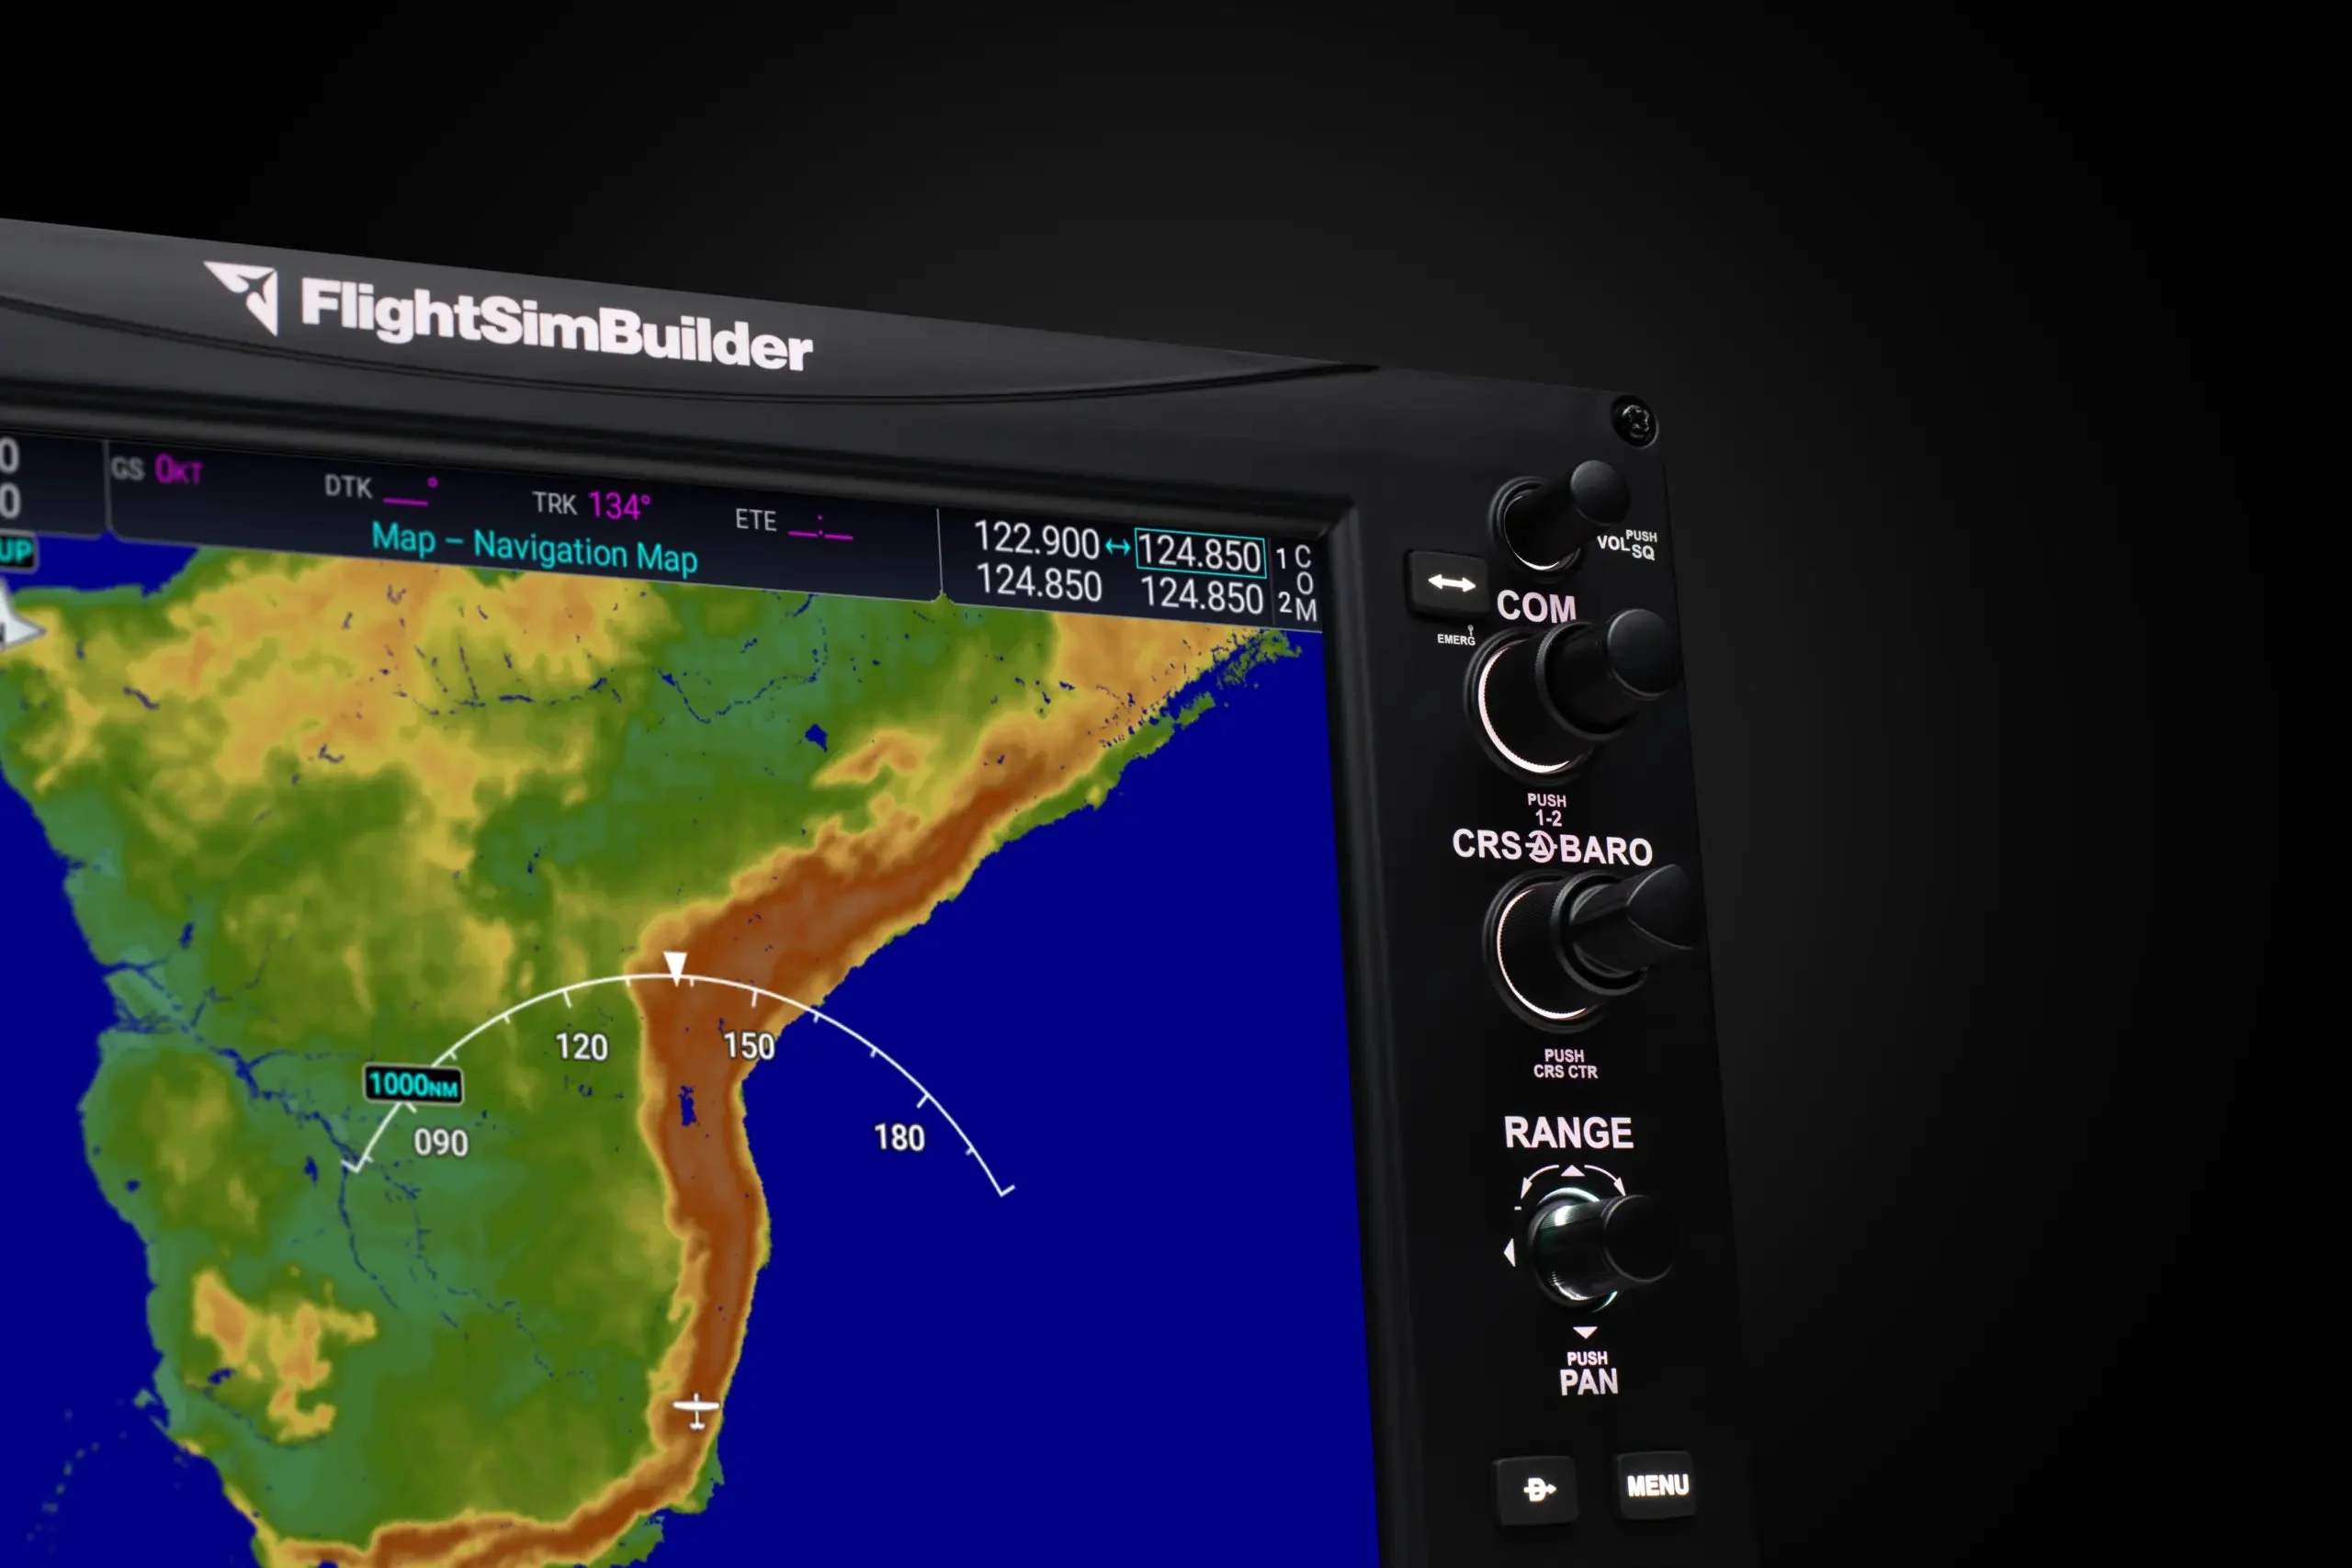
FlightSimBuilder makes the strongest current case for a flexible enthusiast trainer. Its current G1000 TNxi product offers touchscreen and non-touch variants and is supported by FlightSimBuilder Hub software. The touchscreen option is valuable when the aircraft or workflow needs interaction beyond the traditional G1000 bezel, and the system is priced well below a full RealSimGear suite.
The manufacturer publishes installation material, a FAQ, and its own comparison against MOZA and RealSimGear. Treat the comparisons as a specification source, not an independent verdict. The useful facts are the supported simulators and aircraft paths, screen behavior, Hub requirements, dimensions, mounting, and what the box includes.
FlightSimBuilder is the best buy for a technically comfortable user who can handle pop-out windows, connector software, profiles, and the occasional mismatch. It is also appealing to someone who wants one panel now and a fuller trainer later.
The caveat is consistency. Verify whether the exact aircraft needs touch, whether the physical bezel matches the simulated avionics, whether the connector supports the needed softkeys and knobs, and whether a second unit or audio panel is required for the intended procedure.
Why does RealSimGear cost more?

A premium panel earns its keep when the hand goes to the right knob without a translation step.
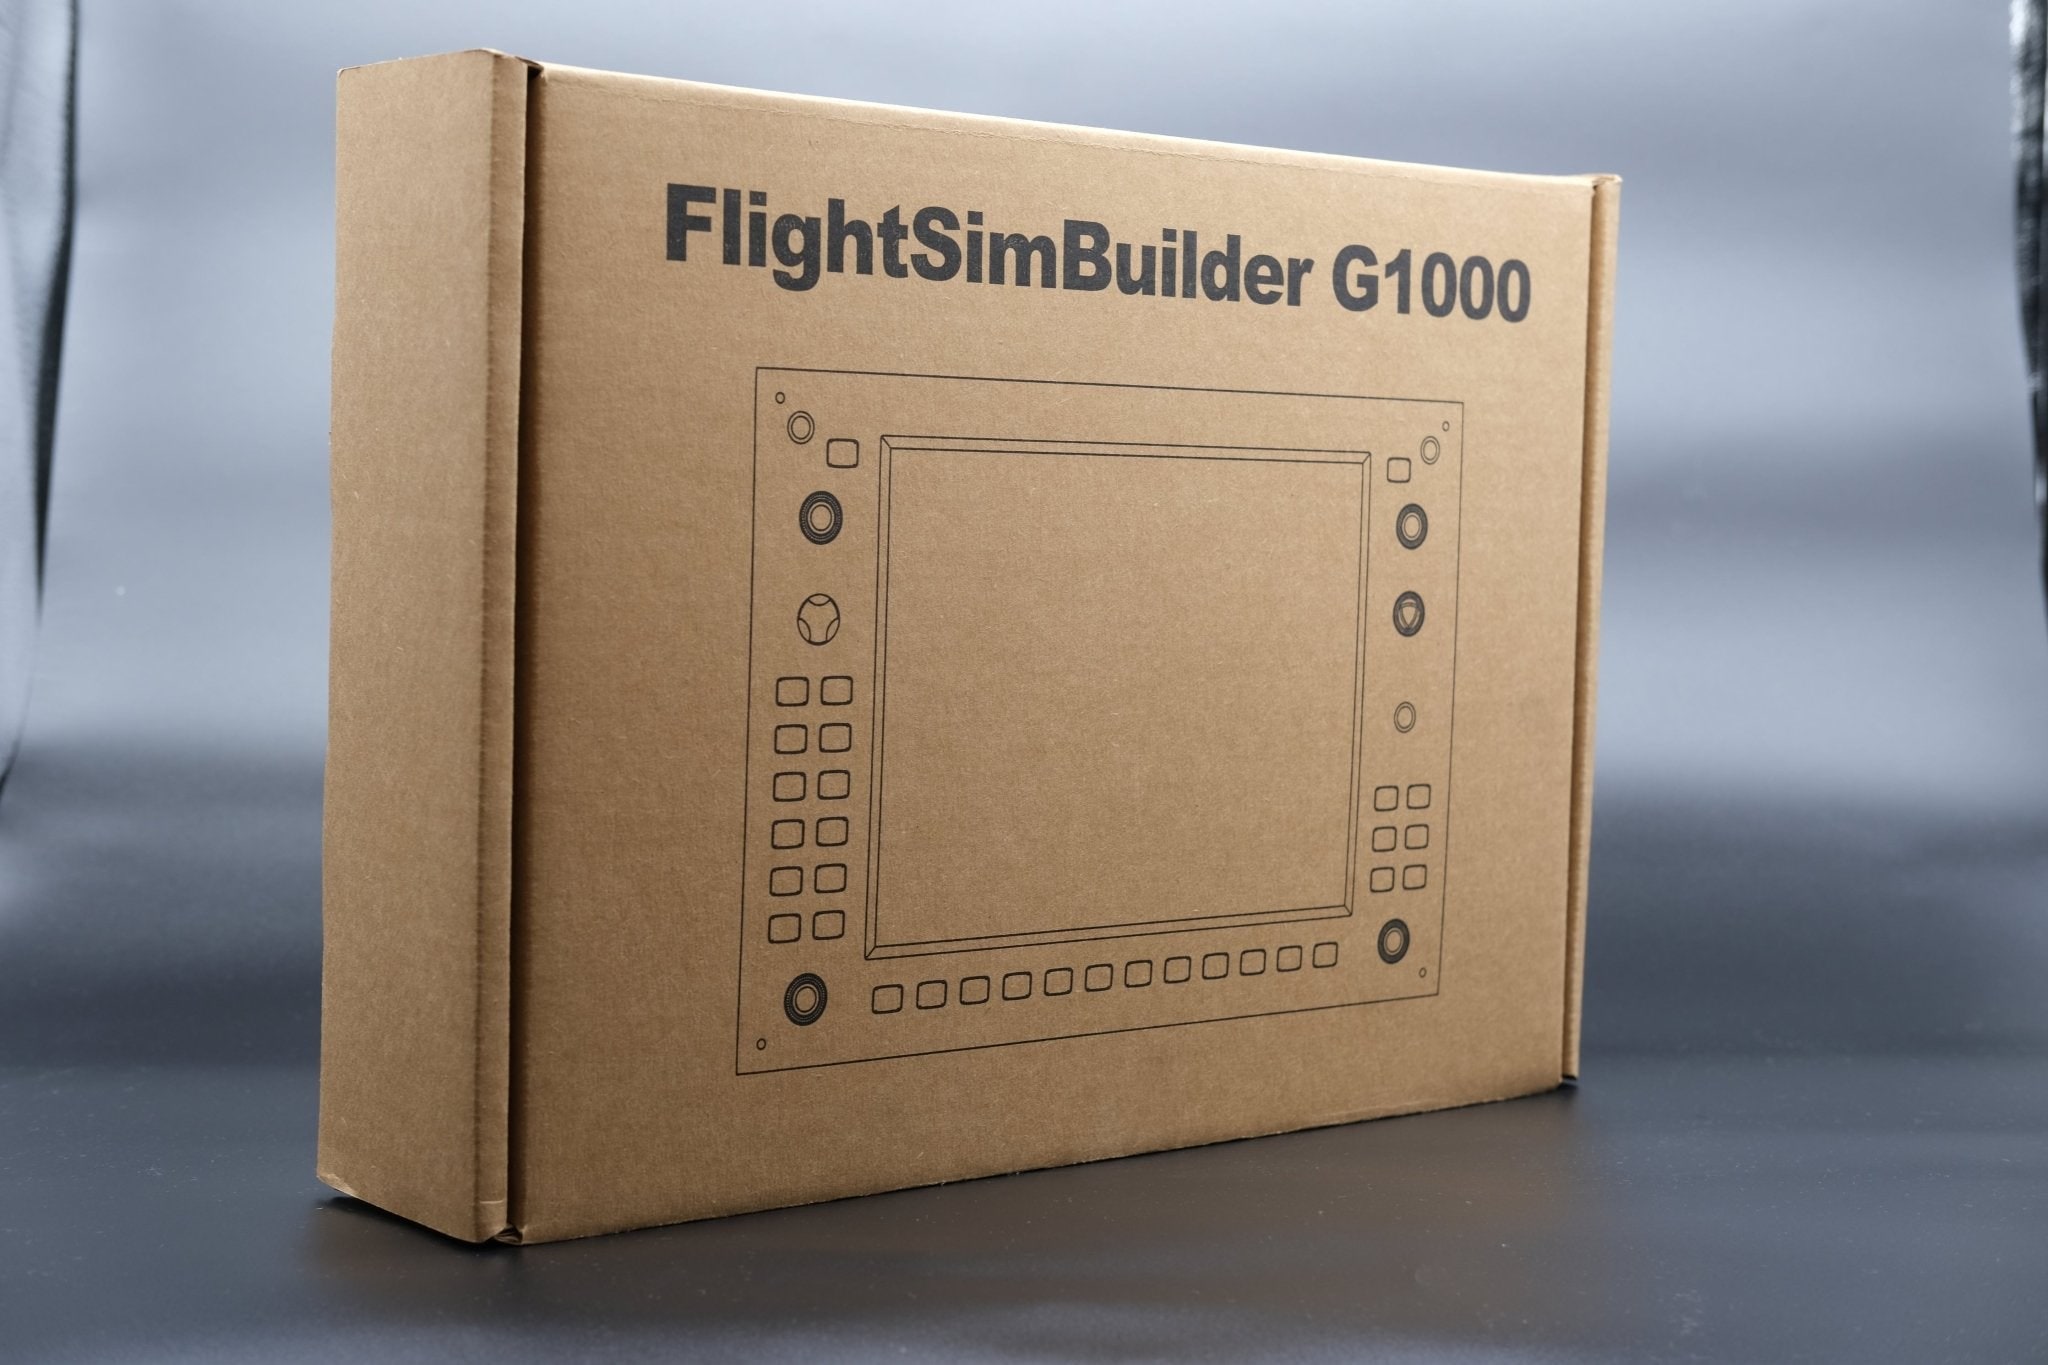
RealSimGear charges for maturity, suite cohesion, and a training-first product. The current G1000 suite packages PFD, MFD, and audio-panel hardware and offers documented setup for MSFS 2020/2024 alongside other simulator paths. The physical stand and published cutout dimensions make panel integration more predictable.
This is the lower-regret premium choice for a buyer building a conventional G1000/G1000 NXi procedure station. The controls, bezels, and dual-screen layout are already a known system rather than a collection of clever panels.
The cost is not just money. The published suite stand width is roughly 677 mm, and each main unit is around 306 by 200 mm. The station needs desk depth, hand clearance, power, display or USB paths, connector software, and a PC capable of driving the simulator plus external instruments. A compact desk can turn a premium suite into an ergonomic wall.
RealSimGear is the best choice when the exact aircraft fit is known and the buyer values a mature trainer more than touchscreen experimentation or minimum price.
Is MOZA MGX1000 the new value king?
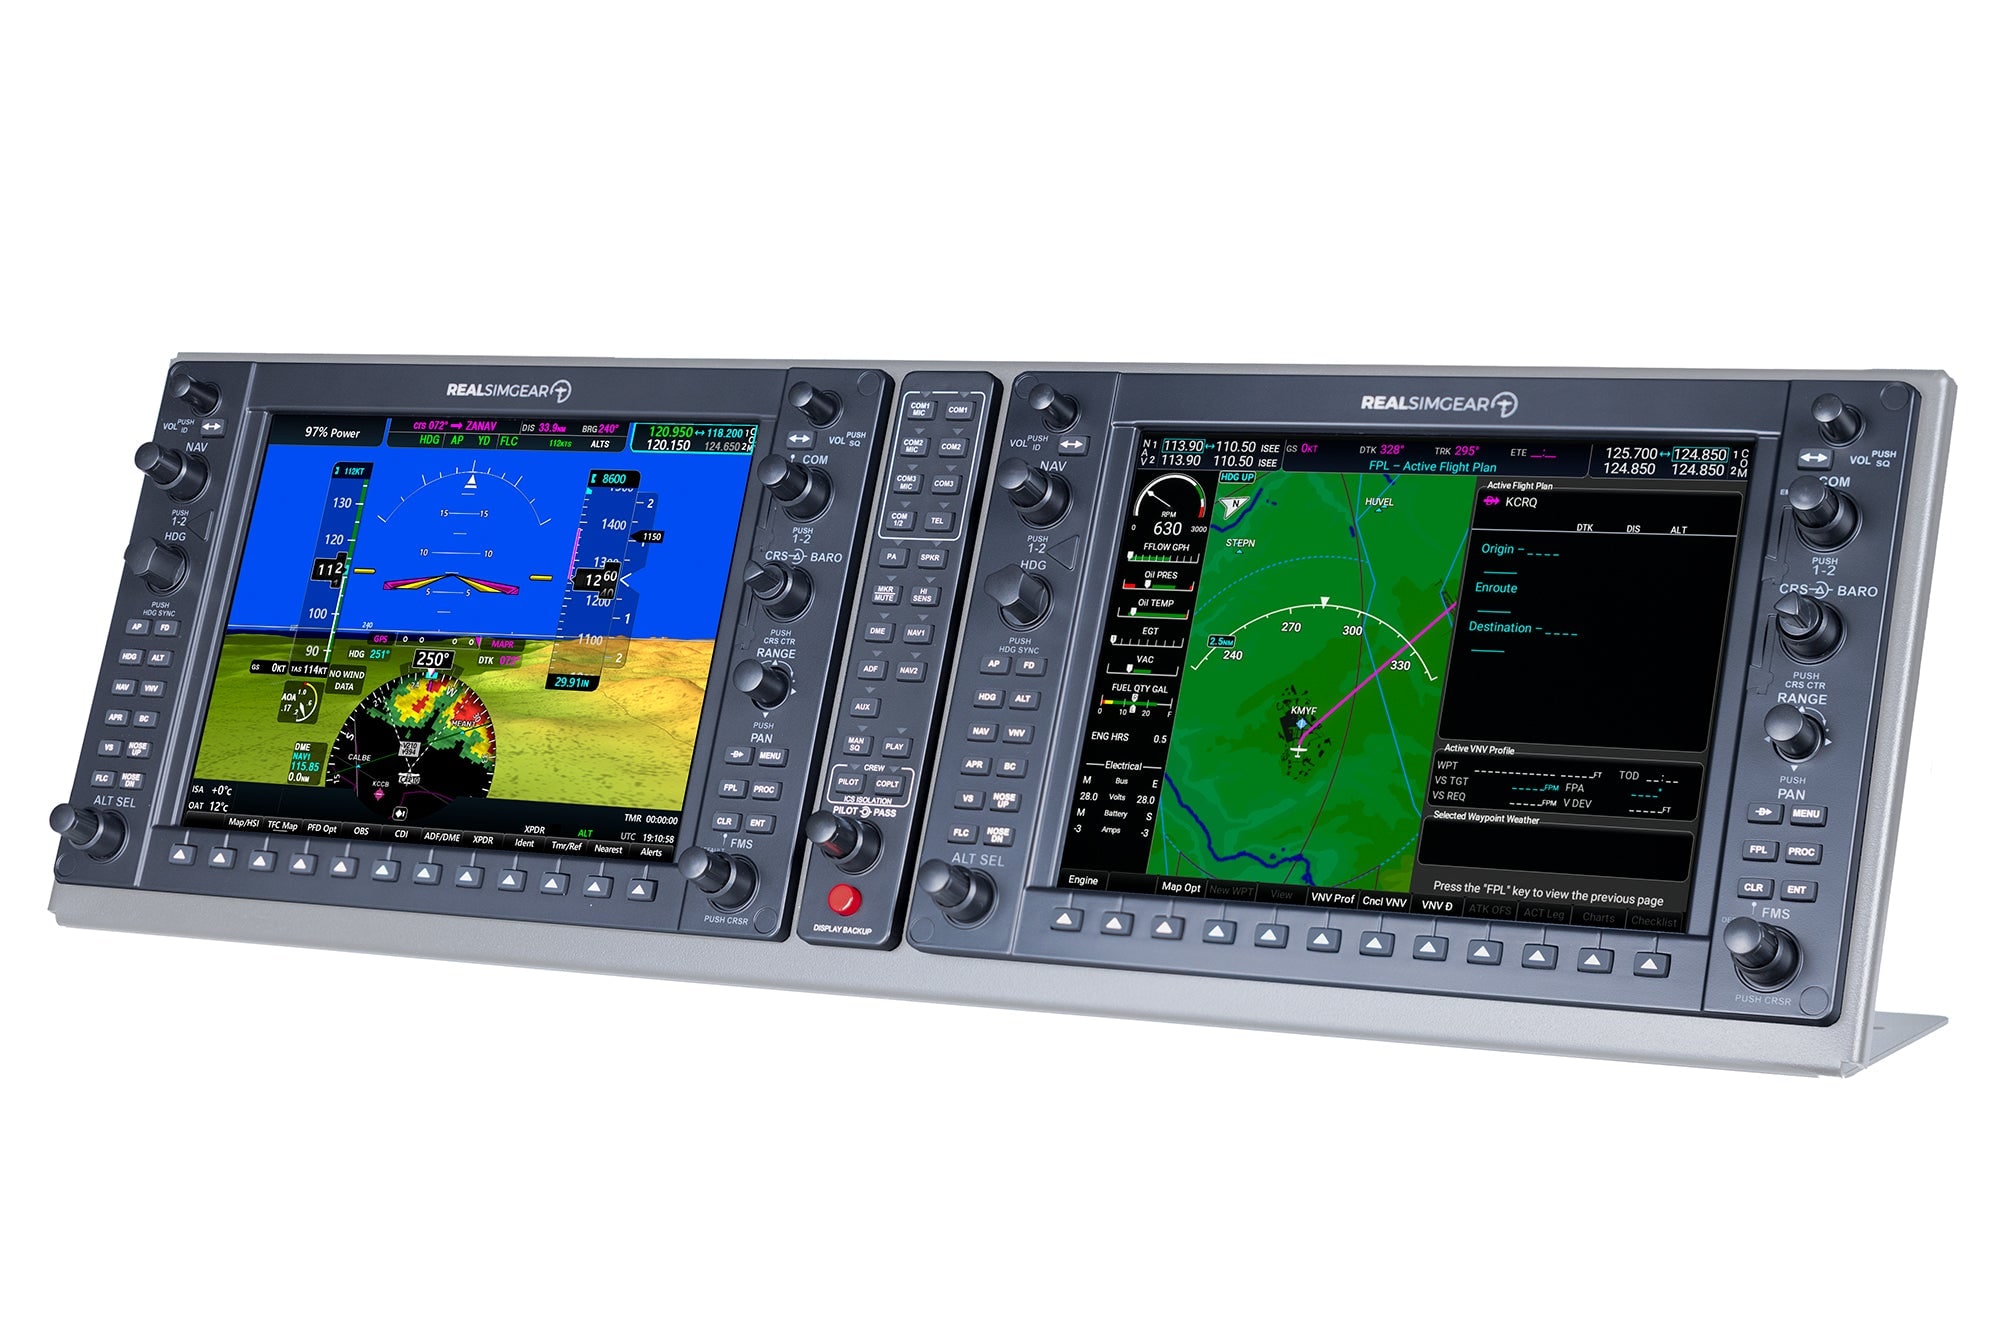
On paper, yes. In July 2026, the correct verdict is still wait for owner proof. MOZA lists a $449 price per unit, a 10.4-inch 1024 by 768 IPS display, 500-nit brightness, 304 by 201 by 66.8 mm dimensions, 1.17 kg weight, 75 by 75 VESA mounting, PC support, and early-August dispatch timing.
The unusual decision is DisplayLink. MGX1000 is not described as consuming a conventional HDMI or DisplayPort output from the GPU. That can simplify GPU output limits and physical cabling, but it transfers risk into USB bandwidth, drivers, MOZA Cockpit integration, latency, and multi-unit behavior. Those are not automatic failures. They are exactly what shipping reviews must test.
The hardware appears ambitious and sensibly priced. MOZA has also demonstrated an ability to bring simulator categories down-market. But an avionics trainer is only as valuable as the exact aircraft integration. We want to see PFD/MFD role assignment, knob and softkey mapping, multiple-unit stability, pop-out behavior, CPU/GPU overhead, sleep/reconnect recovery, and current aircraft compatibility before recommending it over established options.
Buy MGX1000 early only if testing new hardware is part of the fun and the return route is clear. Do not buy it as the foundation for a deadline-bound training station before those answers exist.
Which avionics variants are not interchangeable?

A front dimension tells you what fits in a photograph. Rear clearance tells you what fits in a build.
G1000, G1000 NXi, G3000, and Cirrus Perspective share visual DNA but not identical physical control layouts or workflows. Even within G1000 families, aircraft makers and simulator developers can implement pages, softkeys, audio controls, autopilot functions, and touchscreen behavior differently.
A popped-out screen may fit the panel while the knobs and buttons call the wrong events. A G1000 bezel may display a G3000 screen while providing none of the touchscreen or controller logic expected by that aircraft. A Cirrus user may need different controls around the display.
Build an aircraft matrix before purchase:
| Aircraft | Avionics variant | Simulator/add-on | PFD controls verified? | MFD controls verified? | Audio/autopilot path |
|---|---|---|---|---|---|
| Your primary trainer | Exact model | Exact version | Manufacturer proof | Manufacturer proof | Named hardware/software |
| Secondary aircraft | Exact model | Exact version | Owner proof | Owner proof | Caveat noted |
| Aspirational aircraft | Unknown | Unknown | Do not assume | Do not assume | Wait |
How hard is the USB and display setup?

Commission one panel first, record its ports, then add the second. Mystery USB problems love simultaneous installs.
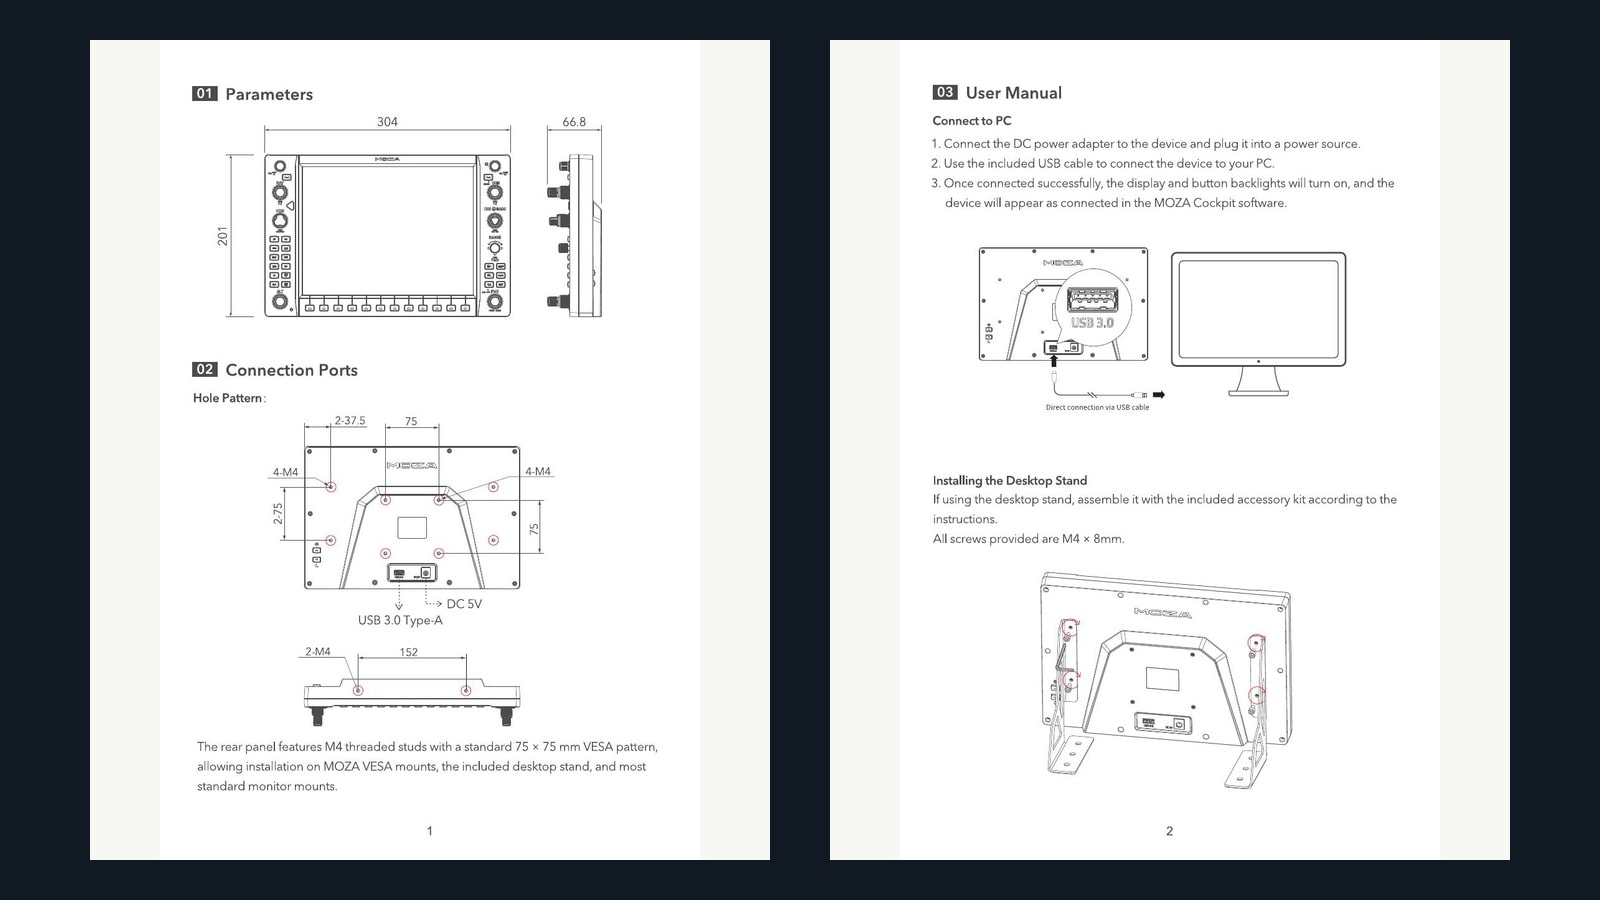
Treat two avionics panels as a small system, not “two monitors.” There is screen output, button/knob input, vendor connector software, simulator pop-outs, aircraft profiles, power, mounting, and Windows device recovery.
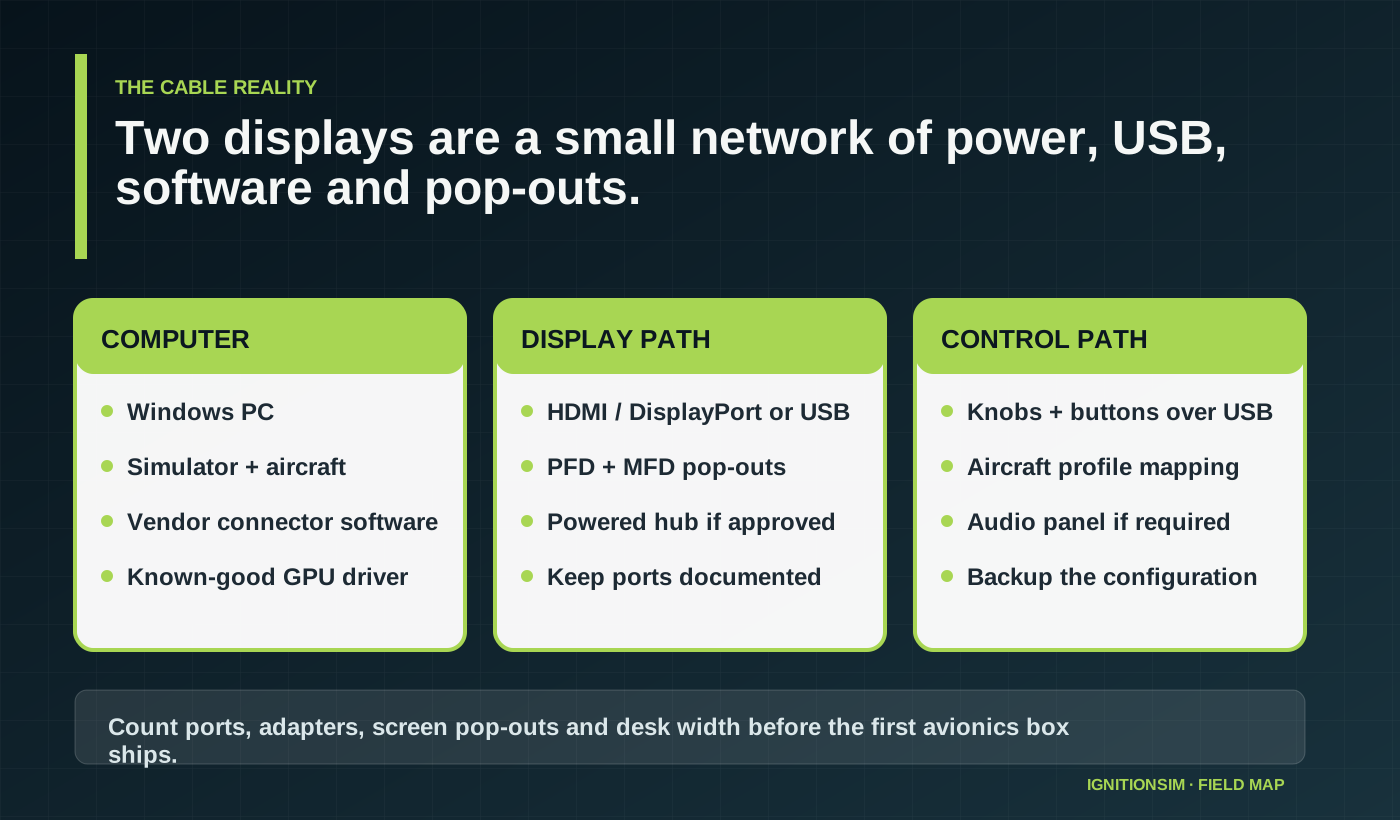
Count the computer’s native display outputs, USB controllers, powered ports, and existing cockpit devices. Confirm whether the vendor approves hubs. Label PFD and MFD cables. Use a stable Windows monitor arrangement. Save connector and aircraft profiles. Test cold boot, simulator restart, sleep/wake, and reconnect behavior before routing cables permanently.
FlightSimBuilder’s current instructions make the cable tax explicit: each panel needs USB, display, and power. A July 2026 owner trying to commission a large suite reported the predictable consequence: the panels can consume a surprising number of ports and display paths before the yoke, throttle, pedals, audio panel, camera, or headset arrives. That is an owner pattern to design around, not permission to attach everything to the first bargain hub.
Parts to have before the avionics arrive
| Part | Why it belongs in the plan | Watchout |
|---|---|---|
| Short labeled USB and display cables | Makes PFD/MFD identity and service recovery obvious | Use the cable type and maximum length the vendor documents |
| Native GPU outputs or an approved display adapter | Two panels are two real display paths | DisplayLink is not interchangeable with a passive adapter |
| Power strip with headroom | Panels and adapters add separate power bricks | Keep bricks ventilated and reachable |
| Stand, VESA plate, or panel cutout | Holds the bezel at a usable height and angle | Print the current dimension sheet before drilling |
| Cable labels and a port map | Preserves the known-good topology after Windows moves a display | Photograph both ends before closing the panel |
| Powered USB hub only when vendor-approved | Can solve port count, not controller bandwidth | Put timing-sensitive controls on direct ports first |
The StarTech USB32HDPRO direct-display adapter{:target=“_blank” rel=“sponsored nofollow noopener”} is an exact Amazon option for a DisplayLink expansion path, not a universal prescription. Confirm that the chosen panel vendor supports that architecture before buying it.
For DisplayLink, verify the approved driver, USB version, and multi-panel behavior. For conventional display output, verify GPU output count and adapter behavior. Do not combine a new GPU driver, new avionics driver, Windows update, and cockpit rewire into one troubleshooting event.
What do owners love?
Physical knobs and softkeys turn procedure rehearsal into hand memory. Flight plans, direct-to, course changes, approach selection, map range, and page navigation stop being mouse work. A dual-panel station also keeps the simulator view clean instead of covering it with floating instruments.
Training-minded owners value repeatable flows. The panel can be excellent for practicing a procedure already taught correctly, rehearsing a flight, and reducing cockpit unfamiliarity. RealSimGear earns praise for tactile fidelity and a mature suite; FlightSimBuilder earns attention for value and flexibility.
What causes returns or disappointment?
The most expensive disappointment is buying by bezel resemblance while ignoring software architecture. A two-panel trainer can add multiple displays, USB devices, power supplies, and a mounting problem at once. Owners who report stable procedure stations tend to commission one device at a time, preserve a known-good port map, and verify the exact aircraft or avionics variant before panel fabrication. The value decision is therefore not simply panel price: it is the cost of a repeatable, supportable station.
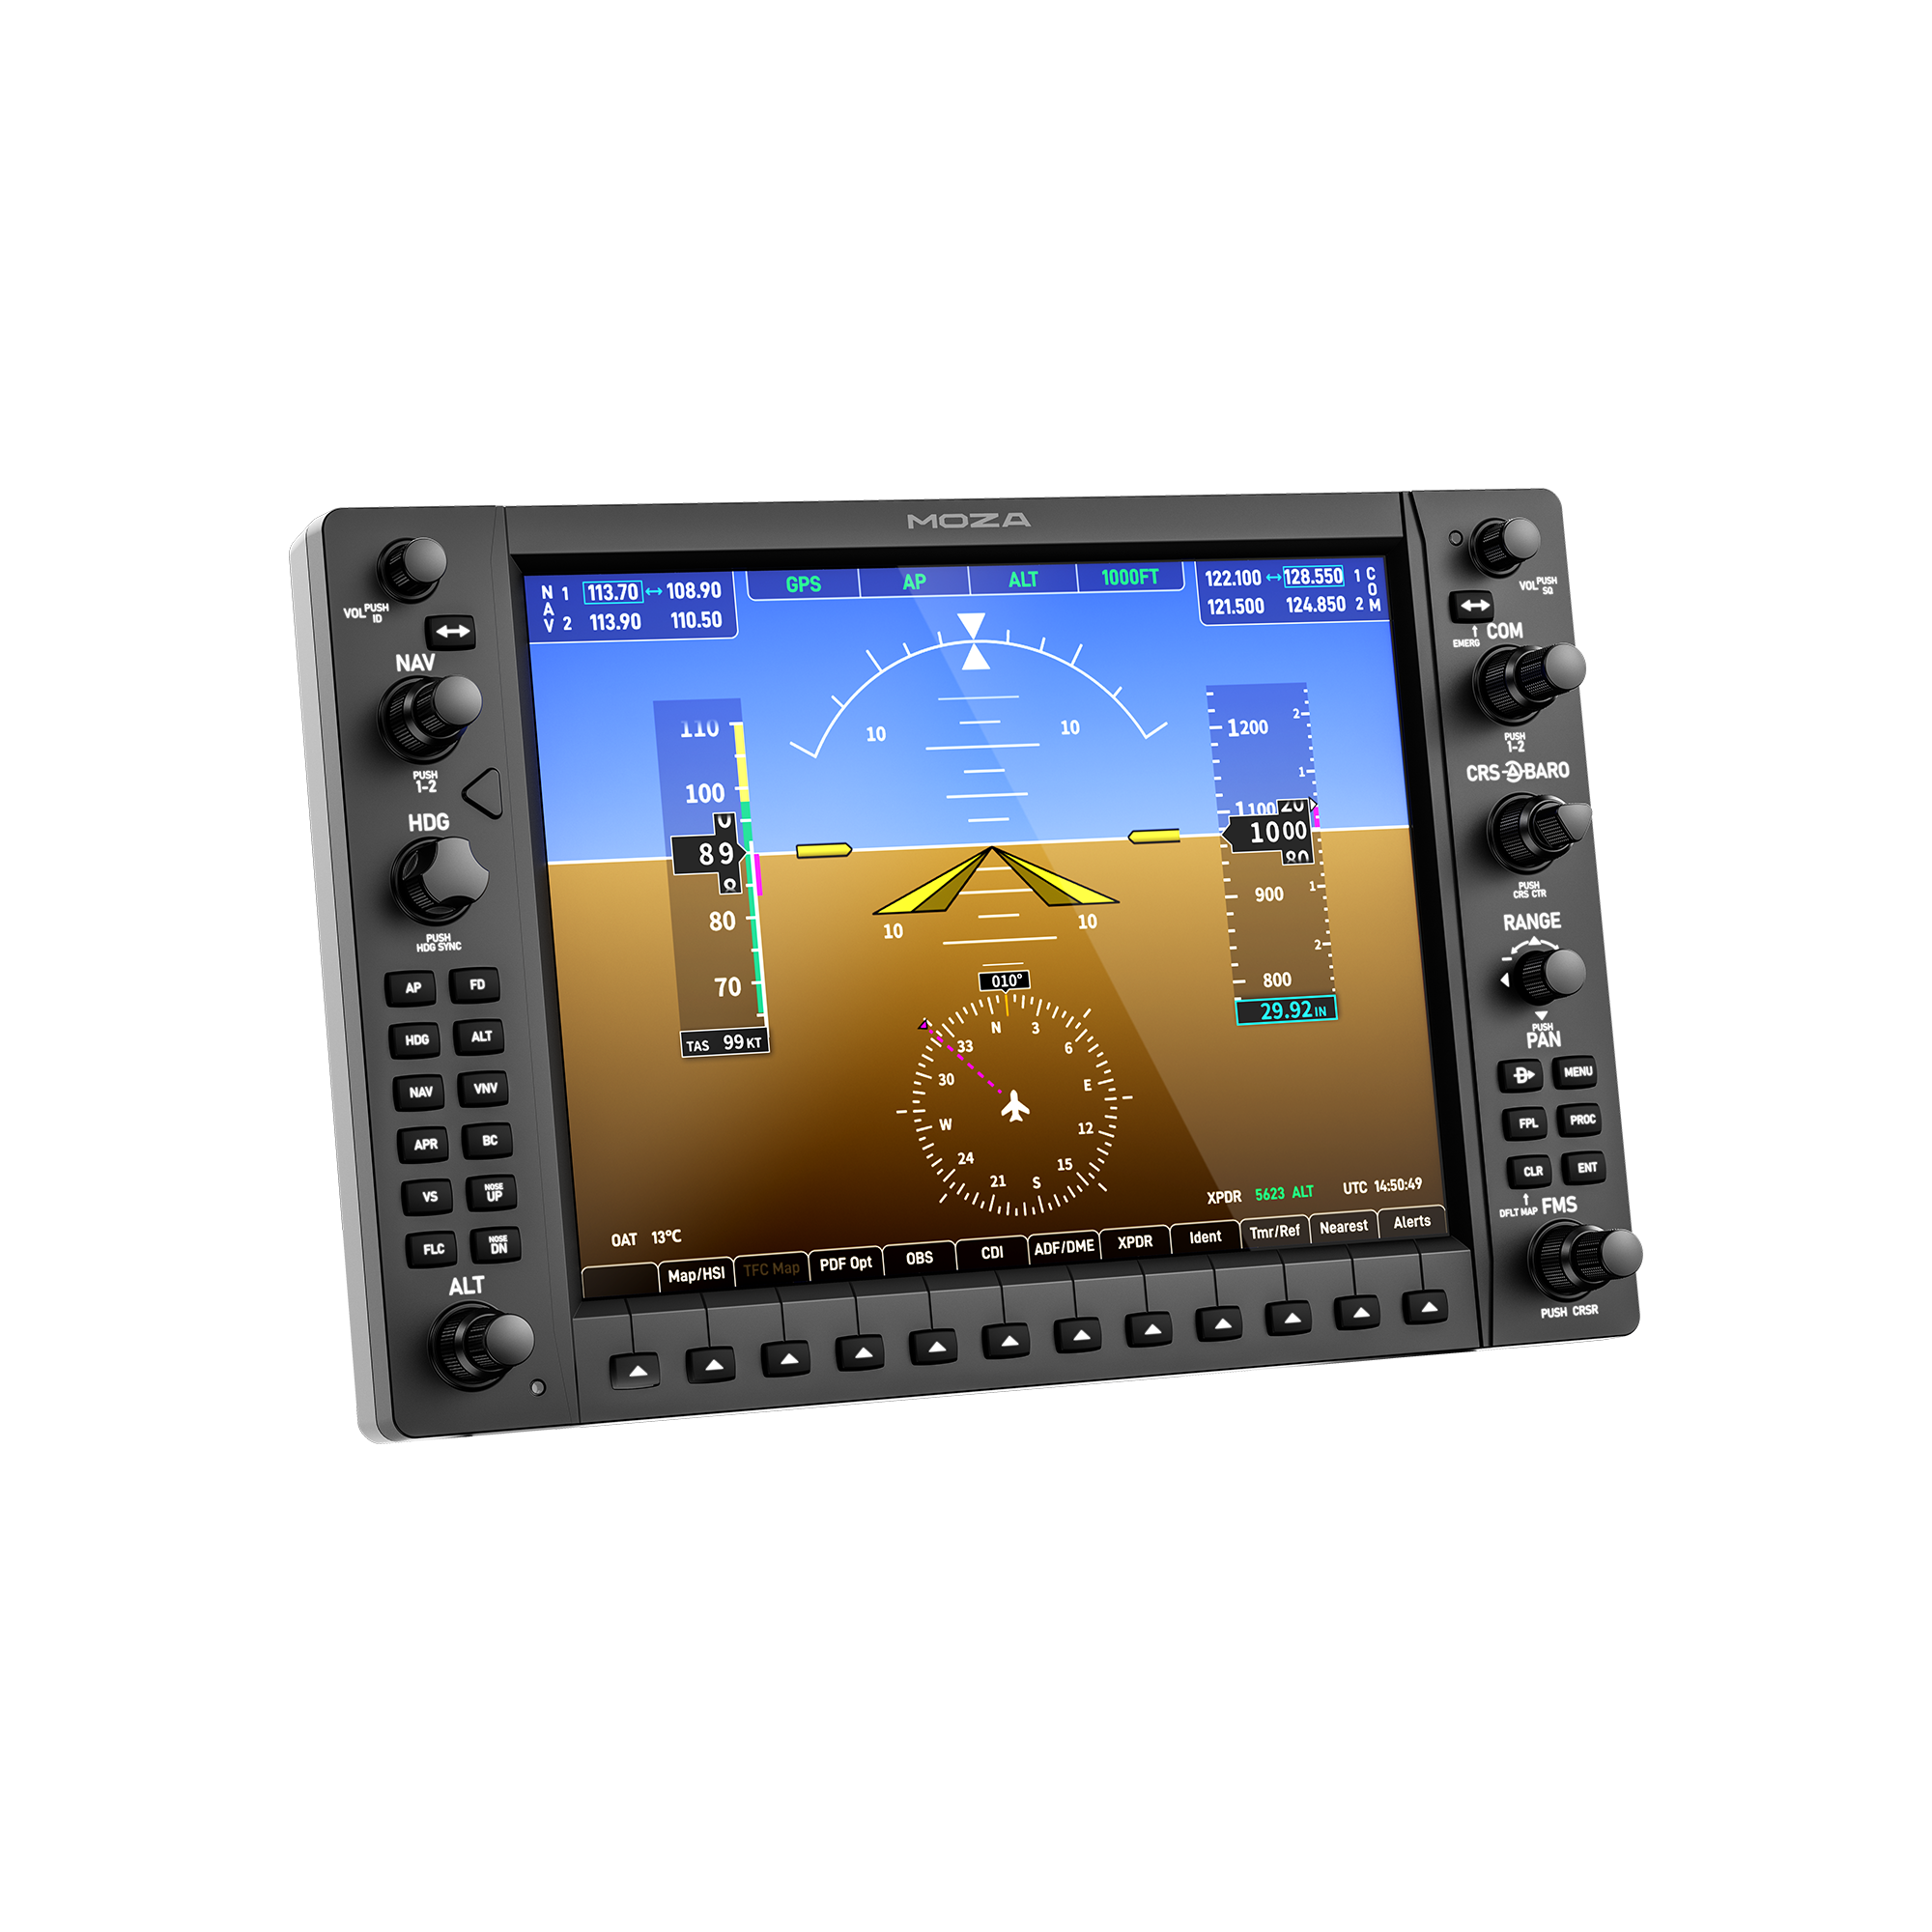
The biggest source of disappointment is aircraft mismatch. The next is setup overhead: pop-outs, connector software, Windows display behavior, and more cables than the product photo suggests. Desk width and monitor placement surprise buyers. Touch expectations can also be wrong: not every panel or aircraft uses touch in the same way.
Another problem is confusing simulation with certified training. A home panel can build useful familiarity and bad habits with equal efficiency. Use it to rehearse procedures under appropriate instruction, not to invent them.
If you cannot name the avionics variant in your primary aircraft or show that the physical keys map correctly, keep using pop-out screens. The bezel is not the compatibility proof.
Beginner, intermediate, and advanced build paths
Beginner: pop out the PFD/MFD to a second normal display and learn the workflow. This reveals whether a physical panel will solve a real problem.
Intermediate: buy one FlightSimBuilder unit or another verified panel for the most-used role. Document connector software and aircraft profiles before adding the second.
Advanced: build dual PFD/MFD plus audio/autopilot controls, a mounted panel, documented USB/display architecture, profile backups, and aircraft-specific checklists. RealSimGear becomes attractive here because suite cohesion saves integration work.
What should you buy?
| Buyer | Recommendation | Honest verdict | Verification route |
|---|---|---|---|
| Flexible enthusiast / touchscreen user | FlightSimBuilder G1000 TNxi | Buy with compatibility check | Configure the current TNxi{:target=“_blank” rel=“nofollow noopener”} |
| Premium procedure trainer | RealSimGear G1000 Suite | Buy when aircraft match is proven | See the current RealSimGear suite{:target=“_blank” rel=“nofollow noopener”} |
| Price-sensitive early adopter | MOZA MGX1000 | Wait for shipping reviews, or buy as a tester | Check MGX1000 launch and availability{:target=“_blank” rel=“nofollow noopener”} |
These specialist panels do not have verified exact Amazon offers we can responsibly recommend. The manufacturer links above are specification and compatibility evidence, not affiliate or retail CTAs.
Val's four-line compatibility contract
Write this before checkout: aircraft, avionics variant, simulator version, connector version. Under it, write the one procedure the panel must improve. If the seller cannot confirm that chain, the correct status is “wait,” no matter how good the launch video looks.
Sources and research shelf
- MOZA MGX1000 official product page
- MOZA next-generation flight hardware announcement, July 2026
- FlightSimBuilder G1000 TNxi current product page
- FlightSimBuilder G1000 instructions
- FlightSimBuilder FAQ
- FlightSimBuilder’s MGX1000 comparison page
- RealSimGear G1000 Suite official product page
- RealSimGear MSFS 2020 and 2024 setup guide
- RealSimGear dimensions and panel cutouts
- Current RealSimGear G1000 owner discussion
- Current instrument-training simulator discussion
- Current owner discussion: solving the USB and display-port count
- Current MOZA MGX1000 launch discussion
- MOZA flight hardware teaser discussion
Bottom line
FlightSimBuilder is the value/flexibility choice, RealSimGear is the mature premium trainer, and MGX1000 is the exciting newcomer that still needs shipping evidence. The purchase starts with the aircraft, not the screen. Get that match right, and physical avionics can turn mouse work into procedure. Get it wrong, and you have built an expensive frame around the wrong cockpit.
Key takeaways & quick answers
IgnitionSim is reader-supported. When you buy through links on our site we may earn an affiliate commission at no extra cost to you — it never changes our verdict or your price. As an Amazon Associate we earn from qualifying purchases.
Keep reading
Best MSFS Flight Sim Hardware of 2026: Yokes, Throttles, Pedals, Panels and Head Tracking Ranked
The right first purchase depends entirely on what you fly. Here's the honest 2026 buy order — the one thing to buy first, then the ladder from first stick to a full airliner cockpit, matched to GA, Airbus, Boeing and combat.
Microsoft Flight Simulator 2024 Review 2026: Is It Still the Home Cockpit King?
MSFS 2024 is still the gravity well for home cockpit builders, but the best first upgrade is not a wall of panels. It is the control loop.
MSFS Home Cockpit Buyer Map 2026: Yoke, Throttle, Rudders, Panels, Head Tracking, and USB Sanity
Val's MSFS buy order: controls first, rudders when you care about takeoff and taxi, head tracking before panels, and a powered USB hub before the cockpit becomes haunted.
MOZA AY210 vs Brunner CLS-E MK II vs FliteSim CLS-60: Which Force-Feedback Yoke Is Worth It in 2026?
Force feedback finally makes trim feel like trim, but the best yoke is not the one with the loudest force number. Val maps the mounting, software, aircraft support, and ownership tax.